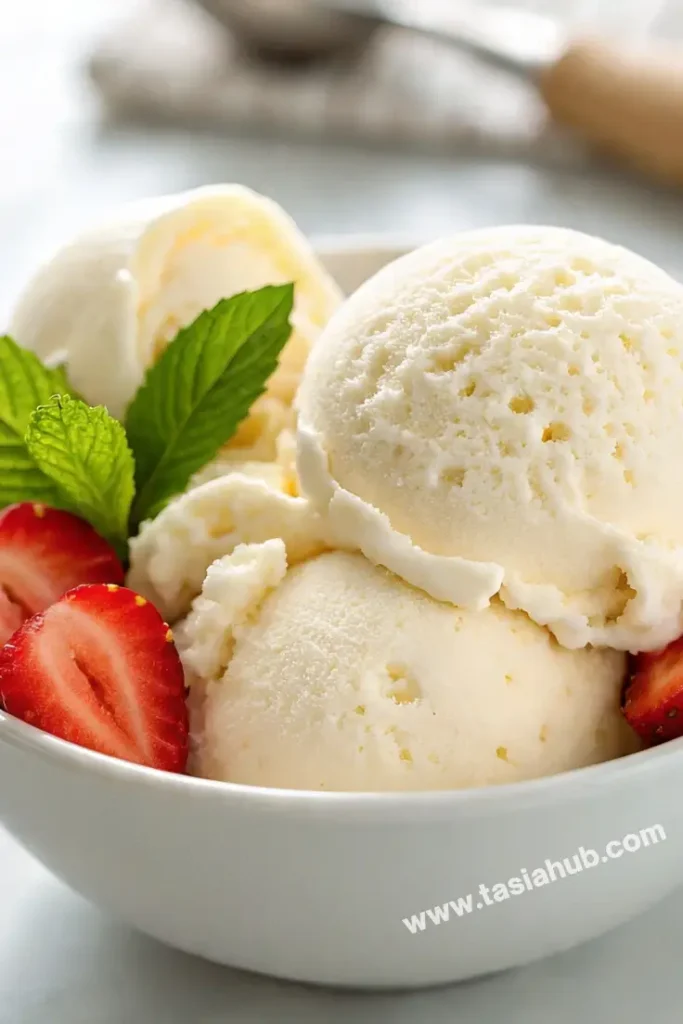
Homemade Vanilla Ice Cream

There’s a reason vanilla ice cream has stood the test of time. Despite its simple name, this creamy, dreamy dessert is anything but boring. It’s smooth, rich, and subtly sweet with that warm, comforting vanilla flavor that works beautifully on its own or as the base for endless dessert creations. Whether you’re scooping it onto a warm brownie, sandwiching it between cookies, or enjoying it straight out of the bowl with sprinkles on top, vanilla ice cream is a treat that never goes out of style.
The magic of vanilla ice cream lies in its versatility and nostalgic charm. It brings back memories of childhood summers, messy cones dripping under the sun, and that satisfying first spoonful that cools you down instantly. But making it at home? That’s a whole new level of satisfying. You get to control the ingredients, avoid unnecessary additives, and, best of all, experience the silky texture of freshly churned ice cream that beats anything store-bought.
What makes homemade vanilla ice cream so special is the quality of the vanilla itself. Using real vanilla extract—or better yet, vanilla bean—brings depth and a fragrant warmth that artificial versions can’t replicate. Pair that with heavy cream, whole milk, and just the right amount of sugar, and you’ve got a luxurious frozen dessert that’s indulgent yet refreshingly simple.
Whether you have an ice cream maker or not, this recipe is surprisingly easy to pull off. It’s all about the slow simmer, a gentle custard base, and a little patience while it freezes. And once it’s ready? Pure bliss. Keep reading, and I’ll walk you through everything you need to make the best homemade vanilla ice cream you’ve ever tasted.
Why You’ll Love It
- Rich, Creamy Texture: This vanilla ice cream is luxuriously smooth and melts perfectly on your tongue thanks to the custard-style base made with egg yolks and cream.
- Pure Vanilla Flavor: Using real vanilla extract—or a scraped vanilla bean if you’re feeling fancy—gives the ice cream a warm, aromatic flavor that’s comforting and unforgettable.
- Simple, Wholesome Ingredients: No preservatives or weird additives here. Just classic pantry staples like milk, cream, eggs, sugar, and vanilla.
- Versatile & Pairable: It’s the perfect partner for pies, crumbles, brownies, or simply topped with fresh fruit. You can even add your own mix-ins like crushed cookies or chocolate chips!
- Fun to Make at Home: There’s something really satisfying about making your own ice cream from scratch. It’s easier than you think and totally worth the effort.
Ingredient List
- 2 cups heavy cream
- 1 cup whole milk
- ¾ cup granulated sugar
- 1 tablespoon pure vanilla extract (or 1 vanilla bean, split and scraped)
- 4 large egg yolks
- Pinch of salt
Ingredient Notes
- Heavy cream: This is what gives the ice cream its rich, creamy texture—don’t substitute with light cream or half-and-half.
- Whole milk: Adds balance without making it too heavy. Skim or low-fat milk won’t give the same creamy consistency.
- Vanilla extract or vanilla bean: I always use pure vanilla extract (not imitation) for the best flavor. If you have a vanilla bean, use it—the flavor is even more intense and aromatic.
- Egg yolks: These make the custard base thick, silky, and scoopable. Don’t skip them!
- Salt: Just a pinch helps bring out the sweetness and enhance the vanilla flavor.
Kitchen Equipment Needed
- Medium saucepan – For heating the milk, cream, and sugar and cooking the custard base.
- Whisk – To blend the egg yolks smoothly into the mixture.
- Mixing bowls – Helpful for tempering the eggs and cooling the custard.
- Fine mesh strainer – Strains out any bits of cooked egg for a silky-smooth texture.
- Ice cream maker – For churning the mixture into that perfect soft-serve consistency. I love using the [Cuisinart ICE-21]; it’s compact and reliable.
- Spatula – For stirring the custard gently and scraping down the bowl.
- Storage container with lid – To freeze the churned ice cream until it’s scoopable. I prefer wide, shallow containers for faster, even freezing.
Instructions
Step 1: Heat the Milk, Cream, and Sugar
- In a medium saucepan, combine the 2 cups of heavy cream, 1 cup of whole milk, and ¾ cup of granulated sugar.
- Place over medium heat and stir occasionally until the mixture is hot and the sugar has fully dissolved—do not let it boil.
- If using a vanilla bean, add the split bean and scraped seeds now. Let it steep for a few minutes to infuse the flavor.
Pro Tip:
Keep the heat moderate—too high and you risk scalding the milk.
Step 2: Temper the Egg Yolks
- In a medium mixing bowl, whisk together the 4 large egg yolks until smooth and slightly pale.
- Slowly ladle about ½ cup of the hot milk mixture into the yolks while whisking constantly—this gently warms them up without scrambling.
- Add another ½ cup, still whisking, then slowly pour the tempered yolk mixture back into the saucepan.
Pro Tip:
Whisk continuously during tempering to prevent lumps or cooked egg bits.
Step 3: Cook the Custard Base
- Return the saucepan to the stove over low to medium-low heat.
- Stir the mixture constantly with a spatula or wooden spoon, making sure to scrape the bottom and sides.
- Cook until it thickens slightly and coats the back of a spoon—this usually takes 5–8 minutes.
Pro Tip:
Don’t walk away! Stir gently and steadily so it cooks evenly and doesn’t curdle.
Step 4: Strain and Chill
- Once thickened, immediately remove the custard from heat.
- Pour it through a fine mesh strainer into a clean bowl to remove any solids or lumps (and the vanilla pod if used).
- Stir in the vanilla extract if you didn’t use a bean.
- Let it cool slightly at room temperature, then cover and refrigerate for at least 4 hours or overnight until completely cold.
Pro Tip:
Chilling the base well ensures the ice cream churns better and freezes with a smooth texture.
Step 5: Churn the Ice Cream
- Once chilled, pour the custard into your ice cream maker following the manufacturer’s instructions.
- Churn until it reaches a soft-serve consistency—this usually takes 20–25 minutes.
Pro Tip:
Don’t overfill the machine; the mixture needs room to expand as it freezes.
Step 6: Freeze Until Firm
- Transfer the churned ice cream into a freezer-safe container.
- Smooth the top with a spatula and press a piece of parchment paper or plastic wrap directly onto the surface (to prevent ice crystals).
- Cover with a lid and freeze for at least 4 hours, or until firm and scoopable.
Once it’s frozen, it’s ready to enjoy! Keep going below for how to serve it up like a pro.
Tips and Tricks for Success
- Chill everything thoroughly: A cold custard base helps the ice cream churn faster and smoother, reducing icy texture.
- Use high-quality vanilla: Whether it’s pure extract or a real vanilla bean, quality makes a huge difference in flavor.
- Don’t rush the custard: Cook it low and slow, stirring constantly until it coats the back of a spoon—this step creates the creamy texture.
- Strain for smoothness: Always strain your custard before chilling to remove any egg bits or curdles for a silky final product.
- Cover well before freezing: Press parchment or plastic wrap directly on the surface before sealing the container to keep ice crystals at bay.
Ingredient Substitutions and Variations
- Vanilla bean vs. extract: Use 1 vanilla bean in place of extract for a more intense flavor and pretty flecks throughout.
- Half-and-half substitute: If you don’t have both cream and milk, you can use 3 cups of half-and-half, but the texture will be a bit lighter.
- Dairy-free option: Swap the cream and milk with full-fat coconut milk for a rich, dairy-free version—just expect a hint of coconut flavor.
- Add-ins: After churning, fold in extras like crushed Oreos, mini chocolate chips, or caramel swirls before freezing.
- Flavor twist: Infuse the milk with ingredients like lavender, cinnamon sticks, or even a touch of espresso powder for a fun flavor spin.
Serving Suggestions
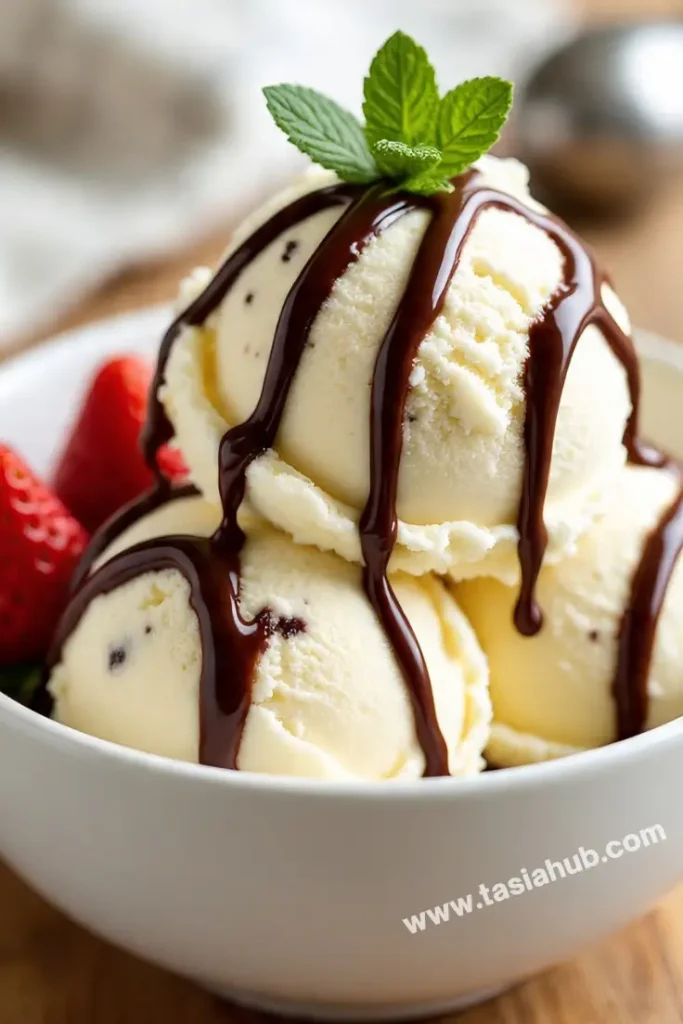
- Classic Cone or Bowl: Scoop it up in a waffle cone or your favorite bowl and top with sprinkles, chocolate syrup, or crushed nuts—simple and nostalgic.
- With Warm Desserts: Serve alongside brownies, apple pie, or fruit crisps. The warm-and-cold contrast is heavenly.
- Ice Cream Sandwiches: Spoon a generous scoop between two chocolate chip cookies for a crowd-pleasing treat.
- Affogato Style: Pour a shot of hot espresso over a scoop of vanilla ice cream for a quick and fancy dessert.
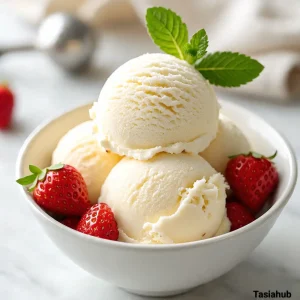
- My Favorite Way: I love enjoying it with a handful of fresh strawberries and a drizzle of honey—it’s light, sweet, and so satisfying!
Storage and Reheating Instructions
- Freezer Storage: Store in an airtight, freezer-safe container with a layer of parchment or plastic wrap directly on top. Keeps well for up to 2 weeks.
- Prevent Ice Crystals: Always press the wrap right against the surface before sealing the lid—this helps keep the texture creamy.
- Let It Soften Before Serving: Take it out of the freezer and let it sit at room temp for 5–10 minutes for easier scooping.
- Do Not Refreeze Melted Ice Cream: If it melts completely, avoid refreezing—it’ll lose its creamy texture and turn icy.
Frequently Asked Questions
Can I make vanilla ice cream without an ice cream maker?
Yes! You can pour the chilled custard into a shallow dish and freeze it, stirring every 30–45 minutes for about 3 hours. It won’t be as creamy as churned, but still super tasty!
How do I know when the custard is thick enough?
Dip a spoon in and run your finger across the back—if it leaves a clear line, it’s ready! Just don’t let it boil or you’ll risk curdling the eggs.
Can I use low-fat milk or skip the cream?
You can, but it won’t be as rich or creamy. Full-fat milk and cream are what give this ice cream that luxurious texture. For a lighter option, try using half-and-half.
How long does homemade vanilla ice cream last?
It’s best within 1–2 weeks for the creamiest texture and freshest flavor. After that, it may start to get icy or lose some of that smoothness.
Why is my ice cream icy instead of creamy?
This usually happens if the base wasn’t chilled enough before churning, or if there was too much air whipped in. Also, make sure your freezer container is airtight and well-covered.
Can I double the recipe?
Absolutely! Just make sure your ice cream maker can handle the volume—most work best at 1–1.5 quarts per batch.
Did you try this recipe? Let me know in the comments how it turned out!
Don’t forget to share your photos on Instagram and tag me @tasiahub_ or use the hashtag #tasiahub. I’d love to see your creations!
Homemade Vanilla Ice Cream
Equipment
- Medium saucepan
- Whisk
- Mixing Bowls
- Fine-Mesh Strainer
- Ice Cream Maker
- Spatula
- Storage container with lid
Ingredients
- 2 cups heavy cream
- 1 cup whole milk
- ¾ cup granulated sugar
- 1 tablespoon pure vanilla extract or 1 vanilla bean, split and scraped
- 4 large egg yolks
- Pinch of salt
Instructions
Step 1: Heat the Milk, Cream, and Sugar
- In a medium saucepan, combine the 2 cups of heavy cream, 1 cup of whole milk, and ¾ cup of granulated sugar.
- Place over medium heat and stir occasionally until the mixture is hot and the sugar has fully dissolved—do not let it boil.
- If using a vanilla bean, add the split bean and scraped seeds now. Let it steep for a few minutes to infuse the flavor.
- Pro Tip:
- Keep the heat moderate—too high and you risk scalding the milk.
Step 2: Temper the Egg Yolks
- In a medium mixing bowl, whisk together the 4 large egg yolks until smooth and slightly pale.
- Slowly ladle about ½ cup of the hot milk mixture into the yolks while whisking constantly—this gently warms them up without scrambling.
- Add another ½ cup, still whisking, then slowly pour the tempered yolk mixture back into the saucepan.
- Pro Tip:
- Whisk continuously during tempering to prevent lumps or cooked egg bits.
Step 3: Cook the Custard Base
- Return the saucepan to the stove over low to medium-low heat.
- Stir the mixture constantly with a spatula or wooden spoon, making sure to scrape the bottom and sides.
- Cook until it thickens slightly and coats the back of a spoon—this usually takes 5–8 minutes.
- Pro Tip:
- Don’t walk away! Stir gently and steadily so it cooks evenly and doesn’t curdle.
Step 4: Strain and Chill
- Once thickened, immediately remove the custard from heat.
- Pour it through a fine mesh strainer into a clean bowl to remove any solids or lumps (and the vanilla pod if used).
- Stir in the vanilla extract if you didn’t use a bean.
- Let it cool slightly at room temperature, then cover and refrigerate for at least 4 hours or overnight until completely cold.
- Pro Tip:
- Chilling the base well ensures the ice cream churns better and freezes with a smooth texture.
Step 5: Churn the Ice Cream
- Once chilled, pour the custard into your ice cream maker following the manufacturer’s instructions.
- Churn until it reaches a soft-serve consistency—this usually takes 20–25 minutes.
- Pro Tip:
- Don’t overfill the machine; the mixture needs room to expand as it freezes.
Step 6: Freeze Until Firm
- Transfer the churned ice cream into a freezer-safe container.
- Smooth the top with a spatula and press a piece of parchment paper or plastic wrap directly onto the surface (to prevent ice crystals).
- Cover with a lid and freeze for at least 4 hours, or until firm and scoopable.
Notes
Estimated Nutritional Value (Per Serving):
- Calories: ~320
- Total Fat: 24g
- Saturated Fat: 14g
- Cholesterol: 175mg
- Sodium: 45mg
- Carbohydrates: 22g
- Sugars: 20g
- Protein: 4g
- Calcium: ~10% DV