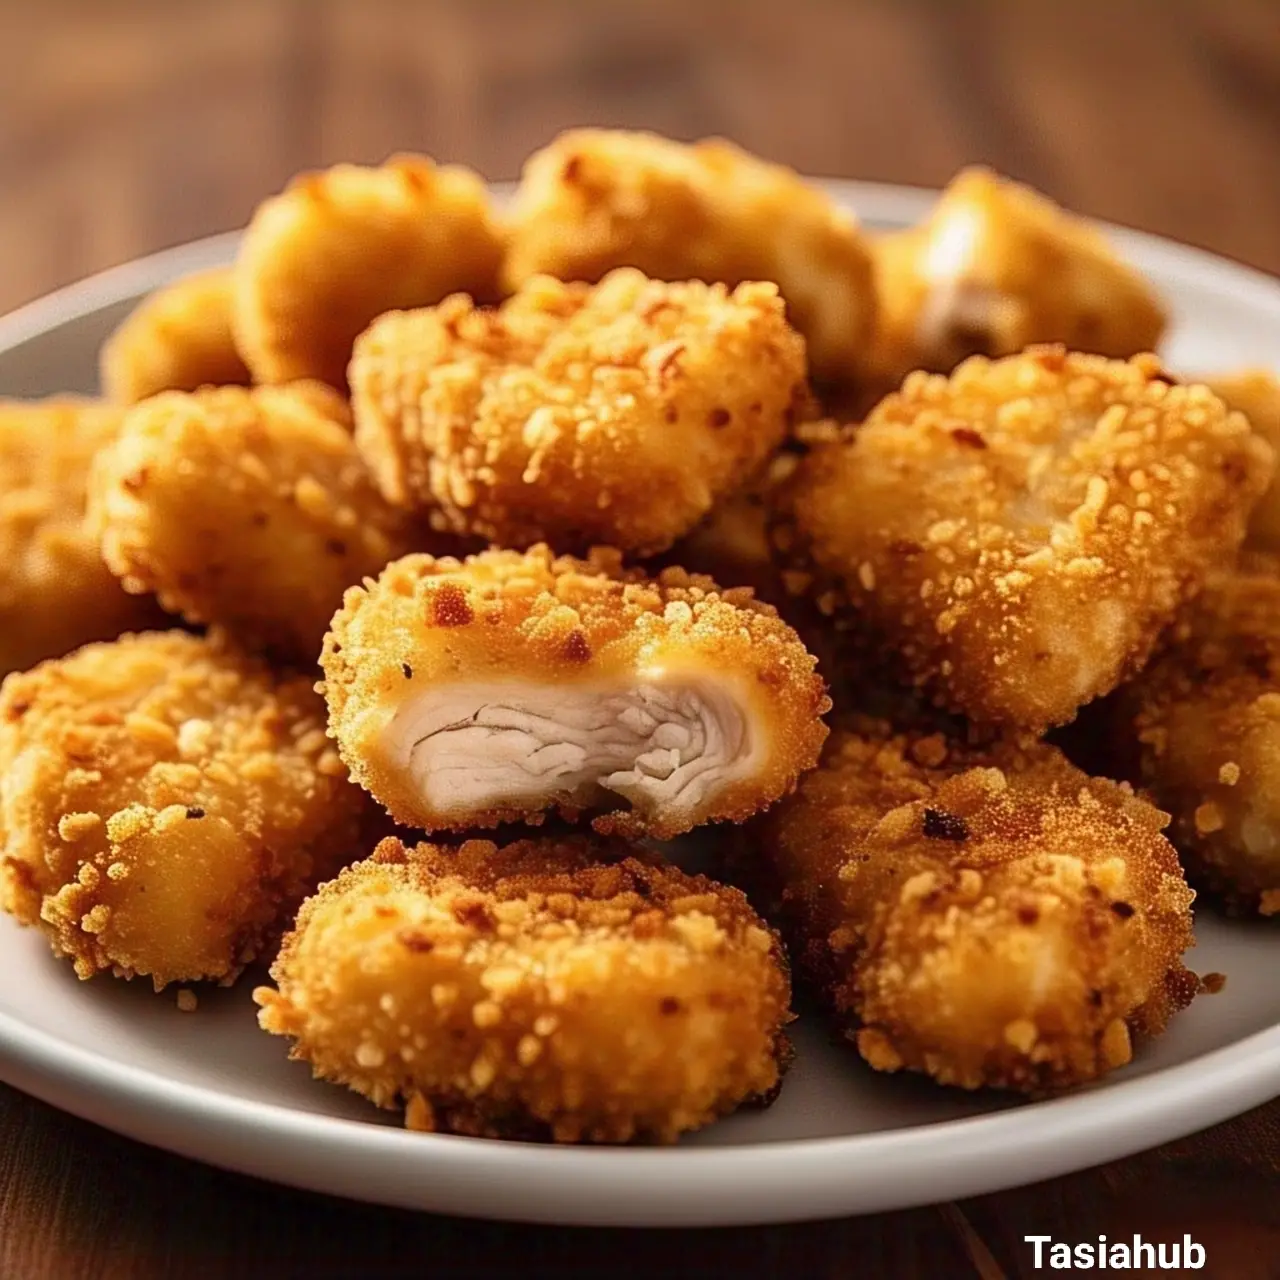
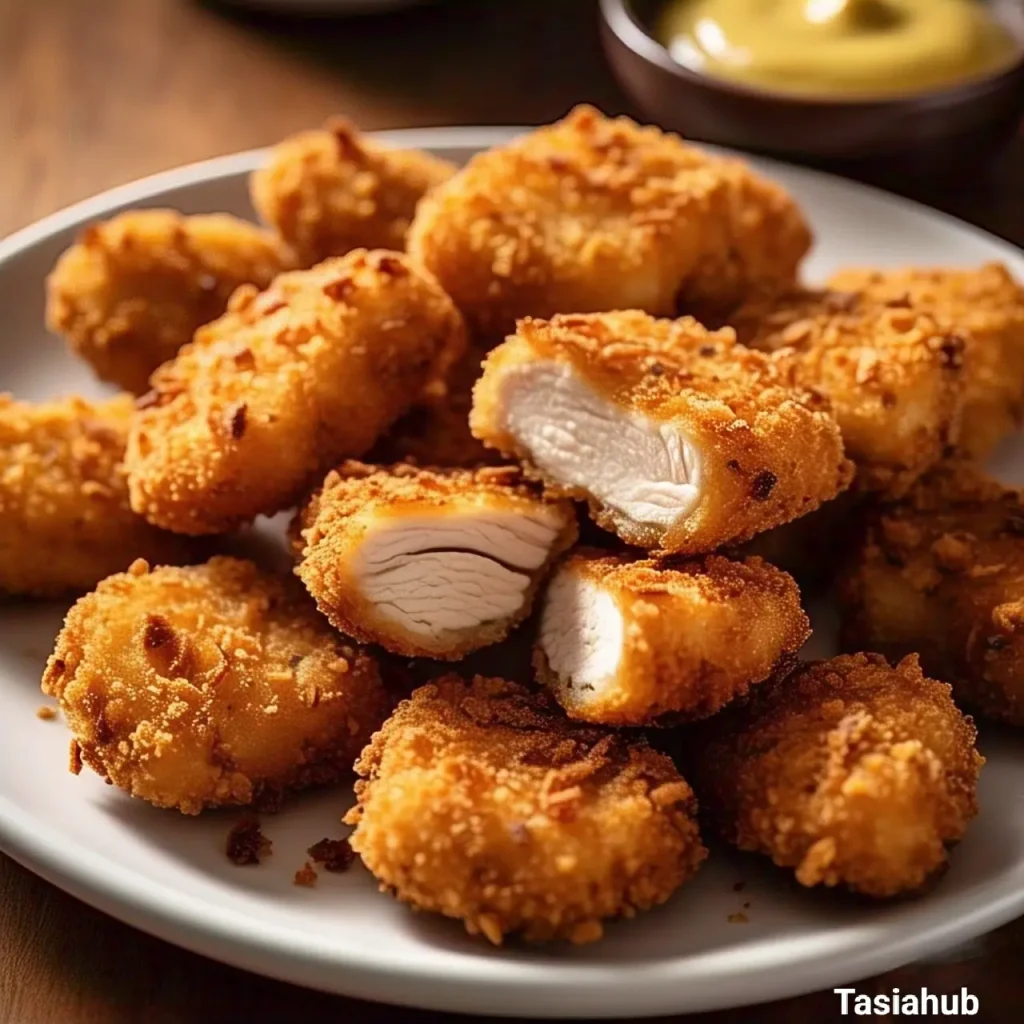
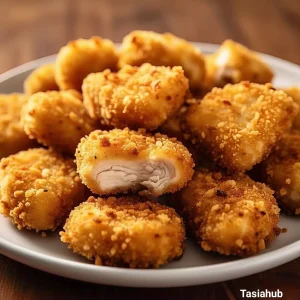
Crispy Homemade Chicken Nuggets
Crispy and Juicy Chicken Nugget Recipe
There’s something irresistible about chicken nuggets. They’re crispy on the outside, juicy on the inside, and packed with flavor. Whether you’re making them for a quick lunch, a fun family dinner, or a party snack, homemade chicken nuggets always taste better than store-bought ones. Plus, you get to control the ingredients, making them healthier and fresher!
What makes this recipe special? First, it’s incredibly easy. You don’t need fancy ingredients—just chicken, a simple coating, and a few seasonings. It’s also kid-friendly, which means picky eaters will love it! These nuggets are budget-friendly too, costing much less than takeout or frozen options.
I love making these crispy chicken nuggets because they fit perfectly into my busy routine. They take less than 30 minutes to prepare, making them ideal for weeknight dinners. They’re also great for meal prepping—I make a big batch, freeze some, and reheat them whenever I need a quick meal. Whether you dip them in ketchup, honey mustard, or ranch, they always hit the spot!
About Chicken Nuggets
Chicken nuggets are a classic comfort food loved by both kids and adults. They’re made by coating bite-sized pieces of chicken in a crispy breading and frying or baking them until golden brown.
Unlike store-bought or fast-food nuggets, this homemade version uses real chicken breast (not processed meat), so you get tender, juicy bites every time.
Plus, instead of using a heavy, greasy batter, this recipe keeps things light and crispy with a simple breadcrumb coating. You can also customize the seasoning to your taste, making them spicy, cheesy, or even gluten-free!
Why You’ll Love It
- Crispy and Flavorful – Every bite is crunchy and golden brown on the outside, while the inside stays juicy and tender.
- Healthier Than Fast Food – No mystery meat or artificial ingredients—just fresh chicken and simple seasonings.
- Super Easy to Make – With just a few steps, you’ll have delicious homemade nuggets in under 30 minutes.
- Kid-Approved – Even picky eaters love these nuggets! They’re perfect for school lunches, after-school snacks, or family dinners.
- Great for Meal Prep – Make a big batch, freeze some, and reheat whenever you need a quick meal or snack.
Ingredients
For the Chicken
- 2 large chicken breasts, cut into bite-sized pieces
- 1 teaspoon salt
- ½ teaspoon black pepper
- ½ teaspoon garlic powder
For the Breading
- 1 cup all-purpose flour
- 2 large eggs, beaten
- 1 cup breadcrumbs (Panko or regular)
- ½ teaspoon paprika (for extra flavor)
- ½ teaspoon onion powder
For Frying (Optional)
- 1½ cups vegetable oil (for deep frying)
For Baking (Alternative)
- Cooking spray or 2 tablespoons olive oil
Ingredient Notes
- Chicken Breast vs. Thighs – I use chicken breast for a leaner option, but chicken thighs work great if you prefer a juicier bite!
- Breadcrumb Choices – Panko breadcrumbs make the nuggets extra crispy, while regular breadcrumbs give a more traditional texture.
- Seasoning Boost – Want more flavor? Add a pinch of cayenne pepper for heat or some grated Parmesan for extra richness.
- Baking vs. Frying – Frying gives the best crispiness, but baking is a great alternative if you want a healthier version. Just make sure to drizzle or spray with oil for a golden crunch!
Kitchen Tools Needed
- Cutting Board & Sharp Knife – For cutting the chicken into bite-sized pieces. A sharp knife makes slicing easier and cleaner!
- Mixing Bowls – You’ll need a few bowls for dredging the chicken in flour, eggs, and breadcrumbs.
- Tongs – Helps coat the chicken without getting your hands messy and makes flipping easier while frying.
- Deep Frying Pan or Dutch Oven – If frying, a deep pan ensures even cooking and prevents oil splatters.
- Baking Sheet & Wire Rack – For baking, use a wire rack on top of the baking sheet to allow air circulation and keep the nuggets crispy.
- Whisk – For beating the eggs smoothly.
- Meat Thermometer (Optional) – Helps check if the nuggets are cooked through (165°F is the safe internal temperature).
- Slotted Spoon or Spider Strainer – If frying, this helps scoop out nuggets without excess oil.
I love using a cast iron skillet for frying—it holds heat really well and gives the nuggets an even, golden crust! For baking, a non-stick wire rack is a game-changer because it keeps the nuggets from getting soggy.
Cooking Instructions
Step 1: Prepare the Chicken (5 minutes)
- Pat the chicken pieces dry with a paper towel—this helps the breading stick better.
- Season the chicken with salt, black pepper, and garlic powder, then set aside.
Step 2: Set Up the Breading Station (5 minutes)
- In one bowl, add the flour.
- In a second bowl, whisk the eggs until smooth.
- In a third bowl, mix the breadcrumbs with paprika and onion powder.
Pro Tip: Use one hand for dry ingredients and the other for wet to keep your fingers from getting clumpy!
Step 3: Coat the Chicken (5 minutes)
- Dip each piece of chicken into the flour, shaking off excess.
- Next, dip it into the egg mixture, making sure it’s fully coated.
- Finally, roll it in the breadcrumbs, pressing gently so they stick.
Pro Tip: For extra crispiness, repeat the egg and breadcrumb steps for a double coating!
Step 4: Cook the Nuggets
Option 1: Frying (10-12 minutes)
- Heat about 1½ inches of vegetable oil in a deep pan over medium heat (around 350°F).
- Carefully add the nuggets in batches, making sure not to overcrowd the pan.
- Fry for 3-4 minutes per side or until golden brown and cooked through.
- Remove with a slotted spoon and place on a paper towel-lined plate to drain excess oil.
Pro Tip: If you don’t have a thermometer, cut open a nugget to check—no pink means it’s done!
Option 2: Baking (15-18 minutes)
- Preheat your oven to 400°F (200°C).
- Arrange the nuggets on a wire rack placed over a baking sheet.
- Lightly spray or brush them with olive oil for a crispy texture.
- Bake for 15-18 minutes, flipping halfway through, until golden and fully cooked.
Option 3: Air Frying (12-14 minutes)
- Preheat the air fryer to 375°F (190°C).
- Arrange the nuggets in a single layer in the basket (don’t overcrowd!).
- Air fry for 12-14 minutes, shaking the basket halfway through.
Pro Tip: For ultra-crispy nuggets, give them a light spray of cooking oil before air frying.
Step 5: Serve and Enjoy!
- Let the nuggets cool slightly before serving (they’ll be super hot inside!).
- Serve with your favorite dips like ketchup, honey mustard, or ranch.
Enjoy your crispy, homemade chicken nuggets!
Tips and Tricks for Success
- Don’t Skip the Seasoning – Plain nuggets can be boring! Adding simple spices like paprika, garlic powder, and onion powder makes a big difference in flavor.
- Chill for Extra Crunch – If you have time, let the breaded nuggets sit in the fridge for 15-20 minutes before cooking. This helps the coating stick better and gives a crispier result.
- Use a Wire Rack for Baking – Placing the nuggets on a wire rack instead of directly on a baking sheet helps air circulate them, making them crispier.
- Test the Oil Temperature – If frying, make sure the oil is around 350°F. If it’s too hot, the outside will burn before the inside cooks. If it’s too cold, the nuggets will soak up oil and turn greasy.
- Make a Big Batch and Freeze – These nuggets freeze beautifully! Just lay them on a baking sheet in a single layer, freeze for an hour, and then transfer them to a freezer bag. They can be reheated straight from frozen!
Ingredient Substitutions and Variations
- Gluten-Free Version – Swap the flour for cornstarch and use gluten-free breadcrumbs or crushed rice cereal for the coating.
- Spicy Nuggets – Add ½ teaspoon of cayenne pepper or chili powder to the breadcrumb mix for a little heat.
- Cheesy Nuggets – Mix grated Parmesan into the breadcrumbs for a richer, more savory flavor.
- Healthier Nuggets – Use whole wheat breadcrumbs instead of white and bake or air-fry instead of deep-frying.
- Buttermilk Marinade – For extra juicy nuggets, soak the chicken in buttermilk for 30 minutes before breading. It tenderizes the meat and adds a slight tangy flavor!
These variations let you customize your nuggets however you like—try a few and see which one becomes your favorite!
Serving Suggestions
- Classic with Dipping Sauces – Serve with ketchup, honey mustard, ranch, or BBQ sauce. I love mixing honey and Dijon mustard for a sweet and tangy dip!
- Nugget Wraps – Wrap the nuggets in a tortilla with lettuce, cheese, and ranch for a quick and tasty lunch.
- With Fries and Slaw – Pair with crispy French fries and coleslaw for a restaurant-style meal at home.
- Chicken Nugget Salad – Chop them up and toss them into a fresh salad with cherry tomatoes, cucumbers, and a creamy dressing.
- Loaded Nugget Bowl – Serve over rice or mashed potatoes with melted cheese and a drizzle of buffalo sauce—so good!
Storage and Reheating Instructions
Storing Leftovers
- Let the nuggets cool completely before storing.
- Keep them in an airtight container in the fridge for up to 3 days.
- For longer storage, freeze them in a single layer first, then transfer to a freezer bag. They’ll last up to 3 months frozen.

Reheating
- Oven (Best for Crispiness): Bake at 375°F (190°C) for 8-10 minutes or until heated through.
- Air Fryer (Quick and Crispy): Heat at 350°F (175°C) for 5-6 minutes.
- Microwave (Fast but Softer): Heat in 30-second intervals until warm. (They won’t be as crispy, but they’ll still be tasty!)
If reheating frozen nuggets, don’t thaw them first—just bake or air-fry straight from frozen for the best texture!
Frequently Asked Questions
Can I make these nuggets ahead of time?
Yes! You can bread the nuggets and store them in the fridge for up to 24 hours before cooking. This helps the coating stick better!
Can I use chicken thighs instead of chicken breast?
Absolutely! Chicken thighs make the nuggets even juicier. Just cut them into similar-sized pieces so they cook evenly.
How do I make these nuggets extra crispy?
For the crispiest nuggets, use Panko breadcrumbs, double-coat them in egg and breadcrumbs, and chill them for 15 minutes before cooking. Also, avoid overcrowding when frying or baking!
Can I bake these instead of frying?
Yes! Baking is a great, healthier option. Use a wire rack on a baking sheet and spray the nuggets with oil to get that golden, crispy texture.
What’s the best way to reheat them without losing crispiness?
Reheat in the oven at 375°F (190°C) for about 8-10 minutes, or pop them in the air fryer at 350°F (175°C) for 5-6 minutes. Avoid the microwave unless you don’t mind softer nuggets!
Can I freeze these nuggets?
Yes! Freeze uncooked breaded nuggets or fully cooked ones. If freezing cooked nuggets, reheat them straight from the freezer—no need to thaw!
I’d love to hear how these crispy homemade chicken nuggets turn out for you! Let me know in the comments—do you prefer them fried, baked, or air-fried? And what’s your favorite dipping sauce? Happy cooking!
Don’t forget to share your photos on Instagram and tag me (@tasiahub_) or use the hashtag (#tasiahub). I’d love to see your creations!
Crispy Homemade Chicken Nuggets
Equipment
- Cutting board & sharp knife
- Mixing Bowls
- Tongs
- Deep-frying pan or Dutch oven
- Baking Sheet & Wire Rack
- Whisk
- Meat thermometer (optional)
- Slotted Spoon or Spider Strainer
Ingredients
For the Chicken
- 2 large chicken breasts cut into bite-sized pieces
- 1 teaspoon salt
- ½ teaspoon black pepper
- ½ teaspoon garlic powder
For the Breading
- 1 cup all-purpose flour
- 2 large eggs beaten
- 1 cup breadcrumbs Panko or regular
- ½ teaspoon paprika for extra flavor
- ½ teaspoon onion powder
For Frying (Optional)
- 1½ cups vegetable oil for deep frying
For Baking (Alternative)
- Cooking spray or 2 tablespoons olive oil
Instructions
Step 1: Prepare the Chicken (5 minutes)
- Pat the chicken pieces dry with a paper towel—this helps the breading stick better.
- Season the chicken with salt, black pepper, and garlic powder, then set aside.
Step 2: Set Up the Breading Station (5 minutes)
- In one bowl, add the flour.
- In a second bowl, whisk the eggs until smooth.
- In a third bowl, mix the breadcrumbs with paprika and onion powder.
- Pro Tip: Use one hand for dry ingredients and the other for wet to keep your fingers from getting clumpy!
Step 3: Coat the Chicken (5 minutes)
- Dip each piece of chicken into the flour, shaking off excess.
- Next, dip it into the egg mixture, making sure it’s fully coated.
- Finally, roll it in the breadcrumbs, pressing gently so they stick.
- Pro Tip: For extra crispiness, repeat the egg and breadcrumb steps for a double coating!
Step 4: Cook the Nuggets
Option 1: Frying (10-12 minutes)
- Heat about 1½ inches of vegetable oil in a deep pan over medium heat (around 350°F).
- Carefully add the nuggets in batches, making sure not to overcrowd the pan.
- Fry for 3-4 minutes per side, or until golden brown and cooked through.
- Remove with a slotted spoon and place on a paper towel-lined plate to drain excess oil.
- Pro Tip: If you don’t have a thermometer, cut open a nugget to check—no pink means it’s done!
Option 2: Baking (15-18 minutes)
- Preheat your oven to 400°F (200°C).
- Arrange the nuggets on a wire rack placed over a baking sheet.
- Lightly spray or brush them with olive oil for a crispy texture.
- Bake for 15-18 minutes, flipping halfway through, until golden and fully cooked.
Option 3: Air Frying (12-14 minutes)
- Preheat the air fryer to 375°F (190°C).
- Arrange nuggets in a single layer in the basket (don’t overcrowd!).
- Air fry for 12-14 minutes, shaking the basket halfway through.
- Pro Tip: For ultra-crispy nuggets, give them a light spray of cooking oil before air frying.
Step 5: Serve and Enjoy!
- Let the nuggets cool slightly before serving (they’ll be super hot inside!).
- Serve with your favorite dips like ketchup, honey mustard, or ranch.
Notes
Estimated Nutritional Value (Per Serving)
- Calories: ~300-350 kcal (baked) / ~400-450 kcal (fried)
- Protein: ~25g
- Carbohydrates: ~30g
- Fat: ~12-18g (higher for fried)
- Fiber: ~2g
- Sodium: ~600mg (varies based on seasoning and breading)
The nutritional information on this website is only an estimate and is provided for convenience and as a courtesy only. The accuracy of the nutritional information for any recipe on this site is not guaranteed. It should not be used as a substitute for a professional nutritionist’s advice.