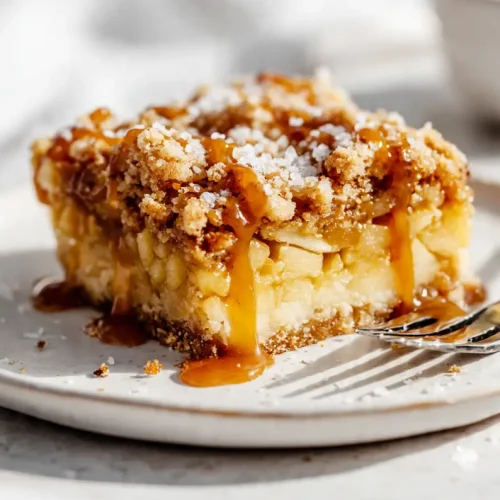
Salted Caramel Apple Pie Bars
Imagine the comfort of apple pie, but in a form that’s easier to slice, share, and enjoy without needing a fork. That’s exactly what these salted caramel apple pie bars bring to the table.
Equipment
- 9x13-inch Baking Pan
- Mixing Bowls
- Wooden Spoon or Silicone Spatula
- Sharp knife & cutting board
- Measuring cups and spoons
- Wire rack
- Parchment paper
Ingredients
For the Crust & Crumble Topping:
- 1 cup 2 sticks unsalted butter, melted
- 2/3 cup granulated sugar
- 2 teaspoons vanilla extract
- 1/2 teaspoon salt
- 2 1/2 cups all-purpose flour
For the Apple Filling:
- 4 large apples peeled, cored, and thinly sliced
- 2 tablespoons all-purpose flour
- 2 tablespoons granulated sugar
- 1 teaspoon ground cinnamon
- 1/4 teaspoon ground nutmeg
For the Topping:
- 1/2 cup salted caramel sauce store-bought or homemade
- Flaky sea salt for sprinkling
Instructions
Step 1 — Preheat & prep
- Preheat your oven to 350°F (175°C).
- Line a 9x13-inch baking pan with parchment, leaving a 2–3 inch overhang on the long sides so you can lift the bars out easily when they’re cool. Lightly grease the exposed pan edges or spray the parchment with nonstick spray so it doesn’t shift.
- Arrange your tools (mixing bowls, spatula, measuring cup) so everything is within reach — baking is smoother when you’re not hunting for things mid-recipe.
- Pro tip: Leaving a generous parchment overhang is the single easiest trick for removing neat bars — no wrestling the crust out of the pan later.
Step 2 — Make the crust & crumble topping
- In a large bowl, combine the melted unsalted butter, granulated sugar, vanilla extract, and salt. Whisk briefly until combined.
- Add the all-purpose flour and stir until the mixture forms a coarse, sandy crumb. It should hold together slightly when pressed between your fingers.
- Reserve about 1/3 of this crumb mixture in a small bowl — that will be your crumble topping. Press the remaining 2/3 firmly and evenly into the bottom of the prepared pan to form the crust.
- Pro tip: Use the bottom of a measuring cup or a small glass to press the crust down evenly and compactly — this helps the bars hold their shape when sliced.
Step 3 — Prepare the apple filling
- In a medium bowl, toss the thinly sliced apples with the 2 tablespoons flour, 2 tablespoons granulated sugar, 1 teaspoon cinnamon, and 1/4 teaspoon nutmeg until every slice is lightly coated.
- Taste one (or sample a tiny bit of the mixture) — if your apples are very tart, add 1 more teaspoon of sugar; if they’re very sweet, skip it.
- Spread the coated apple slices in an even layer over the pressed crust, arranging them so the pan is covered but not heaped.
- Pro tip: Slice apples about 1/8 inch thick so they soften through baking without turning mushy. A mandoline or very sharp knife makes this quick and even.
Step 4 — Add the crumble topping and assemble
- Sprinkle the reserved crumb mixture evenly over the apple layer. Leave some slightly larger clumps for texture — you want a mix of fine crumbs and little crunchy clusters.
- If you like extra visual appeal, nestle a few thin apple slices on top of the crumble for a pretty finish before baking.
- Pro tip: Don’t press the crumble down; it should remain loose so it bakes into a crisp, golden topping.
Step 5 — Bake until bubbly and golden
- Place the pan on the middle rack and bake for about 30–35 minutes, until the crumble is golden and you can see the apple juices bubbling through in places.
- If the edges are browning faster than the center, tent a piece of foil loosely over the pan for the last 10 minutes. Rotate the pan halfway through baking for even color.
- Pro tip: Look for bubbling apple juices as the doneness cue — if the center still looks pale and dry, it likely needs more time.
Step 6 — Cool, drizzle with caramel, and finish
- Remove the pan from the oven and set it on a wire rack. Let it cool 15–20 minutes so it sets enough to lift from the pan without falling apart.
- Use the parchment overhang to lift the whole slab out of the pan and back onto the wire rack. Let the slab cool completely (about 1–2 hours) for clean slicing — or chill in the fridge for 30–45 minutes if you’re in a hurry.
- Warm the salted caramel sauce briefly (10–20 seconds in the microwave, stirring once) until pourable, then drizzle generously over the cooled bars. Finish with a light sprinkle of flaky sea salt.
- Pro tip: Letting the bars cool completely before slicing makes the difference between tidy squares and a gooey, sloppy tray of deliciousness. If you must cut warm bars, run your knife under hot water, dry it, and wipe between each cut for cleaner edges.
Step 7 — Slice, store, and serve
- Transfer the slab to a cutting board. Using a sharp chef’s knife, cut into 12–15 bars (3 rows by 4–5 columns) depending on how large you want each piece. Wipe the knife between cuts for clean lines.
- Serve as-is, or add a scoop of vanilla ice cream or a dollop of whipped cream for extra decadence.
- Store leftovers in an airtight container at room temperature for up to 2 days, or in the fridge for up to 5 days. Rewarm briefly before serving if you like them warm.
- Pro tip: For super-clean slices, chill the pan in the fridge for 30–45 minutes before cutting — the bars firm up and slice like a dream.
Notes
Nutritional Value (per bar, approximate):
- Calories: 320–350 kcal
- Total Fat: 15g
- Saturated Fat: 9g
- Carbohydrates: 45g
- Sugars: 25g
- Protein: 2g
- Fiber: 2g
- Sodium: 120mg