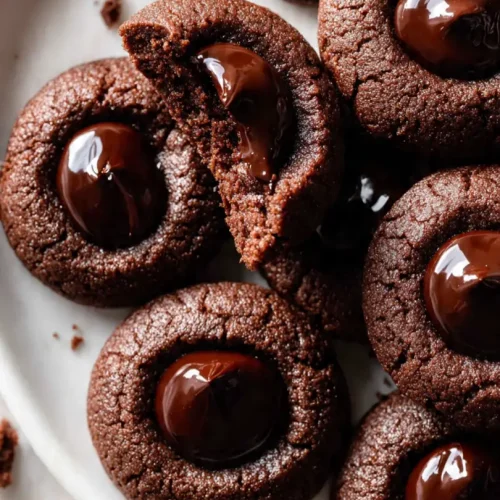
Gluten-Free Chocolate Thumbprint Christmas Cookies
These cookies are perfect for bakers of any skill level. Even if you’ve never tried gluten-free Christmas baking before, this recipe keeps things simple while delivering the flavors everyone will love.
Equipment
- Mixing Bowls
- Hand mixer or stand mixer
- Measuring Cups & Spoons
- Baking Sheet
- Parchment paper or silicone baking mat
- Spoon or cookie scoop
- Small Spoon or Toothpick
- Microwave-safe bowl
Ingredients
For the Cookies:
- 1 cup almond flour
- ½ cup gluten-free all-purpose flour
- ¼ cup unsweetened cocoa powder
- ½ tsp baking soda
- ¼ tsp salt
- ⅓ cup coconut sugar or brown sugar
- ¼ cup unsalted butter softened
- 1 large egg
- 1 tsp pure vanilla extract
For the Filling:
- ¼ cup chocolate chips or chopped chocolate
- 2 tsp coconut oil or butter for melting
- Optional: jam of your choice raspberry or strawberry work beautifully
Instructions
Step 1: Preheat and Prep
- Preheat your oven to 350°F (175°C).
- Line a baking sheet with parchment paper or a silicone baking mat.
- Gather all your ingredients so everything is within reach—this makes the process smoother and more enjoyable.
- Pro Tip: Using a silicone mat helps your cookies bake evenly and prevents the bottoms from browning too fast.
Step 2: Mix the Dry Ingredients
- In a medium bowl, whisk together almond flour, gluten-free all-purpose flour, cocoa powder, baking soda, and salt.
- Ensure everything is evenly combined so each cookie has consistent flavor and texture.
- Pro Tip: Sifting the cocoa powder can prevent clumps and make the dough smoother.
Step 3: Cream Butter and Sugar
- In a separate large bowl, use a hand mixer or stand mixer to cream the softened butter with the coconut sugar until light and fluffy (about 2–3 minutes).
- Add the egg and vanilla extract, mixing until fully incorporated.
- Pro Tip: Make sure your butter is soft but not melted; this helps the cookies hold their shape while staying tender.
Step 4: Combine Wet and Dry Ingredients
- Gradually add the dry ingredients to the wet mixture.
- Mix gently until a soft, slightly sticky dough forms. Avoid overmixing—this keeps the cookies tender.
Step 5: Shape the Cookies
- Use a spoon or cookie scoop to portion out dough (about 1–1.5 tbsp each).
- Roll each portion into a ball and place on the prepared baking sheet.
- Press your thumb or the back of a small spoon into the center of each cookie to create an indent for the filling.
- Pro Tip: Chill the dough for 10–15 minutes if it feels too soft—this makes shaping easier.
Step 6: Bake
- Bake in the preheated oven for 10–12 minutes.
- The cookies should be set but still soft in the center.
- Remove from oven and let them cool on the baking sheet for 5 minutes before transferring to a wire rack.
- Pro Tip: Don’t overbake! Gluten-free cookies can dry out quickly if left too long.
Step 7: Add the Filling
- Melt chocolate chips with coconut oil in a microwave-safe bowl (30-second intervals, stirring in between).
- Spoon a small amount of melted chocolate into each thumbprint. Alternatively, fill with your favorite jam.
- Let the cookies set at room temperature or refrigerate for 15–20 minutes to firm the filling.
Notes
Nutritional Value (per cookie, approximate):
- Calories: 110 kcal
- Carbohydrates: 10 g
- Protein: 2 g
- Fat: 7 g
- Saturated Fat: 3 g
- Fiber: 1.5 g
- Sugar: 5 g
- Sodium: 55 mg