Pastel Halloween Cake Pops
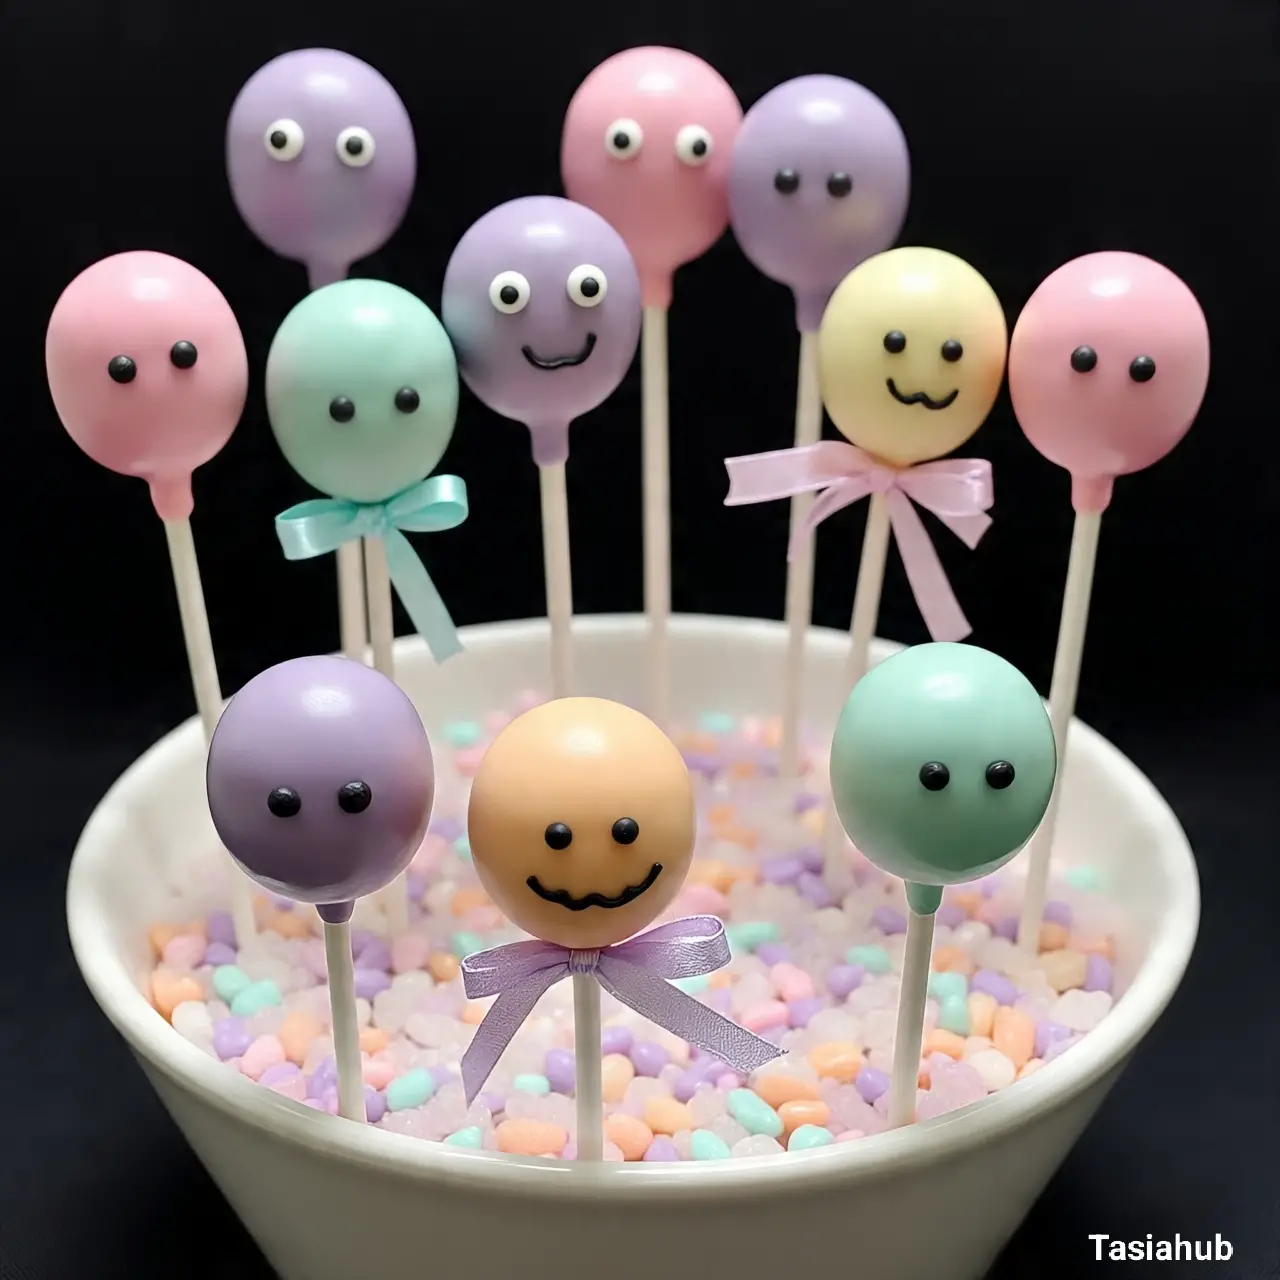
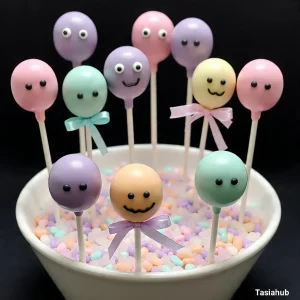
Halloween doesn’t always have to mean dark, spooky colors and eerie decorations. This year, I decided to switch things up and bring a soft, playful twist to the classic Halloween treats with pastel Halloween cake pops. They’re colorful, adorable, and still totally festive—perfect for anyone who loves Halloween but also wants something cute and cheerful on their dessert table.
These Halloween cake balls are surprisingly easy to make, even if you’re not usually a baking pro. I love that you can customize them with any pastel shades you like—think soft pinks, minty greens, and lavender purples—and still have them scream Halloween with little ghost, pumpkin, or spider designs. They’re a fantastic way to impress guests at a party or to surprise your kids with a treat that’s more fun than frightful.
What makes these pastel Halloween cake pops extra special is that they manage to be both elegant and whimsical at the same time. Unlike traditional spooky cake pops that lean heavily into dark chocolate, orange, and black, these have a light, cheerful vibe. I paired mine with a hint of vanilla frosting that adds just enough sweetness without overpowering the cake. The result is soft, flavorful, and melt-in-your-mouth perfection.
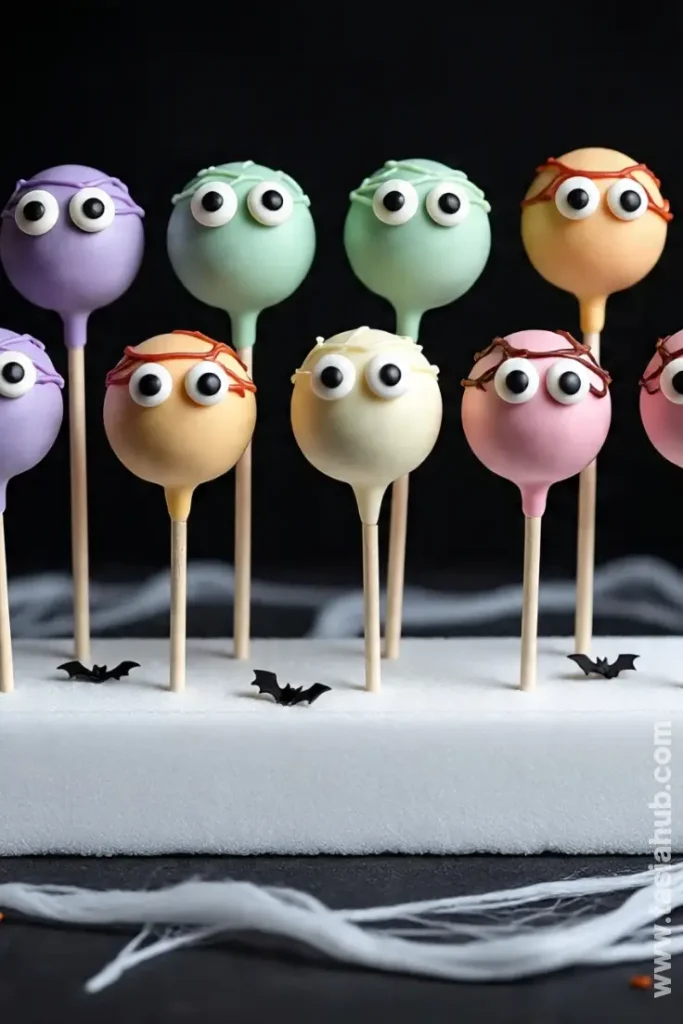
Another reason I adore these easy Halloween cake pops is how versatile they are. You can make them for a Halloween party, a fall birthday, or even as little gifts for friends. And honestly, decorating them is half the fun—you can let your creativity run wild with sprinkles, edible glitter, or tiny candy eyes. Whether you go for simple pastel spheres or transform them into spooky cake pops with little faces and designs, these treats will definitely steal the show.
Why You’ll Love It
- Adorable and festive: These pastel Halloween cake pops are the perfect balance of cute and spooky. They’ll make any dessert table instantly Instagram-worthy, and everyone will be talking about them before they even take a bite.
- Super customizable: Whether you want soft pastel pinks, mint greens, or lavender purples, you can decorate these Halloween cake balls any way you like. Add sprinkles, candy eyes, or drizzle with chocolate—the possibilities are endless!
- Kid-friendly fun: Unlike some Halloween treats that are all about scares, these easy Halloween cake pops are playful and inviting. Kids (and adults!) will love helping decorate and of course, eating them.
- Perfect portion size: These bite-sized treats are just the right size for snacking without overindulging. They’re great for parties, school events, or handing out to trick-or-treaters.
- Stress-free baking: You don’t need to be a pro baker to pull these off. With a simple cake base and frosting, you can create spooky cake pops that look fancy but are actually super easy to make.
Ingredient List
For the Cake Pops
- 2 cups vanilla cake crumbs (about 1 baked 9-inch cake)
- ¾ cup cream cheese frosting
For the Coating
- 12 oz white chocolate melts or candy melts, divided into pastel colors
- 1 tsp vegetable oil (optional, for smoother coating)
For Decoration
- Edible candy eyes, sprinkles, or colored sugar
- Food coloring (if needed to tint your white chocolate)
- Lollipop sticks
Ingredient Notes
- I always use real cream cheese frosting—it gives these Halloween cake balls the perfect balance of sweetness and moisture.
- Don’t skip the vegetable oil if your chocolate melts seem too thick—it really helps make dipping smoother.
- For the white chocolate melts, I like using bright pastel colors, but you can mix a little food coloring to create your own unique shades.
- Candy eyes and sprinkles are optional, but they seriously bring these pastel Halloween cake pops to life—they’re my favorite part!
Kitchen Equipment Needed
- Mixing bowls – For combining cake crumbs and frosting; I love using glass bowls so I can see everything clearly.
- Spatula – To fold the frosting into the cake crumbs without making a mess.
- Baking sheet – For chilling the cake pops before dipping; a nonstick one works best.
- Parchment paper – Keeps the cake pops from sticking while they set.
- Microwave-safe bowls – For melting chocolate; I use ceramic ones because they heat evenly.
- Lollipop sticks – Essential for holding your cake pops; reusable ones are great for eco-friendly baking.
- Toothpicks – Handy for adding fine details with melted chocolate or adjusting decorations.
- Cooling rack (optional) – Helps excess chocolate drip off and keeps cake pops smooth.
Instructions
Step 1: Prepare the Cake
- Bake a 9-inch vanilla cake according to your favorite recipe or box mix.
- Let it cool completely on a cooling rack—this is key so your cake pops don’t fall apart.
- Once cooled, crumble the cake into fine crumbs using your hands or a fork.
Pro Tip: Make sure there are no large chunks; smoother crumbs make it easier to roll perfect cake balls.
Step 2: Mix in the Frosting
- Add ¾ cup of cream cheese frosting to the cake crumbs.
- Gently fold the frosting into the crumbs until the mixture is moist but still firm enough to shape.
Pro Tip: Don’t overmix—overly soft batter will make rolling messy and your Halloween cake balls may not hold their shape.
Step 3: Shape the Cake Pops
- Scoop about 2 tablespoons of the mixture and roll it into a ball between your palms.
- Place each ball on a parchment-lined baking sheet.
- Insert a lollipop stick halfway into each ball.
Pro Tip: Chill the cake pops in the fridge for at least 30 minutes before dipping. It helps them stay firm and prevents chocolate from sliding off.
Step 4: Melt the Chocolate
- Melt your white chocolate or candy melts in a microwave-safe bowl in 20–30 second intervals, stirring in between.
- Add 1 tsp vegetable oil if needed for a smoother, shinier coating.
- Tint chocolate with pastel food coloring as desired for a soft, fun palette.
Pro Tip: Stir continuously to prevent lumps and keep the chocolate silky smooth.
Step 5: Dip the Cake Pops
- Hold the stick and dip the cake pop into the melted chocolate, fully covering it.
- Gently tap off excess chocolate.
- Place the dipped cake pop back on parchment paper to set.
Pro Tip: If chocolate starts to harden too quickly, reheat it slightly in short bursts to maintain a smooth texture.
Step 6: Decorate Your Halloween Cake Pops
- While chocolate is still soft, add candy eyes, sprinkles, or colored sugar.
- For fun spooky cake pops, use a toothpick to draw tiny ghost faces or pumpkin details.
- Let everything set completely before serving or packaging.
Pro Tip: Work quickly when adding details—chocolate sets fast, especially at room temperature.

Tips and Tricks for Success
- Chill your cake balls before dipping to prevent them from falling apart.
- Use lollipop sticks with a small dab of melted chocolate on the tip before inserting—this helps the stick stay in place.
- Work in batches when dipping chocolate to avoid melting or overheating your candy melts.
- Gently tap off excess chocolate to get a smooth, even coating.
- Decorate while chocolate is still soft to ensure sprinkles and candy eyes stick perfectly.
- Store in an airtight container at room temperature for up to 3 days or in the fridge for up to a week.
Ingredient Substitutions and Variations
- Cake base: Use chocolate, red velvet, or pumpkin cake instead of vanilla for a flavor twist.
- Frosting: Buttercream, chocolate ganache, or cream cheese frosting can replace cream cheese frosting.
- Chocolate coating: Dark or milk chocolate works if you prefer a richer taste over pastel colors.
- Flavor add-ins: Mix a teaspoon of pumpkin spice, cocoa powder, or vanilla extract into the cake crumbs for extra flavor.
- Decorations: Swap candy eyes for mini chocolate chips, edible glitter, or colored drizzle for creative effects.
- Mini pops: Make smaller 1-inch cake balls for bite-sized treats perfect for kids’ parties.
Serving Suggestions
- I love arranging these pastel Halloween cake pops on a tiered dessert stand at parties—it makes them look festive and fun while keeping them easy to grab.
- Serve alongside mini cupcakes or cookies for a colorful, playful Halloween dessert table.
- Pair with a warm cup of hot chocolate or spiced apple cider—the soft, sweet cake pops balance perfectly with the cozy drink.
- Place a few in cellophane bags tied with ribbon for party favors or little gifts; they’re always a hit!
- Use as a fun centerpiece at a kids’ Halloween brunch; everyone loves a treat they can both admire and eat.
Storage and Reheating Instructions
- Store in an airtight container at room temperature for up to 3 days.
- For longer storage, keep them in the fridge for up to a week; bring to room temperature before serving for best flavor.
- Cake pops don’t need reheating, but if you want the chocolate to be soft, let them sit at room temperature for 10–15 minutes.
- Avoid storing in humid areas to keep the chocolate coating from sweating or melting.
- Do not freeze—it can change the texture of the cake and chocolate coating.
Frequently Asked Questions
Can I use store-bought cake instead of baking from scratch?
Absolutely! Using a boxed cake or pre-baked cake works perfectly for these Halloween cake balls—it saves time and still tastes delicious.
How do I prevent the cake pops from falling off the sticks?
Chill the cake balls before dipping and add a small dab of melted chocolate on the stick tip before inserting—it acts like glue and keeps them secure.
Can I make these in advance?
Yes! You can make and decorate them a day or two ahead. Store them in an airtight container at room temperature or in the fridge for longer freshness.
Can I use chocolate instead of pastel candy melts?
Definitely! Dark, milk, or even tinted chocolate works. Pastel colors just give a fun, soft twist on the traditional spooky cake pops.
How do I fix cracks in the chocolate coating?
Gently reheat the chocolate and dip again, or smooth the surface with a toothpick while it’s still soft. A little drizzle of chocolate over the crack can also hide it beautifully.
Are these suitable for kids’ parties?
Yes! They’re soft, sweet, and easy to hold. You can make them extra playful by letting kids help decorate their own pastel Halloween cake pops.
Did you try this recipe? Let me know in the comments how your pastel Halloween cake pops turned out!
Pastel Halloween Cake Pops
Equipment
- Mixing Bowls
- Spatula
- Baking Sheet
- Parchment paper
- Microwave-safe bowls
- Lollipop sticks
- Toothpicks
- Cooling Rack (optional)
Ingredients
For the Cake Pops
- 2 cups vanilla cake crumbs about 1 baked 9-inch cake
- ¾ cup cream cheese frosting
For the Coating
- 12 oz white chocolate melts or candy melts divided into pastel colors
- 1 tsp vegetable oil optional, for smoother coating
For Decoration
- Edible candy eyes sprinkles, or colored sugar
- Food coloring if needed to tint your white chocolate
- Lollipop sticks
Instructions
Step 1: Prepare the Cake
- Bake a 9-inch vanilla cake according to your favorite recipe or box mix.
- Let it cool completely on a cooling rack—this is key so your cake pops don’t fall apart.
- Once cooled, crumble the cake into fine crumbs using your hands or a fork.
- Pro Tip: Make sure there are no large chunks; smoother crumbs make it easier to roll perfect cake balls.
Step 2: Mix in the Frosting
- Add ¾ cup of cream cheese frosting to the cake crumbs.
- Gently fold the frosting into the crumbs until the mixture is moist but still firm enough to shape.
- Pro Tip: Don’t overmix—overly soft batter will make rolling messy and your Halloween cake balls may not hold their shape.
Step 3: Shape the Cake Pops
- Scoop about 2 tablespoons of the mixture and roll it into a ball between your palms.
- Place each ball on a parchment-lined baking sheet.
- Insert a lollipop stick halfway into each ball.
- Pro Tip: Chill the cake pops in the fridge for at least 30 minutes before dipping. It helps them stay firm and prevents chocolate from sliding off.
Step 4: Melt the Chocolate
- Melt your white chocolate or candy melts in a microwave-safe bowl in 20–30 second intervals, stirring in between.
- Add 1 tsp vegetable oil if needed for a smoother, shinier coating.
- Tint chocolate with pastel food coloring as desired for a soft, fun palette.
- Pro Tip: Stir continuously to prevent lumps and keep the chocolate silky smooth.
Step 5: Dip the Cake Pops
- Hold the stick and dip the cake pop into the melted chocolate, fully covering it.
- Gently tap off excess chocolate.
- Place the dipped cake pop back on parchment paper to set.
- Pro Tip: If chocolate starts to harden too quickly, reheat it slightly in short bursts to maintain a smooth texture.
Step 6: Decorate Your Halloween Cake Pops
- While chocolate is still soft, add candy eyes, sprinkles, or colored sugar.
- For fun spooky cake pops, use a toothpick to draw tiny ghost faces or pumpkin details.
- Let everything set completely before serving or packaging.
- Pro Tip: Work quickly when adding details—chocolate sets fast, especially at room temperature.
Notes
Nutritional Value (per cake pop, approx.)
- Calories: 170 kcal
- Carbohydrates: 22 g
- Protein: 2 g
- Fat: 8 g
- Cholesterol: 20 mg
- Sodium: 95 mg
- Fiber: 0.5 g
- Sugar: 17 g