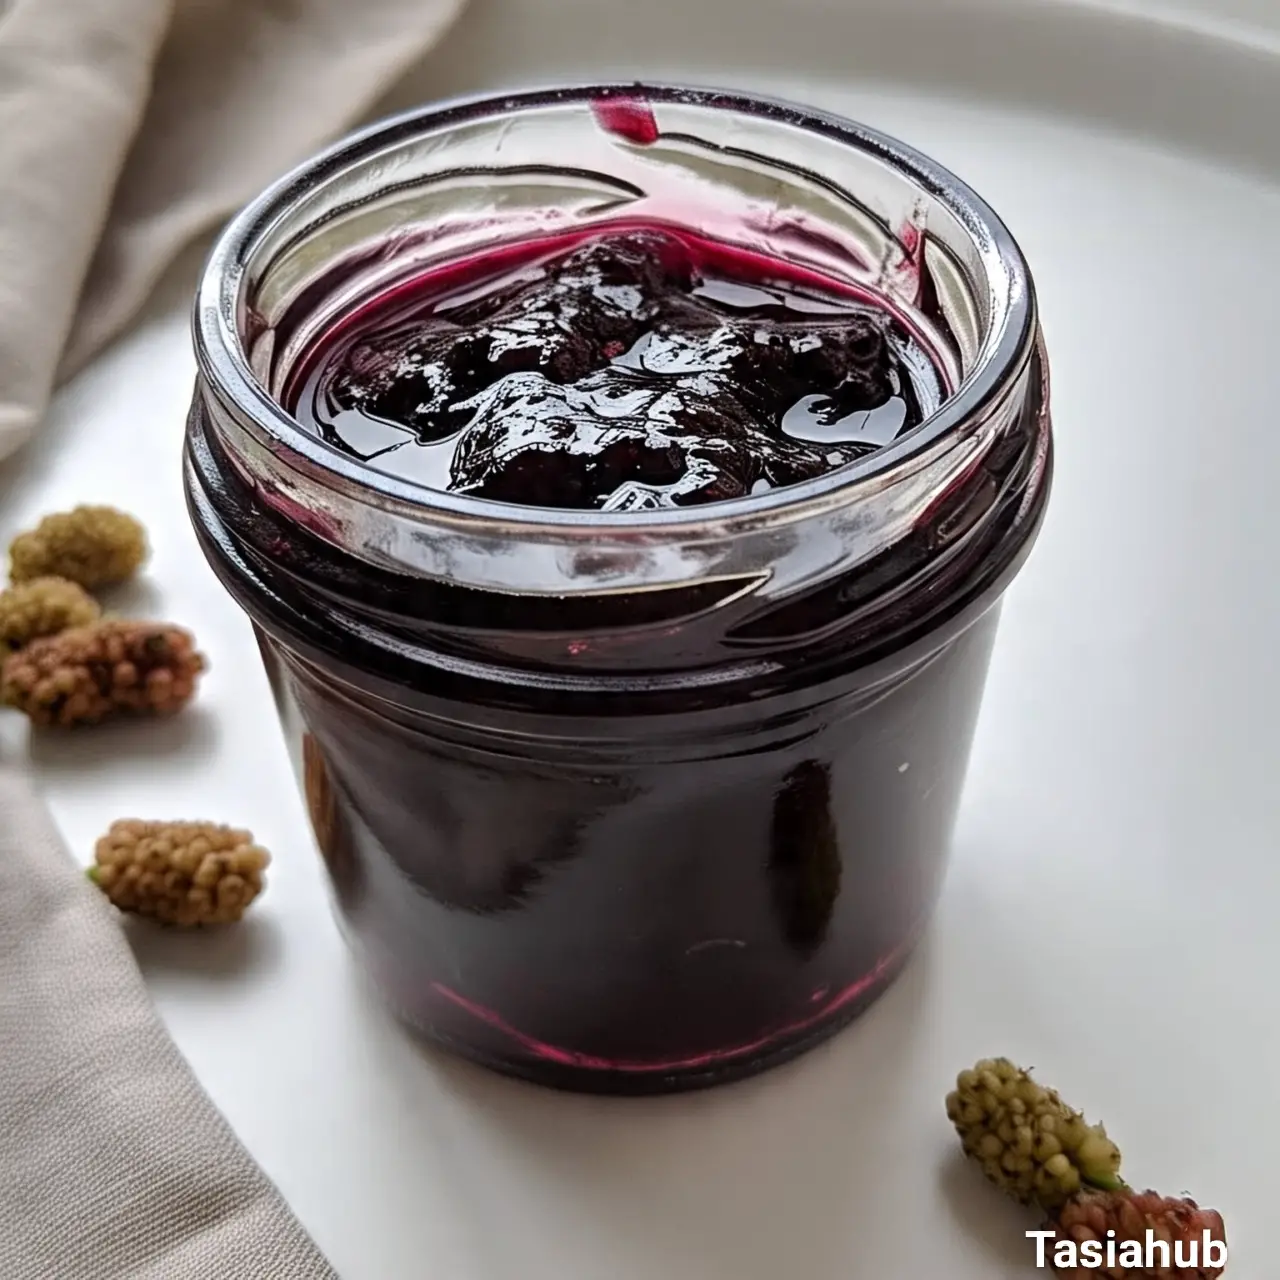
Mulberry Jam
There’s something truly special about homemade jam. It’s like capturing the essence of summer — the sweet, slightly tart burst of fresh fruit — and preserving it to enjoy year-round. Mulberry jam is one of those delightful treats that feels both nostalgic and a bit unique.
If you’ve ever wandered past a mulberry tree during the season, you know those little dark berries can be a bit elusive, but once you get your hands on a handful, you’ll realize how perfectly suited they are for jam.
Mulberries have a subtle sweetness with a hint of tartness, making the jam rich in flavor but not overly sugary. It’s a perfect balance, especially for those who love fruit preserves that taste vibrant and fresh, not cloyingly sweet. Plus, mulberries are packed with nutrients — antioxidants, vitamins, and fiber — so this jam isn’t just tasty; it’s also a little boost of goodness you can spread on toast, swirl into yogurt, or even spoon over vanilla ice cream.
What makes mulberry jam even more enjoyable is how easy it is to make at home. The process is straightforward — just mulberries, sugar, a bit of lemon juice, and patience as the fruit slowly thickens into a luscious, spreadable delight. Whether you’re an experienced jam maker or a newbie looking for a fresh project, mulberry jam is a fantastic choice that will have your kitchen smelling like summer in no time.
And here’s a little secret — the rich, deep color of mulberry jam makes it a stunning addition to your pantry. It’s not just about taste but also about having something beautiful to share with friends and family. So, if you’re ready to take your homemade preserves up a notch, mulberry jam is definitely worth a try. Let me walk you through why this recipe might just become your new favorite!
Why You’ll Love It
- Unique Flavor Profile: Mulberry jam offers a delightful balance of sweetness and tartness that’s a little different from the usual strawberry or raspberry jams. Its rich, slightly earthy flavor makes every spoonful interesting and delicious.
- Nutrient-Rich: Mulberries are packed with antioxidants, vitamin C, iron, and dietary fiber, so your jam isn’t just a tasty treat — it’s a small health boost too.
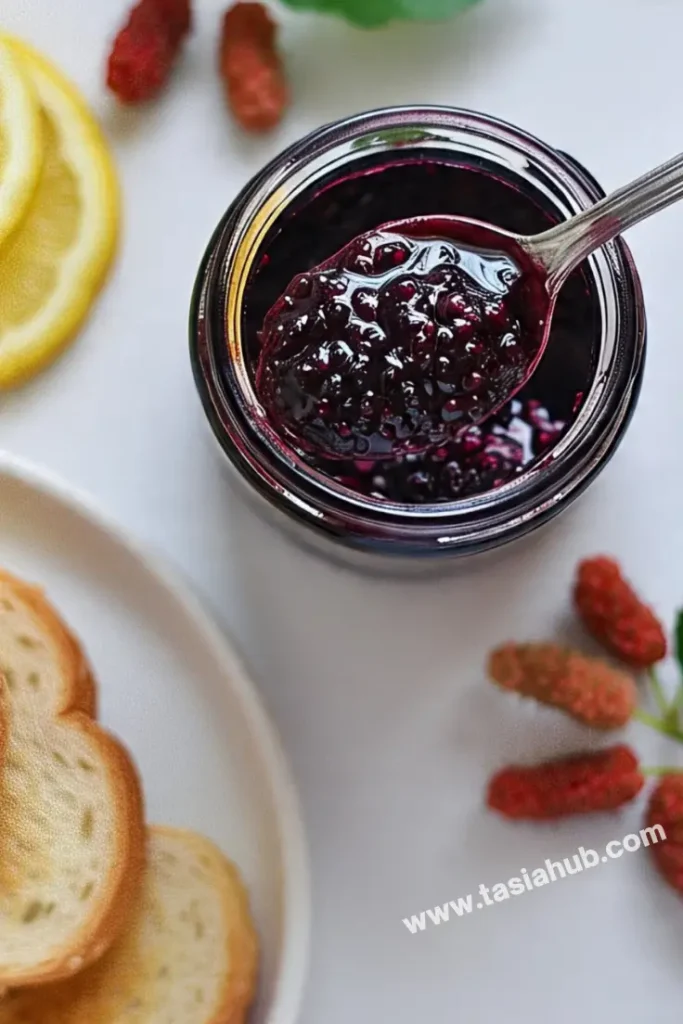
- Versatile Use: This jam isn’t just for spreading on toast. It’s fantastic as a topping for pancakes, yogurt, oatmeal, or even paired with cheese on a charcuterie board.
- Simple to Make: With just a few ingredients and minimal fuss, mulberry jam is perfect for beginner and experienced cooks alike. You can make a batch with fresh or frozen mulberries whenever you have access.
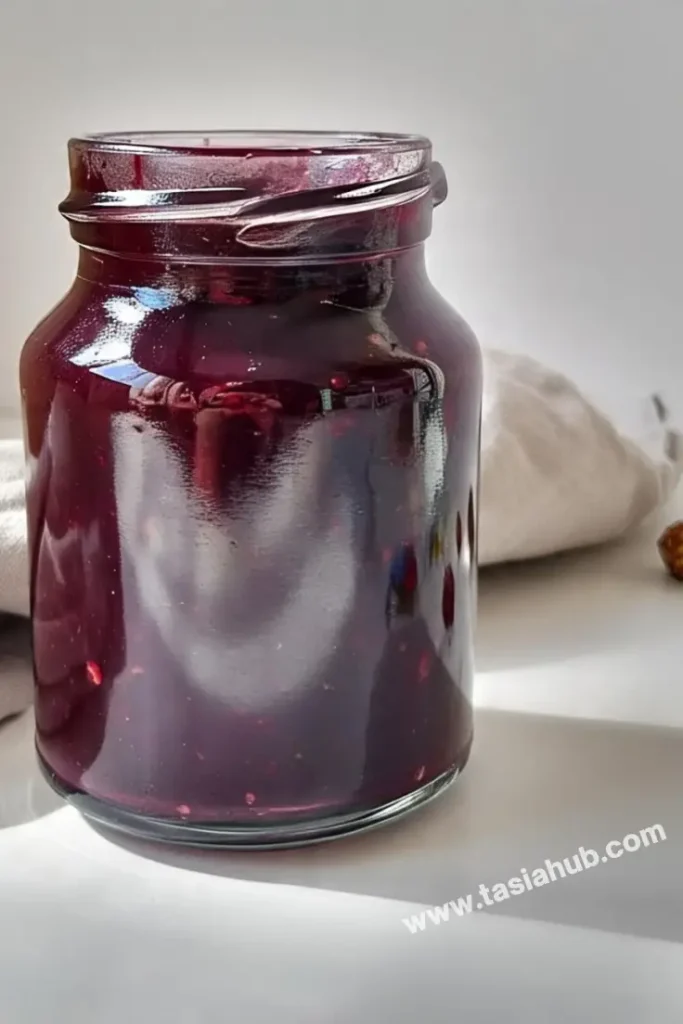
- Beautiful Color: The deep purple-red hue of mulberry jam makes it visually stunning — a feast for the eyes as well as the taste buds. It also makes a lovely homemade gift!
Ingredient List
- 4 cups fresh mulberries (about 600 grams), washed and stems removed
- 3 cups granulated sugar
- 2 tablespoons fresh lemon juice
- 1/2 cup water
Ingredient Notes
- I always use fresh mulberries when possible for the best natural flavor and texture. If fresh aren’t available, frozen mulberries work well too—just thaw and drain excess liquid.
- Don’t skip the lemon juice! It helps balance the sweetness and naturally aids in setting the jam.
- Granulated sugar is preferred because it helps the jam gel properly, but you can adjust the sweetness to taste.
- Adding a little water helps the mulberries cook down evenly without burning.
Kitchen Equipment Needed
- Large heavy-bottomed saucepan – For cooking the mulberries evenly without scorching. I love using a thick stainless steel pan for this.
- Wooden spoon or silicone spatula – For stirring the jam as it thickens. A heat-resistant silicone spatula works great for scraping the sides.
- Canning jars with lids – To store your finished jam safely. I prefer glass jars with metal lids for airtight sealing.
- Fine mesh strainer (optional) – If you want a smoother jam without seeds or pulp.
- Candy thermometer (optional) – Helps monitor the jam’s temperature for a perfect set, but not absolutely necessary.
- Ladle – For transferring the hot jam into jars without the mess.
- Jar funnel (optional) – Makes filling jars easier and cleaner.
Instructions
Step 1: Prepare the Mulberries
- Rinse the mulberries gently under cold water to remove any dirt or debris.
- Remove any stems or leaves you find.
- Drain the berries well in a colander and set aside.
Pro tip: Handle mulberries carefully—they bruise easily, which can affect the jam’s texture.
Step 2: Combine Ingredients in the Saucepan
- Place the mulberries, sugar, lemon juice, and water into your large saucepan.
- Stir gently to combine everything evenly.
Pro tip: Use fresh lemon juice rather than bottled for the best bright flavor.
Step 3: Cook the Mulberries
- Place the saucepan over medium heat and bring the mixture to a gentle boil.
- Stir frequently with your wooden spoon or silicone spatula to prevent the fruit from sticking and burning on the bottom.
- Once boiling, reduce heat slightly to maintain a steady simmer.
Pro tip: Stir often, especially near the end, to avoid scorching and to help the jam thicken evenly.
Step 4: Simmer and Thicken the Jam
- Let the mixture simmer for about 25-30 minutes.
- You’ll notice it thickening as water evaporates and the fruit breaks down.
- To test if the jam is ready, place a small spoonful on a cold plate and run your finger through it — if it wrinkles and doesn’t flood back, it’s set.
Pro tip: If you have a candy thermometer, aim for about 220°F (104°C) for the perfect gel stage.
Step 5: Optional – Strain for a Smoother Jam
- If you prefer a seed-free jam, pour the cooked mixture through a fine mesh strainer into a clean bowl.
- Use the back of a spoon to press the mixture gently and extract as much liquid and pulp as possible.
Step 6: Jar and Store the Jam
- While the jam is still hot, ladle it carefully into sterilized jars, leaving about 1/4 inch of headspace.
- Wipe the rims clean with a damp cloth and seal with the lids.
- Let the jars cool completely at room temperature.
- Store in the fridge for up to 3 weeks or process in a water bath for long-term shelf storage.
Pro tip: Use a jar funnel to avoid spills and keep jar rims clean for better sealing.
Tips and Tricks for Success
- Use ripe but firm mulberries for the best texture and flavor—overripe berries can make the jam too runny.
- Stir frequently during cooking to prevent burning and ensure even thickening.
- Don’t rush the simmering step; low and slow helps develop flavor and texture.
- Test your jam’s set with the cold plate method for perfect consistency every time.
- Sterilize jars and lids properly to keep your jam fresh longer.
- If you notice foam forming on top during cooking, skim it off for a clearer jam.
Ingredient Substitutions and Variations
- Substitute honey or maple syrup for some or all of the sugar to add a different sweetness profile (reduce the amount slightly as these are sweeter than sugar).
- Add a teaspoon of vanilla extract or a pinch of cinnamon for a warm, aromatic twist.
- Mix in other berries like raspberries or blackberries for a mixed-berry jam.
- Use frozen mulberries when fresh ones aren’t available; just thaw and drain before cooking.
- For a lower-sugar option, try using a natural sugar substitute, but be aware it may affect texture and shelf life.
Serving Suggestions
- Spread mulberry jam generously on warm, buttered toast or freshly baked biscuits for a cozy breakfast.
- Swirl it into plain yogurt or oatmeal to add natural sweetness and a pop of color.
- Use it as a topping for vanilla ice cream or cheesecake to create a simple, elegant dessert.
- Pair the jam with creamy cheeses like brie or goat cheese on a charcuterie board — the sweet-tart flavor is irresistible.
- I love stirring a spoonful of mulberry jam into my morning smoothie for an extra fruity kick and natural sweetness.
Storage and Reheating Instructions
- Store unopened jars in a cool, dark place for up to 1 year if properly sealed.
- Once opened, keep the jam refrigerated and use within 3 weeks for best flavor and safety.
- To reheat, gently warm jam in a small saucepan over low heat, stirring occasionally until spreadable.
- Avoid microwaving jam as it can heat unevenly and alter the texture.
- If the jam thickens too much after refrigeration, add a splash of water while reheating to loosen it.
Frequently Asked Questions
Can I use frozen mulberries to make this jam?
Absolutely! Just thaw them first and drain any excess liquid. Frozen mulberries work great when fresh ones aren’t available and still give you that delicious flavor.
How long does homemade mulberry jam last?
Unopened and properly sealed jars can last up to a year in a cool, dark place. Once opened, keep it refrigerated and use within 3 weeks for the best taste and safety.
Do I need to add pectin to this recipe?
Nope! Mulberries naturally contain enough pectin to help the jam set, especially with the addition of lemon juice. So no extra pectin is needed.
Can I reduce the sugar if I want a less sweet jam?
Yes, but keep in mind that sugar helps the jam set and preserves it. If you reduce sugar, the jam might be softer and won’t keep as long.
Why is my jam too runny?
This usually means it didn’t cook long enough to thicken. Try simmering it a bit longer next time, or test the set with the cold plate method before bottling.
How do I sterilize jars properly?
You can boil jars and lids in water for 10 minutes or run them through a hot dishwasher cycle. Clean jars are key to preventing spoilage!
Did you try this recipe? Let me know in the comments how it turned out!
Don’t forget to share your photos on Instagram and tag me (@tasiahub_) or use the hashtag (#tasiahub). I’d love to see your creations!

Mulberry Jam
Equipment
- Large heavy-bottomed saucepan
- Wooden Spoon or Silicone Spatula
- Canning jars with lids
- Fine Mesh Strainer (Optional)
- Candy thermometer (optional)
- Ladle
- Jar funnel (optional)
Ingredients
- 4 cups fresh mulberries about 600 grams, washed and stems removed
- 3 cups granulated sugar
- 2 tablespoons fresh lemon juice
- 1/2 cup water
Instructions
Step 1: Prepare the Mulberries
- Rinse the mulberries gently under cold water to remove any dirt or debris.
- Remove any stems or leaves you find.
- Drain the berries well in a colander and set aside.
- Pro tip: Handle mulberries carefully—they bruise easily, which can affect the jam’s texture.
Step 2: Combine Ingredients in the Saucepan
- Place the mulberries, sugar, lemon juice, and water into your large saucepan.
- Stir gently to combine everything evenly.
- Pro tip: Use fresh lemon juice rather than bottled for the best bright flavor.
Step 3: Cook the Mulberries
- Place the saucepan over medium heat and bring the mixture to a gentle boil.
- Stir frequently with your wooden spoon or silicone spatula to prevent the fruit from sticking and burning on the bottom.
- Once boiling, reduce heat slightly to maintain a steady simmer.
- Pro tip: Stir often, especially near the end, to avoid scorching and to help the jam thicken evenly.
Step 4: Simmer and Thicken the Jam
- Let the mixture simmer for about 25-30 minutes.
- You’ll notice it thickening as water evaporates and the fruit breaks down.
- To test if the jam is ready, place a small spoonful on a cold plate and run your finger through it — if it wrinkles and doesn’t flood back, it’s set.
- Pro tip: If you have a candy thermometer, aim for about 220°F (104°C) for the perfect gel stage.
Step 5: Optional – Strain for a Smoother Jam
- If you prefer a seed-free jam, pour the cooked mixture through a fine mesh strainer into a clean bowl.
- Use the back of a spoon to press the mixture gently and extract as much liquid and pulp as possible.
Step 6: Jar and Store the Jam
- While the jam is still hot, ladle it carefully into sterilized jars, leaving about 1/4 inch of headspace.
- Wipe the rims clean with a damp cloth and seal with the lids.
- Let the jars cool completely at room temperature.
- Store in the fridge for up to 3 weeks or process in a water bath for long-term shelf storage.
- Pro tip: Use a jar funnel to avoid spills and keep jar rims clean for better sealing.
Notes
Nutritional Value (per 1 tablespoon serving)
- Calories: ~45 kcal
- Carbohydrates: ~12g
- Sugars: ~11g
- Fat: 0g
- Protein: 0g
- Fiber: ~0.5g
- Vitamin C: ~5% DV
- Iron: ~1% DV