Maple Hot Chocolate
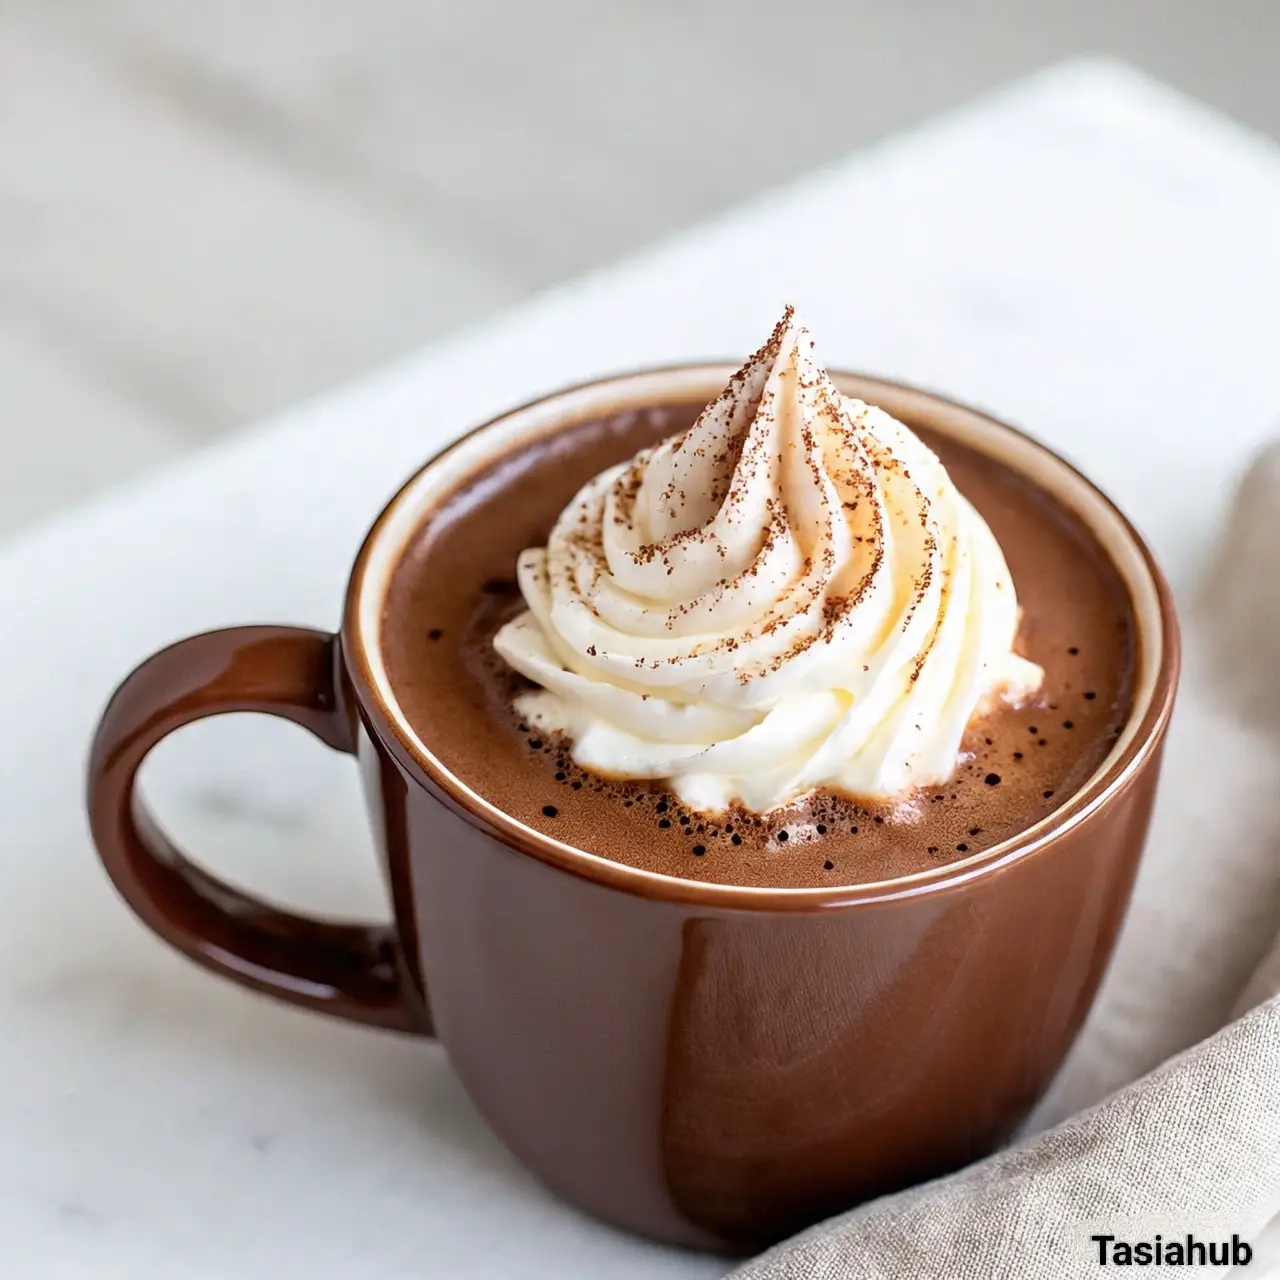
When you take a sip of maple hot chocolate, you instantly taste the kind of cozy that feels like a hug from the inside out. It’s rich and velvety from the chocolate, but the maple syrup adds this warm, caramel-like sweetness that feels softer and more natural than regular sugar. It’s not just a drink—it’s a little luxury you can make in minutes.
What makes maple hot chocolate special is how the maple syrup blends into the milk and cocoa, adding a depth of flavor that’s hard to get from any other sweetener. Instead of overpowering the chocolate, it enhances it, giving every sip a smooth, comforting sweetness with a subtle earthiness. Plus, maple syrup brings a touch of nostalgia—reminding you of autumn leaves, crisp mornings, and indulgent weekend breakfasts with pancakes dripping in syrup.
This is the kind of hot chocolate that works for so many moods and moments. You can make it as a treat on a chilly afternoon, serve it to friends for an easy dessert, or enjoy it as a weekend morning pick-me-up while still in your pajamas. And if you really want to make it next-level, a dollop of whipped cream or a sprinkle of cinnamon on top will seal the deal.
It’s also a wonderful drink for when you want something sweet but prefer a more wholesome touch. Maple syrup is a natural sweetener with minerals and antioxidants, so you get indulgence with a little bonus. And honestly? It’s so simple to make that you might just skip the store-bought cocoa packets for good.
Why You’ll Love It
- Naturally Sweetened – Maple syrup gives a rich, smooth sweetness without the processed sugar taste, making every sip feel more indulgent yet wholesome.
- Deep, Cozy Flavor – The combination of chocolate and maple creates a layered flavor profile—sweet, slightly nutty, and irresistibly comforting.
- Quick & Easy to Make – You only need a few simple ingredients and about 10 minutes to whip it up, which means more time enjoying and less time waiting.
- Perfect for Any Season – While it’s a winter favorite, the light sweetness makes it just as lovely for a cool autumn morning or a rainy spring day.
- Customizable Treat – Keep it classic, top it with whipped cream, stir in a dash of cinnamon, or even spike it with coffee for a mocha twist.
Ingredient List
- 2 cups whole milk (or any milk of your choice)
- 1/2 cup heavy cream (optional, for extra creaminess)
- 1/4 cup pure maple syrup
- 2 tablespoons unsweetened cocoa powder
- 2 ounces dark chocolate, chopped (about 1/3 cup)
- 1/2 teaspoon vanilla extract
- Pinch of salt
Optional Toppings:
- Whipped cream
- Cinnamon or cocoa powder for dusting
- Chocolate shavings
Ingredient Notes
- Pure maple syrup – Always go for pure maple syrup, not “pancake syrup,” for the best flavor and natural sweetness.
- Milk – Whole milk gives the richest texture, but almond, oat, or soy milk work beautifully too.
- Dark chocolate – Look for at least 60–70% cocoa for a deeper flavor.
- Cocoa powder – Unsweetened works best so you can control the sweetness.
- Heavy cream – Optional, but it makes the drink luxuriously thick and velvety.
Kitchen Equipment Needed
- Small saucepan – For gently heating the milk and blending the ingredients; I love using my non-stick one for easy cleanup.
- Whisk – Helps dissolve cocoa powder smoothly without lumps.
- Measuring cups and spoons – For accurate ingredient portions (especially the maple syrup).
- Heatproof mug – Keeps your hot chocolate warm longer; my thick ceramic mug is my go-to.
- Ladle (optional) – Handy if you’re making multiple servings to pour neatly without spills.
Instructions
Step 1: Warm the base
- Add the milk (and heavy cream, if using) to a small saucepan.
- Set over medium–low heat and warm until you see gentle steam and tiny bubbles around the edges (about 3–5 minutes).
- Do not let it boil.
Pro Tip: Stir occasionally and keep the heat moderate—scalded milk can taste flat.
Step 2: Make a smooth cocoa slurry
- Scoop 2–3 tablespoons of the warm milk from the pot into a small bowl.
- Whisk in the cocoa powder to form a smooth, glossy paste with no dry pockets.
- Pour the cocoa paste back into the saucepan while whisking.
Pro Tip: Whisk continuously as you add the paste—this keeps the hot chocolate silky and lump-free.
Step 3: Melt in the chocolate
- Add the chopped dark chocolate to the pot.
- Keep the heat on low and whisk gently until the chocolate is fully melted and the mixture looks shiny and uniform (1–2 minutes).
Pro Tip: Low heat is key—overheating can cause chocolate to seize or turn grainy.
Step 4: Sweeten with maple
- Pour in the maple syrup and whisk to combine.
- Taste and adjust: add a touch more maple if you prefer it sweeter.
Pro Tip: If your chocolate is on the sweeter side, start with a little less maple and build up.
Step 5: Finish & froth
- Add the vanilla extract and a pinch of salt.
- Whisk for 15–20 seconds to introduce a bit of air (light froth = dreamy texture).
- Remove from heat as soon as it’s steaming hot and just below a simmer.
Pro Tip: That small pinch of salt doesn’t make it salty—it intensifies the chocolate and maple flavors.
Step 6: Serve like a pro
- Pre-warm your mug with hot water, then discard the water.
- Ladle the hot chocolate into the mug.
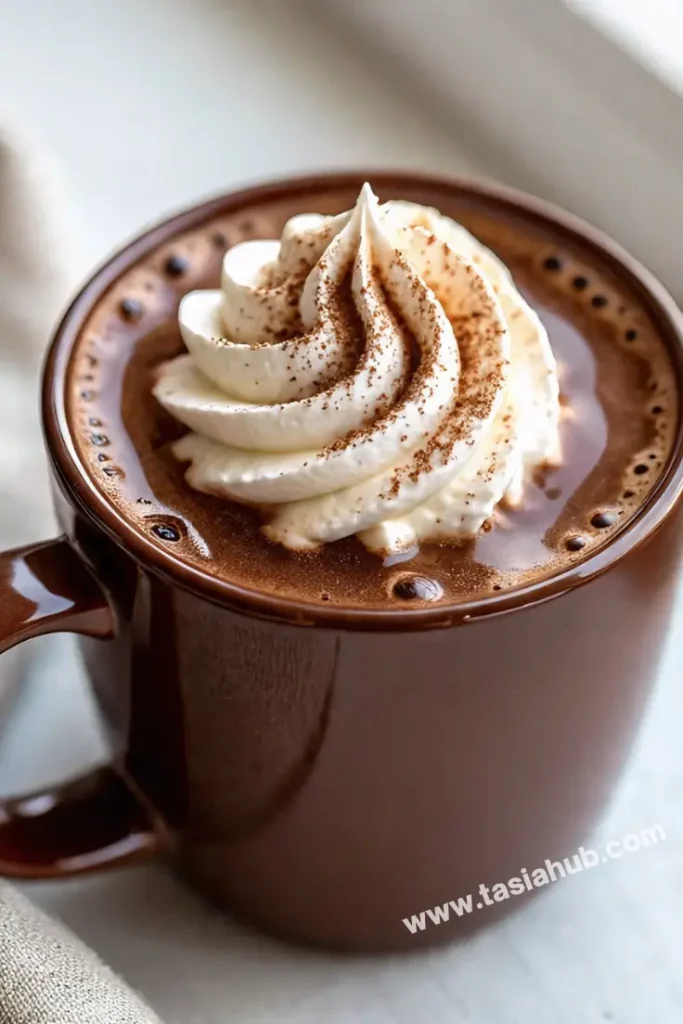
- Top with whipped cream, a dusting of cinnamon or cocoa, and chocolate shavings, if you like.
Pro Tip: Warming the mug keeps your drink cozy-hot for longer.

Tips and Tricks for Success
- Use good-quality chocolate – The better the chocolate, the richer the flavor.
- Control the heat – Gentle heat keeps the milk smooth and prevents chocolate from burning.
- Make it ahead – You can mix the base (without toppings) and store it in the fridge for up to 2 days; reheat gently before serving.
- Froth for café vibes – Whisk vigorously or use a milk frother right before serving for a light, airy texture.
- Serve immediately – Hot chocolate is at its best when freshly made and still piping hot.
Ingredient Substitutions and Variations
- Dairy-free – Swap milk for almond, oat, or coconut milk, and use dairy-free dark chocolate.
- Spiced twist – Add a pinch of cinnamon, nutmeg, or pumpkin spice to the milk while heating.
- Mocha maple – Stir in 1–2 shots of brewed espresso for a maple mocha.
- Extra indulgent – Use half-and-half instead of milk for an ultra-creamy texture.
- Boozy version – Add a splash of Baileys, Kahlúa, or bourbon after removing from heat.
- White chocolate maple – Replace dark chocolate and cocoa powder with white chocolate for a sweeter, creamy variation.
Serving Suggestions
- Classic cozy cup – Top with a generous swirl of whipped cream and a sprinkle of cocoa powder for that café-style finish.
- Breakfast treat – I love serving it with warm, buttery croissants on a slow weekend morning.
- Dessert pairing – Perfect alongside a slice of chocolate cake or brownies for a double chocolate hit.
- Holiday twist – Garnish with crushed peppermint candy during the festive season for a pretty (and tasty) touch.
- Outdoor moments – Pour into a travel mug and sip by a firepit or during a crisp evening walk.
Storage and Reheating Instructions
- Refrigeration – Store any leftover hot chocolate in an airtight container in the fridge for up to 2 days.
- Stir before storing – This helps prevent the chocolate from settling at the bottom.
- Reheat gently – Warm on the stovetop over low heat, whisking often until smooth.
- Avoid boiling – Overheating can change the texture and make the milk taste scorched.
- Microwave option – Heat in short 20–30 second bursts, stirring in between to prevent hot spots.
Frequently Asked Questions
Can I use pancake syrup instead of pure maple syrup?
You can, but the flavor won’t be the same—pancake syrup is usually corn syrup with flavoring, while pure maple syrup has a rich, natural taste that makes this recipe shine.
How can I make it less sweet?
Simply reduce the maple syrup to 2–3 tablespoons and use a higher percentage dark chocolate (70% or more).
Can I make it vegan?
Absolutely! Use plant-based milk (like oat or almond), dairy-free chocolate, and skip the whipped cream or use a coconut-based one.
Can I make a big batch for a crowd?
Yes—just multiply the ingredients by the number of servings you need and keep it warm in a slow cooker on the “keep warm” setting.
What’s the best way to make it extra creamy?
Add more heavy cream or use half-and-half in place of some of the milk. You can also blend it for a few seconds before serving for a frothy finish.
Can I add other flavors?
Definitely—try a splash of hazelnut syrup, a pinch of chai spice, or even a dash of cayenne for a sweet-spicy kick.
Did you try this recipe? Let me know in the comments how it turned out!
Don’t forget to share your photos on Instagram and tag me (@tasiahub_) or use the hashtag (#tasiahub). I’d love to see your creations!

Maple Hot Chocolate
Equipment
- Small saucepan
- Whisk
- Measuring cups and spoons
- Heatproof mug
- Ladle (optional)
Ingredients
- 2 cups whole milk or any milk of your choice
- 1/2 cup heavy cream optional, for extra creaminess
- 1/4 cup pure maple syrup
- 2 tablespoons unsweetened cocoa powder
- 2 ounces dark chocolate chopped (about 1/3 cup)
- 1/2 teaspoon vanilla extract
- Pinch of salt
Optional Toppings:
- Whipped cream
- Cinnamon or cocoa powder for dusting
- Chocolate shavings
Instructions
Step 1: Warm the base
- Add the milk (and heavy cream, if using) to a small saucepan.
- Set over medium–low heat and warm until you see gentle steam and tiny bubbles around the edges (about 3–5 minutes).
- Do not let it boil.
- Pro Tip: Stir occasionally and keep the heat moderate—scalded milk can taste flat.
Step 2: Make a smooth cocoa slurry
- Scoop 2–3 tablespoons of the warm milk from the pot into a small bowl.
- Whisk in the cocoa powder to form a smooth, glossy paste with no dry pockets.
- Pour the cocoa paste back into the saucepan while whisking.
- Pro Tip: Whisk continuously as you add the paste—this keeps the hot chocolate silky and lump-free.
Step 3: Melt in the chocolate
- Add the chopped dark chocolate to the pot.
- Keep the heat on low and whisk gently until the chocolate is fully melted and the mixture looks shiny and uniform (1–2 minutes).
- Pro Tip: Low heat is key—overheating can cause chocolate to seize or turn grainy.
Step 4: Sweeten with maple
- Pour in the maple syrup and whisk to combine.
- Taste and adjust: add a touch more maple if you prefer it sweeter.
- Pro Tip: If your chocolate is on the sweeter side, start with a little less maple and build up.
Step 5: Finish & froth
- Add the vanilla extract and a pinch of salt.
- Whisk for 15–20 seconds to introduce a bit of air (light froth = dreamy texture).
- Remove from heat as soon as it’s steaming hot and just below a simmer.
- Pro Tip: That small pinch of salt doesn’t make it salty—it intensifies the chocolate and maple flavors.
Step 6: Serve like a pro
- Pre-warm your mug with hot water, then discard the water.
- Ladle the hot chocolate into the mug.
- Top with whipped cream, a dusting of cinnamon or cocoa, and chocolate shavings, if you like.
Notes
Nutritional Value (per serving):
- Calories: ~300 kcal
- Fat: 18 g (saturated fat 10 g)
- Carbohydrates: 32 g (sugars 28 g)
- Protein: 5 g
- Fiber: 2 g
- Sodium: 60 mg