How to Cook Perfect Risotto

If you’ve ever wondered how to make that creamy, dreamy Italian classic risotto at home without feeling overwhelmed, you’re in the right place. Risotto might seem intimidating because of its reputation for being “tricky,” but honestly, it’s just about patience, attention, and a few simple techniques. Think of it as slow-cooked comfort food that rewards you with rich flavors and a velvety texture every time.
What makes risotto so special isn’t just the ingredients but the process. Unlike cooking regular rice, where you just add water and wait, risotto demands a bit of love: stirring, gradually adding broth, and allowing the rice to absorb flavors slowly. It’s almost like a little ritual—one you can enjoy and savor along the way. Plus, once you master the basics, the variations are endless, from mushroom risotto to seafood or even veggie-packed versions.
And don’t worry, you don’t need fancy equipment or years of culinary school. All you really need is a good pan, patience, and the right type of rice. In this post, I’ll walk you through the step-by-step process of cooking risotto that’s creamy, perfectly cooked, and full of flavor, just like the kind you get in a cozy Italian trattoria.
Ready to impress your friends or just treat yourself to something comforting and homemade? Let’s get cooking!
Why You’ll Love It
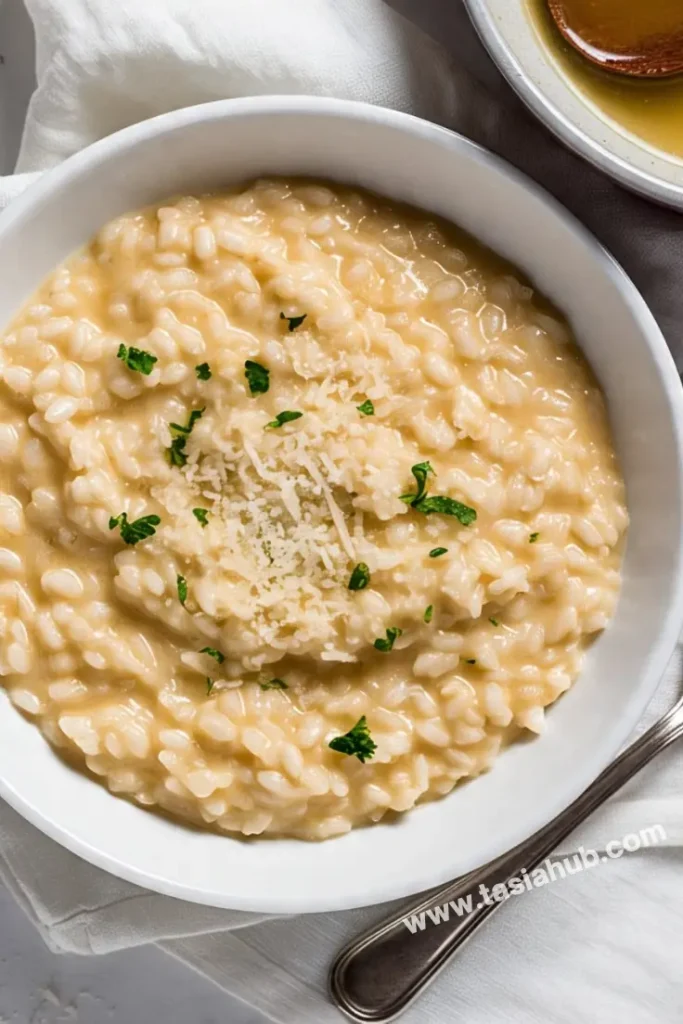
- Creamy, Comforting Texture: Risotto is wonderfully creamy and rich, thanks to the slow absorption of broth by the starchy rice. It feels like a warm, cozy hug in a bowl.
- Versatile Base for Flavors: Whether you love mushrooms, seafood, vegetables, or cheese, risotto adapts perfectly. You can customize it to suit your mood or what’s in your fridge.
- Impressively Simple Ingredients: With just a few pantry staples—Arborio rice, broth, onion, butter, and Parmesan—you can create a dish that feels gourmet without the fuss.
- Hands-On Cooking Experience: The stirring and gradual liquid addition might seem like work, but it’s actually relaxing and rewarding. Plus, it’s a great way to practice mindfulness in the kitchen.
- Perfect for Any Occasion: From weeknight dinners to special celebrations, risotto fits every meal plan. It looks and tastes fancy but is surprisingly easy to make at home.
Ingredient List
For the Risotto
- 1 ½ cups Arborio rice
- 5 cups chicken or vegetable broth (warm)
- 1 small onion, finely chopped
- 2 cloves garlic, minced
- ½ cup dry white wine (optional but recommended)
- 3 tablespoons unsalted butter
- 3 tablespoons olive oil
- ¾ cup grated Parmesan cheese
- Salt and freshly ground black pepper, to taste
- Fresh parsley or thyme for garnish (optional)
Ingredient Notes
- I always use Arborio rice—its high starch content is key for that creamy risotto texture.
- Don’t skip the warm broth! Adding cold broth can shock the rice and slow the cooking process.
- The white wine adds depth and brightness but can be replaced with more broth if you prefer.
- Using freshly grated Parmesan makes a huge flavor difference compared to pre-grated cheese.
- Butter and olive oil together help balance richness and prevent the rice from sticking.
- If you want a vegetarian version, go with vegetable broth—just make sure it’s flavorful.
Kitchen Equipment Needed
- Large, heavy-bottomed skillet or sauté pan: Even heat distribution for cooking rice evenly. I love using a wide stainless steel pan.
- Wooden spoon or silicone spatula: For gentle, constant stirring without scratching your pan.
- Ladle: To add broth gradually and control the amount.
- Measuring cups and spoons: For accurate ingredient portions.
- Small saucepan: To keep the broth warm while cooking the risotto.
- Grater: For freshly grating Parmesan cheese—fresh is best!
- Knife and cutting board: For chopping onions, garlic, and any add-ins.
Instructions
Step 1: Prepare Your Broth
- Pour your chicken or vegetable broth into a small saucepan.
- Heat it gently over low heat until it’s warm but not boiling.
- Keep it on the stove at low heat so it stays warm while you cook the risotto.
Pro tip: Using warm broth helps the rice cook evenly and absorb liquid faster.
Step 2: Sauté the Aromatics
- Heat the olive oil and 1 tablespoon of butter in your large skillet over medium heat.
- Add the finely chopped onion and cook, stirring often, until it becomes translucent and soft (about 4–5 minutes).
- Add the minced garlic and sauté for another 30 seconds until fragrant—be careful not to burn it!
Step 3: Toast the Rice
- Add the Arborio rice to the pan with the onions and garlic.
- Stir constantly for 2–3 minutes, allowing each grain to get lightly toasted and coated in the oil and butter.
- You’ll notice the rice becoming slightly translucent around the edges but still opaque in the center.
Pro tip: Toasting the rice seals the grains, helping them release starch slowly for that creamy texture.
Step 4: Deglaze with Wine
- Pour in the white wine and stir continuously until it’s mostly absorbed by the rice.
- This adds brightness and depth to your risotto’s flavor.
- If you’re skipping wine, just move on to the next step and start adding broth.
Step 5: Gradually Add Warm Broth
- Add a ladle (about ½ cup) of the warm broth to the rice.
- Stir gently but continuously until the liquid is mostly absorbed before adding the next ladle.
- Repeat this process, adding broth little by little, allowing the rice to absorb it slowly.
- This should take about 18–20 minutes—be patient!
Pro tip: Stirring releases the rice’s starch, which creates risotto’s signature creaminess. Keep the heat medium-low to avoid burning.
Step 6: Check for Doneness
- Taste the rice when you’ve added most of the broth. The grains should be tender with a slight “bite” in the center—this is called al dente.
- If it feels too firm, keep adding broth and cooking for a few more minutes.
- If it’s too soft, you may have added too much liquid or cooked too long, but don’t worry—it’ll still taste delicious!
Step 7: Finish with Butter and Cheese
- Once the rice is cooked to your liking, turn off the heat.
- Stir in the remaining 2 tablespoons of butter and the grated Parmesan cheese until melted and fully combined.
- Season with salt and freshly ground black pepper to taste.
Step 8: Serve and Garnish
- Spoon the risotto onto plates or into bowls while it’s still hot and creamy.
- Garnish with fresh parsley or thyme if you like a pop of color and freshness.
- Serve immediately—risotto is best enjoyed fresh!

Tips and Tricks for Success
- Always keep your broth warm to help the rice cook evenly and smoothly.
- Stir gently but consistently—too much stirring can break the grains, too little can cause sticking.
- Use a heavy-bottomed pan to prevent hot spots and burning.
- Be patient! Adding broth slowly and allowing the rice to absorb it is key to creamy risotto.
- Taste often to check the texture; risotto cooks quickly once you get near the end.
- Don’t rush the finishing step—adding butter and Parmesan off the heat makes the risotto extra silky.
- Serve risotto immediately—if it sits too long, it thickens and loses its creamy texture.
Ingredient Substitutions and Variations
- Substitute Arborio rice with Carnaroli or Vialone Nano rice for a slightly different texture but similar creaminess.
- Use vegetable broth instead of chicken broth to keep the dish vegetarian or vegan (use vegan butter and cheese alternatives).
- Replace Parmesan with Pecorino Romano for a sharper, saltier finish.
- Swap white wine for an equal amount of additional broth or a splash of lemon juice for acidity.
- Add sautéed mushrooms, peas, asparagus, or roasted butternut squash for extra flavor and texture.
- Stir in cooked shrimp, chicken, or pancetta for a protein boost.
- For a dairy-free version, use olive oil instead of butter and nutritional yeast in place of cheese.
Serving Suggestions
- I love serving risotto with a simple green salad dressed in lemon vinaigrette—it adds a fresh, tangy contrast to the creamy rice.
- Pair it with roasted or grilled chicken for a hearty, comforting meal.
- Risotto also makes a perfect side dish alongside seared scallops or shrimp—great for a special dinner.
- For a vegetarian option, serve it with roasted vegetables like asparagus or mushrooms for an earthy, flavorful plate.
- A drizzle of good-quality truffle oil or a sprinkle of fresh herbs on top adds an extra touch of luxury.
Storage and Reheating Instructions
- Store leftover risotto in an airtight container in the refrigerator for up to 2 days.
- To reheat, add a splash of broth or water and warm gently on the stove over low heat, stirring frequently to restore creaminess.
- Avoid microwaving without adding liquid, as risotto can dry out and become clumpy.
- Risotto can also be cooled and shaped into patties, then pan-fried for a delicious crispy risotto cake.
- For best texture and flavor, enjoy leftovers within 1-2 days.
Frequently Asked Questions
What type of rice is best for risotto?
Arborio rice is the classic choice because its high starch content creates that creamy texture we all love. You can also try Carnaroli or Vialone Nano for a slightly different but equally delicious result.
Can I make risotto without wine?
Absolutely! If you prefer to skip the wine, just add a little extra broth instead. The risotto will still be flavorful and creamy.
How do I know when the risotto is done?
The rice should be tender but still have a slight bite in the center, what Italians call al dente. It should also be creamy and not dry or mushy.
Can I prepare risotto ahead of time?
Risotto is best enjoyed fresh, but you can refrigerate leftovers for up to 2 days. Reheat gently with some broth to bring back its creaminess.
Why does my risotto sometimes turn out too thick or dry?
This usually means not enough broth was added or it was cooked over too high heat. Remember to add broth gradually and keep the heat medium-low.
Can I add other ingredients like vegetables or meat?
Yes! Risotto is very versatile. Add sautéed mushrooms, peas, seafood, or cooked chicken toward the end of cooking for extra flavor and texture.
Did you try this recipe? Let me know in the comments how it turned out!
Don’t forget to share your photos on Instagram and tag me (@tasiahub_) or use the hashtag (#tasiahub). I’d love to see your creations!

How to Cook Perfect Risotto
Equipment
- Large, heavy-bottomed skillet or sauté pan
- Wooden Spoon or Silicone Spatula
- Ladle
- Measuring cups and spoons
- Small saucepan
- Grater
- Knife and Cutting Board
Ingredients
For the Risotto
- 1 ½ cups Arborio rice
- 5 cups chicken or vegetable broth warm
- 1 small onion finely chopped
- 2 cloves garlic minced
- ½ cup dry white wine optional but recommended
- 3 tablespoons unsalted butter
- 3 tablespoons olive oil
- ¾ cup grated Parmesan cheese
- Salt and freshly ground black pepper to taste
- Fresh parsley or thyme for garnish optional
Instructions
Step 1: Prepare Your Broth
- Pour your chicken or vegetable broth into a small saucepan.
- Heat it gently over low heat until it’s warm but not boiling.
- Keep it on the stove at low heat so it stays warm while you cook the risotto.
- Pro tip: Using warm broth helps the rice cook evenly and absorb liquid faster.
Step 2: Sauté the Aromatics
- Heat the olive oil and 1 tablespoon of butter in your large skillet over medium heat.
- Add the finely chopped onion and cook, stirring often, until it becomes translucent and soft (about 4–5 minutes).
- Add the minced garlic and sauté for another 30 seconds until fragrant—be careful not to burn it!
Step 3: Toast the Rice
- Add the Arborio rice to the pan with the onions and garlic.
- Stir constantly for 2–3 minutes, allowing each grain to get lightly toasted and coated in the oil and butter.
- You’ll notice the rice becoming slightly translucent around the edges but still opaque in the center.
- Pro tip: Toasting the rice seals the grains, helping them release starch slowly for that creamy texture.
Step 4: Deglaze with Wine
- Pour in the white wine and stir continuously until it’s mostly absorbed by the rice.
- This adds brightness and depth to your risotto’s flavor.
- If you’re skipping wine, just move on to the next step and start adding broth.
Step 5: Gradually Add Warm Broth
- Add a ladle (about ½ cup) of the warm broth to the rice.
- Stir gently but continuously until the liquid is mostly absorbed before adding the next ladle.
- Repeat this process, adding broth little by little, allowing the rice to absorb it slowly.
- This should take about 18–20 minutes—be patient!
- Pro tip: Stirring releases the rice’s starch, which creates risotto’s signature creaminess. Keep the heat medium-low to avoid burning.
Step 6: Check for Doneness
- Taste the rice when you’ve added most of the broth. The grains should be tender with a slight “bite” in the center—this is called al dente.
- If it feels too firm, keep adding broth and cooking for a few more minutes.
- If it’s too soft, you may have added too much liquid or cooked too long, but don’t worry—it’ll still taste delicious!
Step 7: Finish with Butter and Cheese
- Once the rice is cooked to your liking, turn off the heat.
- Stir in the remaining 2 tablespoons of butter and the grated Parmesan cheese until melted and fully combined.
- Season with salt and freshly ground black pepper to taste.
Step 8: Serve and Garnish
- Spoon the risotto onto plates or into bowls while it’s still hot and creamy.
- Garnish with fresh parsley or thyme if you like a pop of color and freshness.
- Serve immediately—risotto is best enjoyed fresh!
Notes
Nutritional Value (Per Serving)
- Calories: ~430 kcal
- Protein: 11g
- Carbohydrates: 50g
- Fat: 18g
- Saturated Fat: 8g
- Fiber: 2g
- Sugar: 2g
- Sodium: ~500mg
- Calcium: ~180mg
The nutritional information provided on this website is an estimate only and is intended for general guidance. We cannot guarantee its accuracy and recommend consulting a qualified healthcare professional or registered dietitian for personalized nutrition advice.