Homemade Teriyaki Sauce
Have you ever had one of those nights where you don’t know what to make for dinner, but you want something quick, tasty, and just a little different from the usual? That’s exactly how I discovered how much I love homemade teriyaki sauce.
I used to just grab the bottled stuff from the store, thinking it was easier. But one day, I decided to make my own, and let me tell you — it was a game-changer!
I love the fact that I can make this sauce with ingredients I already have in my kitchen. And once you try it homemade, you’ll notice right away how much fresher and richer it tastes compared to store-bought.
Another reason I love making it at home? I can control exactly what goes into it. No weird preservatives or too much salt. I can make it thicker, sweeter, spicier — however I like. And it only takes about 10 minutes to whip up a batch!
If you’re someone who enjoys easy cooking with big flavor, then you’re going to want to keep this recipe in your back pocket.
What is Homemade Teriyaki Sauce?
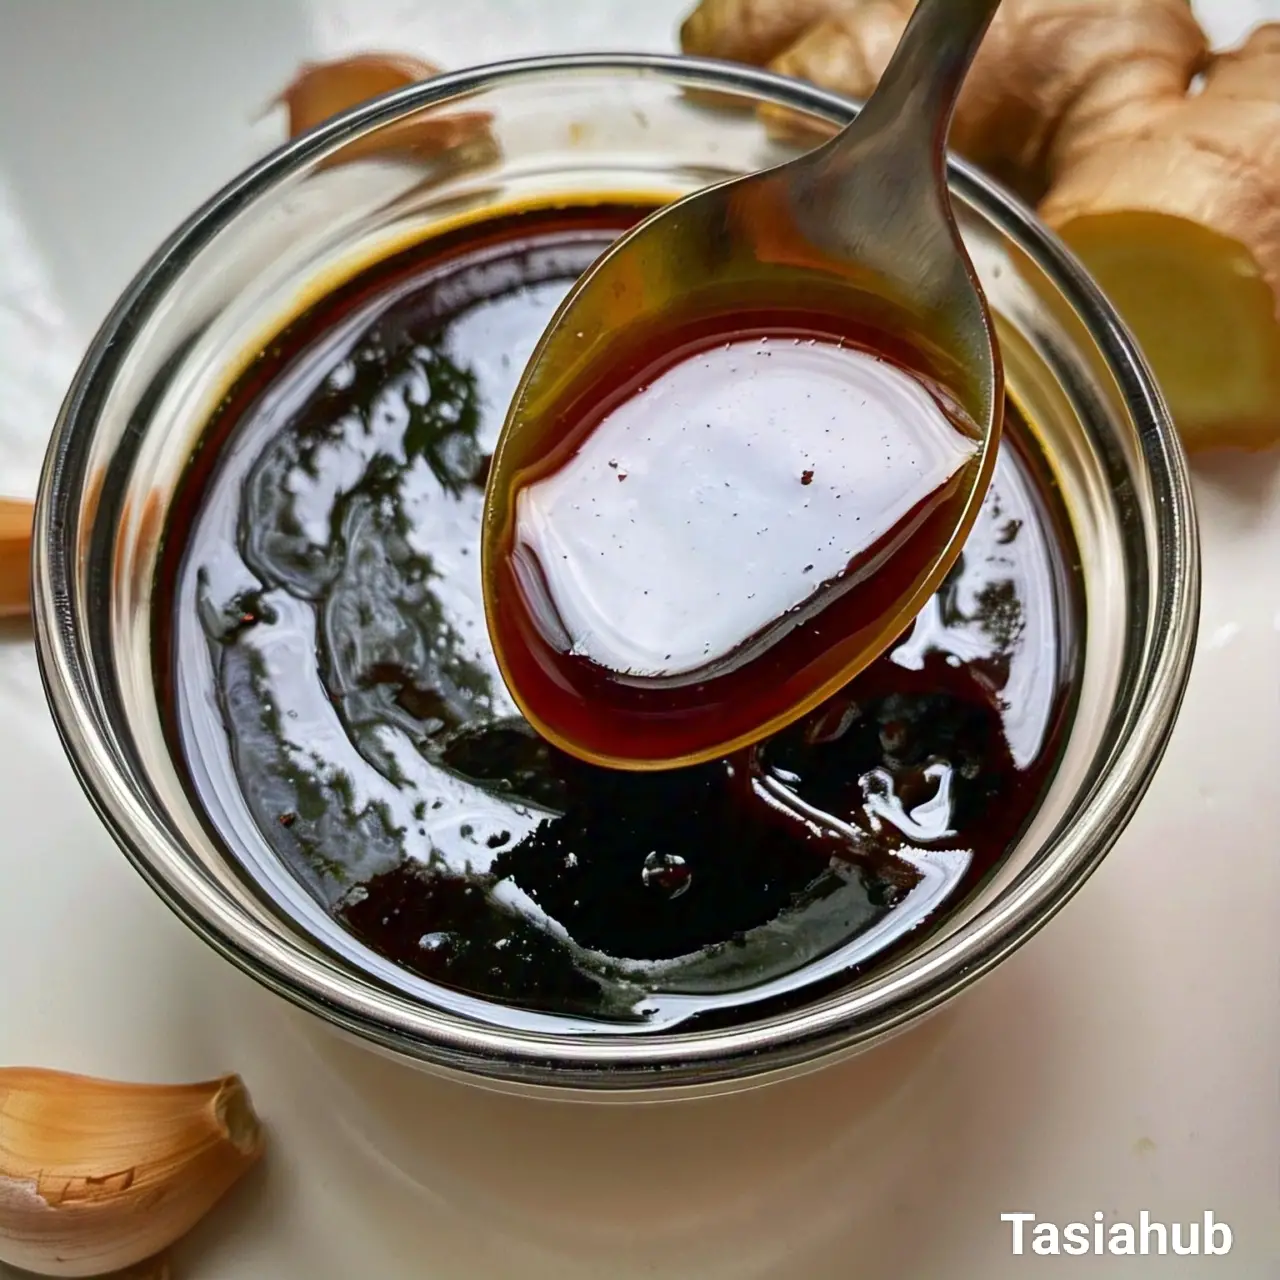
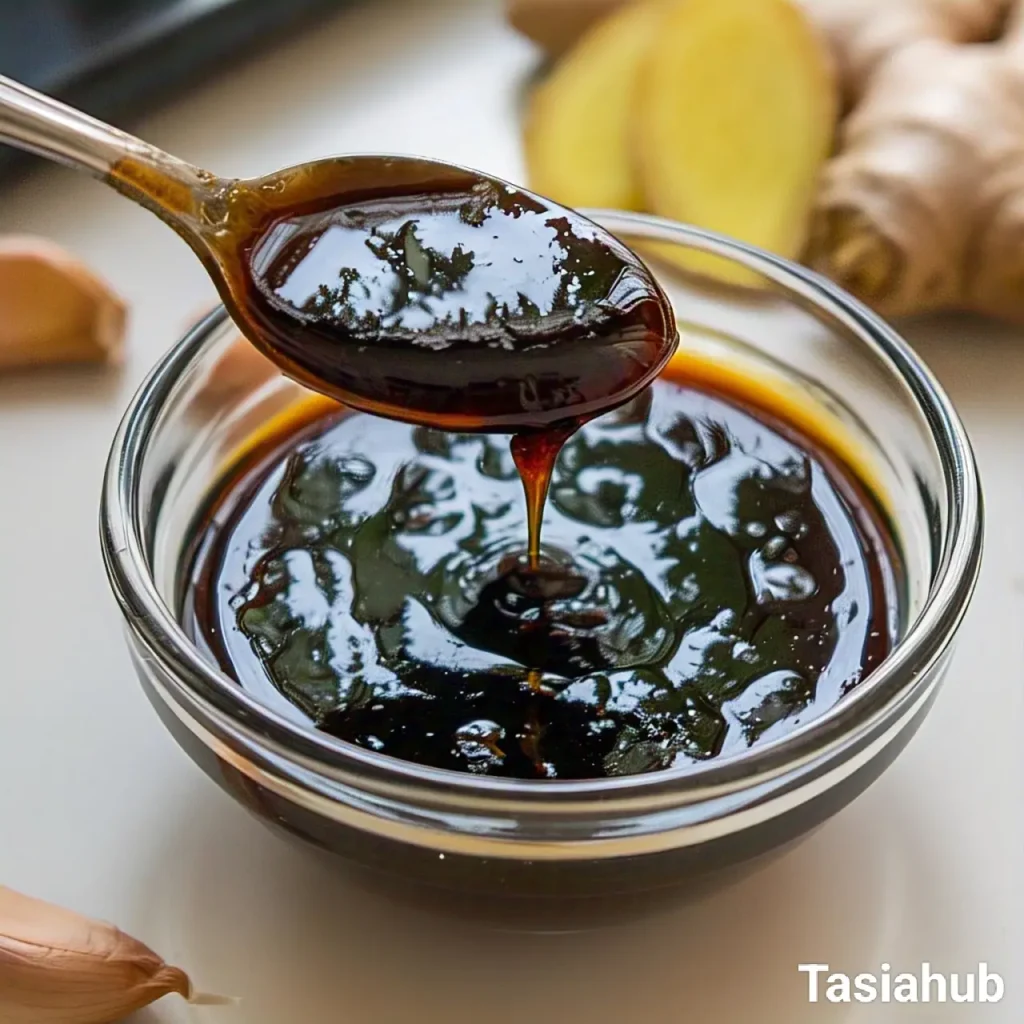
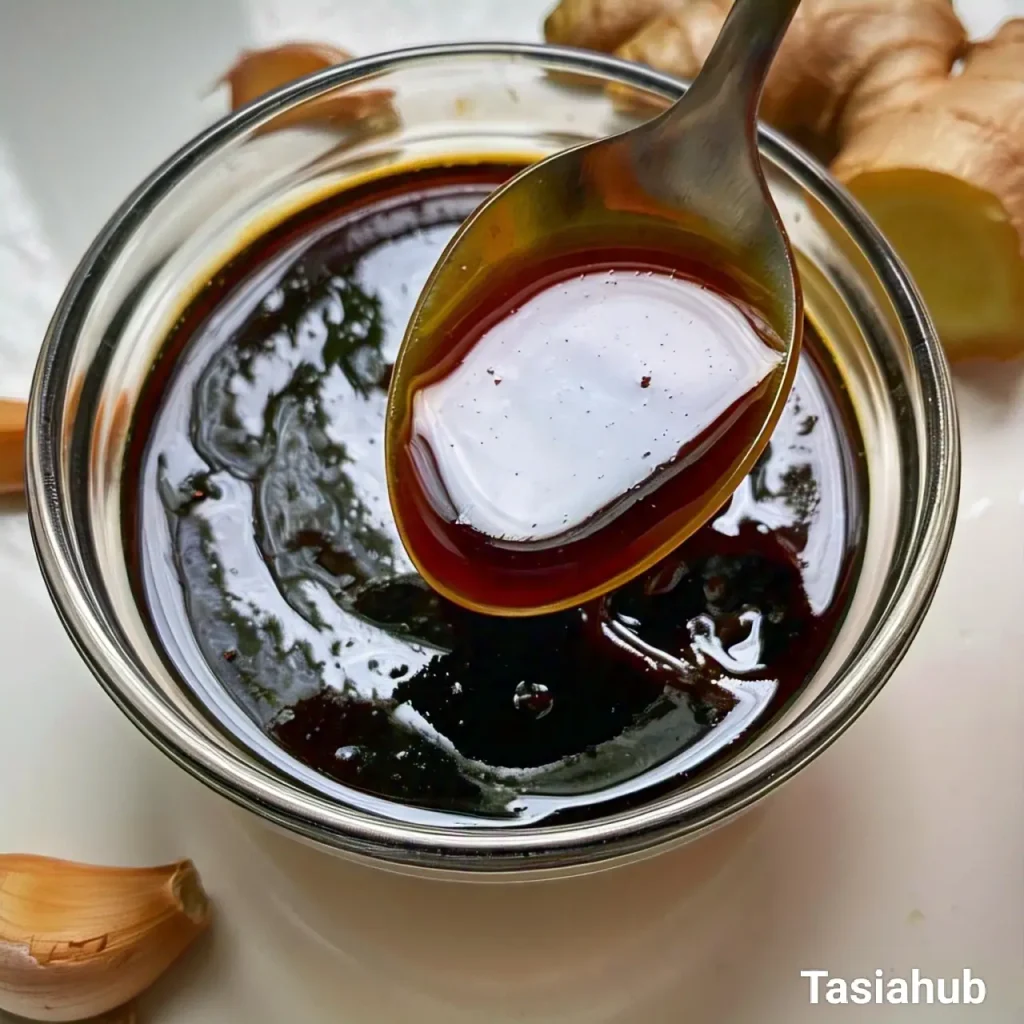
Homemade teriyaki sauce is a rich, glossy, and flavorful sauce made with simple ingredients like soy sauce, brown sugar, garlic, and ginger. It’s a popular Japanese-inspired sauce that’s often used to glaze meat, stir into noodles, or drizzle over rice and veggies. The flavor is a perfect balance of sweet and salty, with a little kick of warmth from the ginger and garlic.
Traditionally, “teriyaki” refers to a Japanese cooking method where foods are grilled or broiled with a glaze made of soy sauce, sake, or mirin, and sugar. The version most of us are familiar with, especially in the U.S., is a thicker, slightly sweeter sauce that’s perfect for everyday meals.
Why You’ll Love It
- Quick and easy – It comes together in less than 10 minutes using just a few pantry staples.
- Customizable flavor – You can make it sweeter, spicier, or even low-sodium based on your preference.
- No weird ingredients – Just real, simple stuff you probably already have in your kitchen.
- Perfect for meal prep – Make a batch and keep it in the fridge to use all week.
- Super versatile – Use it as a marinade, glaze, dipping sauce, or stir-fry base.
Ingredient List
- 1/2 cup soy sauce (low-sodium preferred)
- 1/4 cup water
- 1/4 cup brown sugar
- 2 tablespoons honey
- 1 tablespoon rice vinegar
- 1 tablespoon sesame oil
- 2 cloves garlic, minced
- 1 teaspoon fresh ginger, grated (or 1/2 teaspoon ground ginger)
- 1 tablespoon cornstarch
- 2 tablespoons cold water (for mixing with cornstarch)
Ingredient Notes
- Soy sauce – I always use low-sodium soy sauce to keep it from getting too salty.
- Brown sugar – Gives it that deep, rich sweetness. You can also use coconut sugar.
- Honey – Adds a natural sweetness and helps thicken the sauce a bit.
- Rice vinegar – Don’t skip this! It adds a tiny tang that balances the sweetness perfectly.
- Sesame oil – Just a little goes a long way. It gives the sauce that warm, toasty flavor.
- Fresh garlic & ginger – Fresh is best here. It makes the flavor brighter and more authentic.
- Cornstarch + cold water – This combo thickens the sauce into that glossy finish we all love.
Kitchen Tools Needed
- Small saucepan – You’ll use this to cook and thicken the sauce. I love using my non-stick one because cleanup is super easy.
- Measuring cups and spoons – For getting the right balance of sweet, salty, and tangy.
- Whisk – Helps mix everything smoothly, especially the cornstarch slurry. A small silicone whisk is my go-to.
- Garlic press or microplane – Perfect for quickly mincing garlic or grating fresh ginger without much effort.
- Jar or container with lid – For storing any leftover sauce in the fridge. I like using a small mason jar — it keeps it fresh and looks cute too!
Instructions
Step 1: Combine the Main Ingredients
- In a small saucepan, pour in 1/2 cup soy sauce, 1/4 cup water, 1/4 cup brown sugar, 2 tablespoons honey, 1 tablespoon rice vinegar, and 1 tablespoon sesame oil.
- Add in the minced garlic and grated ginger.
- Stir everything together with a whisk until the sugar looks mostly dissolved.
Pro Tip: Use low heat while mixing to avoid burning the sugar or garlic.
Step 2: Heat the Sauce
- Place the saucepan over medium heat.
- Bring the mixture to a light simmer, not a full boil. Stir often so nothing sticks to the bottom.
- Let it simmer for about 2–3 minutes, just to help the flavors blend and the garlic/ginger soften.
Pro Tip: If it starts bubbling too fast, lower the heat — slow simmering keeps the flavor smooth and balanced.
Step 3: Thicken the Sauce
- In a small bowl or cup, mix 1 tablespoon cornstarch with 2 tablespoons cold water. Stir it until smooth — no lumps!
- Slowly pour this cornstarch mixture into the simmering sauce while whisking constantly.
Pro Tip: Whisk continuously to prevent lumps and make the sauce silky smooth.
Step 4: Simmer Until Thickened
- Keep cooking the sauce for another 2–3 minutes, still stirring, until it thickens to your liking.
- You’ll know it’s ready when it looks glossy and coats the back of a spoon.
Pro Tip: The sauce will thicken a little more as it cools, so don’t overcook it.
Step 5: Cool and Store
- Once thickened, remove from the heat and let it cool slightly before using or storing.
- Pour into a clean jar or an airtight container. Keep it in the fridge for up to one week.
Tips and Tricks for Success
- Taste as you go – After it simmers a bit, taste and adjust. Want it sweeter? Add a touch more honey. Too salty? Add a splash of water.
- Use fresh garlic and ginger – It makes the sauce more flavorful than the powdered stuff.
- Whisk constantly when adding the cornstarch slurry – This prevents clumps and gives you that smooth, shiny finish.
- Double the batch – It stores well in the fridge, so make extra to save time later in the week.
- Let it cool before storing – This keeps condensation from forming in your container and watering down the sauce.
Ingredient Substitutions and Variations
- No honey? – Use maple syrup or agave for a similar sweetness.
- No rice vinegar? – Apple cider vinegar or white vinegar works in a pinch (just use slightly less).
- Gluten-free version – Swap regular soy sauce with tamari or coconut aminos.
- Low-sugar version – Cut the brown sugar in half or replace it with a sugar-free alternative like monk fruit sweetener.
- Spicy kick – Add a pinch of red pepper flakes or a squirt of sriracha.
Serving Suggestions
- Stir-fry nights – I love tossing teriyaki sauce with chicken, broccoli, and bell peppers, then serving it over steamed rice. So simple, so good!
- Teriyaki glazed salmon – Brush it on salmon fillets and bake or pan-sear — instant flavor boost.
- Grilled chicken bowls – I make rice bowls with grilled teriyaki chicken, avocado, cucumber, and a drizzle of extra sauce on top.
- Noodle toss – It’s perfect with stir-fried noodles and veggies. I usually add a fried egg on top for extra yum.
- Tofu or veggie marinade – Let tofu or mushrooms soak in this sauce before roasting — I love this for meatless Mondays.
Storage and Reheating Instructions
- Refrigerate leftovers – Store cooled sauce in an airtight container or jar in the fridge for up to 1 week.
- Shake or stir before using – It may thicken more or separate a bit after sitting — just give it a quick mix.
- Reheat gently – Warm on the stove over low heat or microwave in 15-second bursts, stirring in between.
- Too thick? – Add a splash of water while reheating to loosen the consistency.
- Freeze for later – You can freeze it in small portions using an ice cube tray, then pop the cubes into a freezer bag. Great for quick meals!
Frequently Asked Questions
Can I make this sauce without cornstarch?
Yes, you can! If you prefer a thinner sauce, simply skip the cornstarch. It’ll still taste great, just not as thick and glossy.
How do I make this sauce spicier?
If you like a little heat, try adding red pepper flakes or a dash of sriracha. Start with a small amount and taste as you go — you can always add more!
Can I use this for grilling?
Definitely! This teriyaki sauce makes an excellent marinade for grilling meats like chicken, pork, or beef. Just make sure to marinate for at least 30 minutes before cooking for the best flavor.
Can I use a different sweetener besides brown sugar?
Yes! You can swap brown sugar with honey, maple syrup, or even a sugar substitute if you’re looking for a lower-sugar option.
How long does homemade teriyaki sauce last?
Stored in an airtight container, it lasts for up to 1 week in the fridge. If you freeze it, it can last for up to 3 months!
Can I use this sauce for vegetarian dishes?
Absolutely! It’s great with tofu, tempeh, or even grilled veggies. It adds a fantastic savory-sweet flavor to any plant-based meal.
I’d love to hear how you use this homemade teriyaki sauce in your meals! Feel free to drop a comment or connect with me on social media — I’m always excited to share new ideas!
Homemade Teriyaki Sauce
Equipment
- Small saucepan
- Measuring cups and spoons
- Whisk
- Garlic press or microplane
- Jar or container with lid
Ingredients
- 1/2 cup soy sauce low-sodium preferred
- 1/4 cup water
- 1/4 cup brown sugar
- 2 tablespoons honey
- 1 tablespoon rice vinegar
- 1 tablespoon sesame oil
- 2 cloves garlic minced
- 1 teaspoon fresh ginger grated (or 1/2 teaspoon ground ginger)
- 1 tablespoon cornstarch
- 2 tablespoons cold water for mixing with cornstarch
Instructions
Step 1: Combine the Main Ingredients
- In a small saucepan, pour in 1/2 cup soy sauce, 1/4 cup water, 1/4 cup brown sugar, 2 tablespoons honey, 1 tablespoon rice vinegar, and 1 tablespoon sesame oil.
- Add in the minced garlic and grated ginger.
- Stir everything together with a whisk until the sugar looks mostly dissolved.
- Pro Tip: Use low heat while mixing to avoid burning the sugar or garlic.
Step 2: Heat the Sauce
- Place the saucepan over medium heat.
- Bring the mixture to a light simmer — not a full boil. Stir often so nothing sticks to the bottom.
- Let it simmer for about 2–3 minutes, just to help the flavors blend and the garlic/ginger soften.
- Pro Tip: If it starts bubbling too fast, lower the heat — slow simmering keeps the flavor smooth and balanced.
Step 3: Thicken the Sauce
- In a small bowl or cup, mix 1 tablespoon cornstarch with 2 tablespoons cold water. Stir it until smooth — no lumps!
- Slowly pour this cornstarch mixture into the simmering sauce while whisking constantly.
- Pro Tip: Whisk continuously to prevent lumps and make the sauce silky smooth.
Step 4: Simmer Until Thickened
- Keep cooking the sauce for another 2–3 minutes, still stirring, until it thickens to your liking.
- You’ll know it’s ready when it looks glossy and coats the back of a spoon.
- Pro Tip: The sauce will thicken a little more as it cools, so don’t overcook it.
Step 5: Cool and Store
- Once thickened, remove from heat and let it cool slightly before using or storing.
- Pour into a clean jar or airtight container. Keep it in the fridge for up to one week.
Notes
Nutritional Value (Per Serving — about 3 tablespoons)
- Calories: ~90
- Carbohydrates: ~18g
- Sugars: ~13g
- Sodium: ~700mg
- Fat: ~2g
- Protein: ~1g
The nutritional information provided on this website is an estimate only and is intended for general guidance. We cannot guarantee its accuracy and recommend consulting a qualified healthcare professional or registered dietitian for personalized nutrition advice.