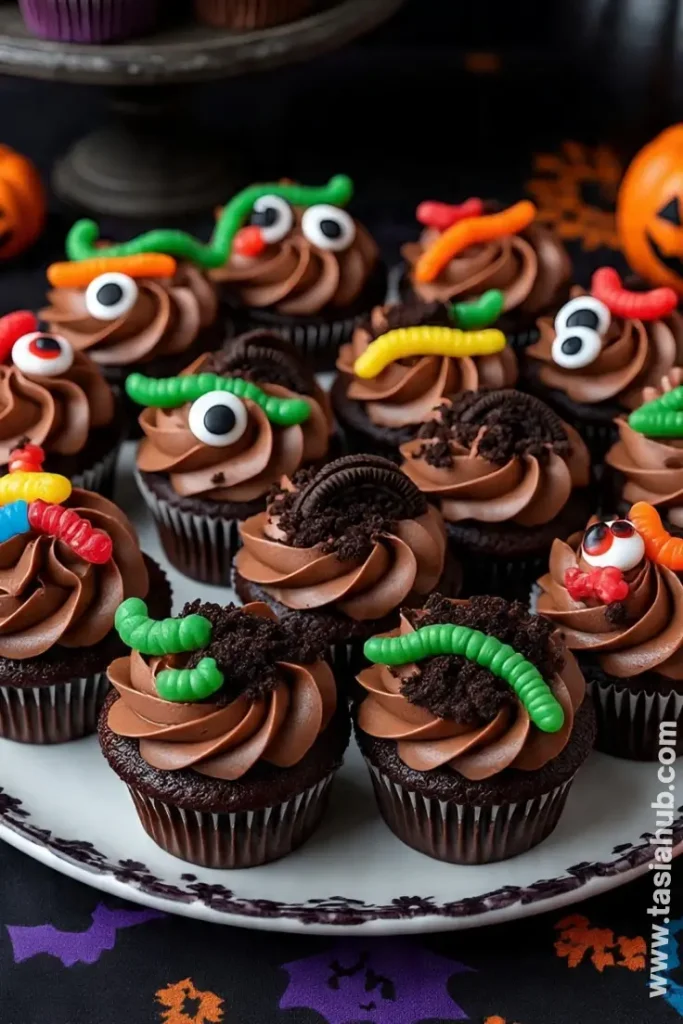
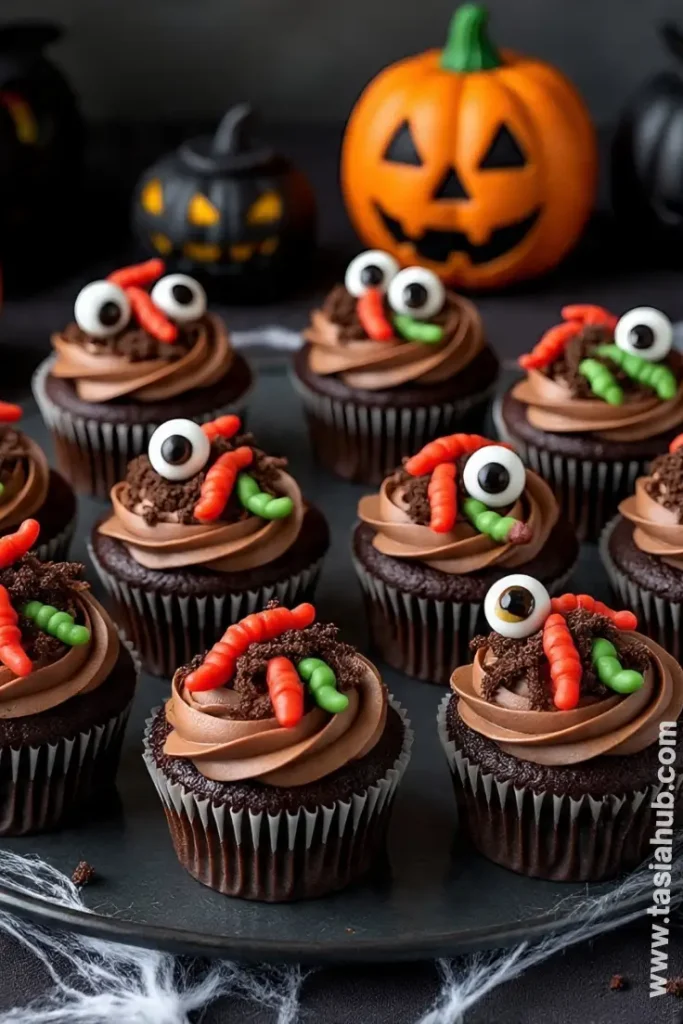
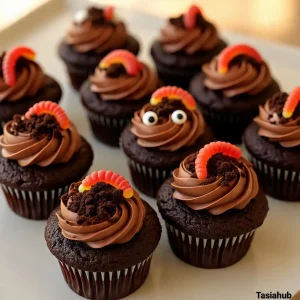
Halloween Worm Cupcakes
Fall has a way of making kitchens smell like magic—cinnamon, chocolate, and sugar swirling together in the air. And what better way to celebrate the season than with a little bit of fun and a touch of spooky delight? These Halloween Worm Cupcakes are the perfect mix of creepy and cute, guaranteed to make anyone smile (or squeal!) before taking a bite.
I love baking around this time of year because it’s the perfect excuse to get a little playful with food. There’s something about fall treats baking that brings out the kid in all of us. From pumpkin-spiced cookies to gooey caramel apples, it’s a season made for homemade creations. But what makes these cupcakes extra special is that they’re not just another sweet treat—they’re a conversation starter at parties, a hit with trick-or-treaters, and a fun twist on traditional cupcakes.
What I really enjoy about making these Halloween cupcakes is how interactive they are. You can make the base chocolate or vanilla, frost them with creamy buttercream, and then let your creativity run wild with gummy worms, candy eyes, and little “dirt” crumbs. They’re perfect for kids to help decorate too—because part of the joy of homemade Halloween food is in the process as much as the final product.
And here’s the best part: these spooky cupcakes aren’t intimidating to make at all. Even if you’re new to baking, they’re surprisingly simple, yet the end result looks like it came straight out of a Halloween magazine. Plus, they’re versatile. You can use them for a classroom party, a cozy fall gathering, or just a weekend treat that feels extra special. Homemade Halloween cupcakes like these are all about having fun, enjoying the flavors of fall, and embracing a little spooky charm in your kitchen.
Why You’ll Love It
- Playfully spooky, not scary – These Halloween Worm Cupcakes strike the perfect balance between creepy and cute. The gummy worms peeking out of chocolate “dirt” make them fun to look at, without being too over-the-top for kids or adults.
- Perfect for fall gatherings – Whether it’s a school party, a neighborhood get-together, or a cozy night at home, these cupcakes are a showstopper. They’re the kind of spooky treats people remember and talk about long after the last bite.
- Easy to customize – You can go classic chocolate, swirl in some pumpkin spice, or even make a vanilla base for a lighter treat. The decorations are flexible too—get creative with candy, sprinkles, or even edible glitter for a unique twist.
- Great activity for kids – Decorating these cupcakes is almost as fun as eating them. Let the little ones help place the gummy worms and sprinkle the “dirt”—it’s a sweet hands-on way to enjoy fall treats baking together.
- Homemade charm – There’s something extra special about serving homemade Halloween cupcakes. They feel personal, thoughtful, and infinitely more festive than store-bought options. Plus, you get all the bonus points for homemade flair!
Ingredient List
For the Cupcakes:
- 1 ½ cups all-purpose flour
- 1 cup granulated sugar
- ⅓ cup unsweetened cocoa powder
- 1 tsp baking soda
- ½ tsp salt
- ⅓ cup vegetable oil
- 1 cup buttermilk, room temperature
- 1 large egg
- 1 tsp vanilla extract
- ½ cup hot water
For the Frosting:
- ½ cup unsalted butter, softened
- 1 ½ cups powdered sugar
- 2 tbsp cocoa powder
- 2–3 tbsp milk
- 1 tsp vanilla extract
For Decoration:
- Gummy worms (about 12–15)
- Chocolate cookie crumbs (about 1 cup)
- Candy eyes (optional, for extra fun!)
Ingredient Notes
- I always use Duncan Hines cocoa powder for the cupcakes—it adds a rich chocolate flavor that really makes the “dirt” effect pop.
- Don’t skip the buttermilk! It makes the cupcakes tender and super moist.
- Gummy worms are essential for the fun factor—try to pick colorful ones to make your cupcakes really eye-catching.
- For the frosting, make sure the butter is softened; it makes whipping it into fluffy perfection so much easier.
- Chocolate cookie crumbs give that authentic dirt look—Oreos work perfectly here, and kids love smashing them up for the final touch.
Kitchen Equipment Needed
- Mixing bowls – One for dry ingredients, one for wet; I love using my large Pyrex bowls because they’re sturdy and easy to clean.
- Electric mixer – Makes frosting silky and cupcakes smooth; handheld works fine too.
- Muffin tin – Standard 12-cup size; nonstick makes removal a breeze.
- Cupcake liners – Keep cupcakes from sticking and make them easy to decorate.
- Measuring cups and spoons – Accurate measurements are key for perfect cupcakes.
- Spatula – For folding ingredients gently and scraping down the sides of bowls.
- Spoon or piping bag – To frost cupcakes neatly; I personally like a small offset spatula for a rustic look.
- Food processor or rolling pin – To crush cookies into “dirt” for topping.
Instructions
1. Prepare Your Oven and Muffin Tin
- Preheat your oven to 350°F (175°C).
- Line a 12-cup muffin tin with cupcake liners.
- Pro tip: Press the liners gently into each cup so they sit flat; this helps the cupcakes bake evenly.
2. Mix the Dry Ingredients
- In a large mixing bowl, combine 1 ½ cups flour, 1 cup sugar, ⅓ cup cocoa powder, 1 tsp baking soda, and ½ tsp salt.
- Whisk together until well combined.
- Pro tip: Sifting the cocoa powder with the flour helps prevent clumps and gives a smoother cupcake texture.
3. Combine the Wet Ingredients
- In a separate bowl, mix ⅓ cup vegetable oil, 1 cup buttermilk, 1 large egg, and 1 tsp vanilla extract until smooth.
- Slowly stir in ½ cup hot water to make the batter more fluid and airy.
- Pro tip: Add the hot water gradually and whisk continuously to avoid lumps.
4. Combine Wet and Dry Ingredients
- Pour the wet mixture into the dry ingredients.
- Gently fold together using a spatula until just combined. Avoid overmixing; a few small lumps are okay.
- Pro tip: Overmixing can make cupcakes dense—fold gently for light, fluffy results.
5. Bake the Cupcakes
- Divide the batter evenly among the 12 cupcake liners, filling each about ⅔ full.
- Bake for 18–22 minutes, or until a toothpick inserted in the center comes out clean.
- Let the cupcakes cool in the pan for 5 minutes, then transfer to a wire rack to cool completely.
- Pro tip: Cooling completely before frosting prevents the buttercream from melting.
6. Prepare the Frosting
- Beat ½ cup softened butter until creamy.
- Gradually add 1 ½ cups powdered sugar and 2 tbsp cocoa powder, beating on low speed at first.
- Add 2–3 tbsp milk and 1 tsp vanilla extract, then beat on high until fluffy.
- Pro tip: Adjust milk one teaspoon at a time if the frosting is too thick.
7. Frost the Cupcakes
- Use a spoon, spatula, or piping bag to frost each cupcake generously.
- Smooth the frosting slightly to create a “ground” effect for your decorations.
8. Decorate with “Dirt” and Worms
- Sprinkle crushed chocolate cookie crumbs over the frosting to look like dirt.
- Insert gummy worms so they peek out of the cupcake for a spooky effect.
- Add candy eyes if you want extra fun and character.
- Pro tip: For a playful twist, bend the gummy worms slightly to make them look like they’re wriggling out of the cupcake.
Tips and Tricks for Success
- Use room-temperature ingredients—especially eggs and buttermilk—for smoother batter and fluffier cupcakes.
- Don’t overmix the batter; gentle folding keeps the cupcakes light and tender.
- Cool cupcakes completely before frosting to avoid melty buttercream.
- Crush the cookie crumbs finely for a more realistic “dirt” effect.
- Experiment with gummy worm placement—half buried, crawling up the frosting—for maximum spooky fun.
- Store unfrosted cupcakes in an airtight container if making ahead; frost just before serving for best results.
Ingredient Substitutions and Variations
- Flour: Use whole wheat or gluten-free flour blend for a healthier or allergy-friendly option.
- Cocoa powder: Dutch-processed cocoa can be swapped in for a richer chocolate flavor.
- Buttermilk: Sub with 1 cup milk + 1 tbsp lemon juice or vinegar if you don’t have buttermilk on hand.
- Vegetable oil: Melted coconut oil or butter works well too, adding a subtle flavor twist.
- Frosting: Swap chocolate for cream cheese frosting or vanilla buttercream for variety.
- Decorations: Mini spiders, candy eyeballs, or even crushed pretzels can replace gummy worms for a different spooky effect.
Serving Suggestions
- I love serving these Halloween Worm Cupcakes on a festive platter with a drizzle of chocolate sauce—it makes the “dirt” extra shiny and fun.
- Pair them with a warm mug of spiced apple cider for the ultimate fall treat baking experience.
- They’re perfect for a kids’ Halloween party—set up a decorating station so everyone can add their own gummy worms.
- For a cozy movie night, serve them alongside pumpkin-flavored popcorn or caramel popcorn—it’s a sweet and salty combo I adore.
- If you’re hosting an adult gathering, try pairing them with a rich, creamy coffee or a spiced latte; the chocolate and “dirt” crumbs contrast beautifully with warm beverages.
Storage and Reheating Instructions
- Store cupcakes in an airtight container at room temperature for up to 3 days.
- Refrigerate if your kitchen is warm; bring to room temperature before serving for the best flavor and texture.
- Frosted cupcakes can be frozen for up to 2 months; thaw overnight in the fridge and decorate before serving.
- If cupcakes get slightly stale, warm them in the microwave for 10–15 seconds to refresh their softness.
- Keep decorations like gummy worms or candy eyes separate if freezing, and add them fresh after thawing for maximum fun.
Frequently Asked Questions
Can I make these cupcakes ahead of time?
Absolutely! You can bake them a day or two in advance. Just store unfrosted cupcakes in an airtight container and frost them the day you plan to serve.
Can I use a different type of frosting?
Yes! Cream cheese frosting or vanilla buttercream works wonderfully if you want a lighter or tangier flavor.
What if I don’t have gummy worms?
No problem—use mini chocolate bars, candy eyeballs, or crushed pretzels for a different spooky twist.
Can I make these gluten-free?
Yes! Swap the all-purpose flour for a gluten-free flour blend. The texture might be slightly different but still delicious.
How do I keep the “dirt” from getting soggy?
Sprinkle the cookie crumbs on top just before serving. This keeps them crunchy and visually appealing.
Can kids help with this recipe?
Definitely! Kids can help decorate by placing gummy worms or sprinkling cookie crumbs, making it a fun hands-on activity.
Did you try this recipe? Let me know in the comments how it turned out!
Halloween Worm Cupcakes
Equipment
- Mixing Bowls
- Electric mixer
- Muffin Tin
- Cupcake liners
- Measuring cups and spoons
- Spatula
- Spoon or piping bag
- Food processor or rolling pin
Ingredients
For the Cupcakes:
- 1 ½ cups all-purpose flour
- 1 cup granulated sugar
- ⅓ cup unsweetened cocoa powder
- 1 tsp baking soda
- ½ tsp salt
- ⅓ cup vegetable oil
- 1 cup buttermilk room temperature
- 1 large egg
- 1 tsp vanilla extract
- ½ cup hot water
For the Frosting:
- ½ cup unsalted butter softened
- 1 ½ cups powdered sugar
- 2 tbsp cocoa powder
- 2 –3 tbsp milk
- 1 tsp vanilla extract
For Decoration:
- Gummy worms about 12–15
- Chocolate cookie crumbs about 1 cup
- Candy eyes optional, for extra fun!
Instructions
Prepare Your Oven and Muffin Tin
- Preheat your oven to 350°F (175°C).
- Line a 12-cup muffin tin with cupcake liners.
- Pro tip: Press the liners gently into each cup so they sit flat; this helps the cupcakes bake evenly.
Mix the Dry Ingredients
- In a large mixing bowl, combine 1 ½ cups flour, 1 cup sugar, ⅓ cup cocoa powder, 1 tsp baking soda, and ½ tsp salt.
- Whisk together until well combined.
- Pro tip: Sifting the cocoa powder with the flour helps prevent clumps and gives a smoother cupcake texture.
Combine the Wet Ingredients
- In a separate bowl, mix ⅓ cup vegetable oil, 1 cup buttermilk, 1 large egg, and 1 tsp vanilla extract until smooth.
- Slowly stir in ½ cup hot water to make the batter more fluid and airy.
- Pro tip: Add the hot water gradually and whisk continuously to avoid lumps.
Combine Wet and Dry Ingredients
- Pour the wet mixture into the dry ingredients.
- Gently fold together using a spatula until just combined. Avoid overmixing; a few small lumps are okay.
- Pro tip: Overmixing can make cupcakes dense—fold gently for light, fluffy results.
Bake the Cupcakes
- Divide the batter evenly among the 12 cupcake liners, filling each about ⅔ full.
- Bake for 18–22 minutes, or until a toothpick inserted in the center comes out clean.
- Let the cupcakes cool in the pan for 5 minutes, then transfer to a wire rack to cool completely.
- Pro tip: Cooling completely before frosting prevents the buttercream from melting.
Prepare the Frosting
- Beat ½ cup softened butter until creamy.
- Gradually add 1 ½ cups powdered sugar and 2 tbsp cocoa powder, beating on low speed at first.
- Add 2–3 tbsp milk and 1 tsp vanilla extract, then beat on high until fluffy.
- Pro tip: Adjust milk one teaspoon at a time if the frosting is too thick.
Frost the Cupcakes
- Use a spoon, spatula, or piping bag to frost each cupcake generously.
- Smooth the frosting slightly to create a “ground” effect for your decorations.
Decorate with “Dirt” and Worms
- Sprinkle crushed chocolate cookie crumbs over the frosting to look like dirt.
- Insert gummy worms so they peek out of the cupcake for a spooky effect.
- Add candy eyes if you want extra fun and character.
- Pro tip: For a playful twist, bend the gummy worms slightly to make them look like they’re wriggling out of the cupcake.
Notes
Nutritional Value (per cupcake, approximate):
- Calories: 220–250 kcal
- Carbohydrates: 35–38 g
- Sugars: 20–22 g
- Fat: 9–11 g
- Saturated Fat: 5–6 g
- Protein: 2–3 g
- Fiber: 1–2 g