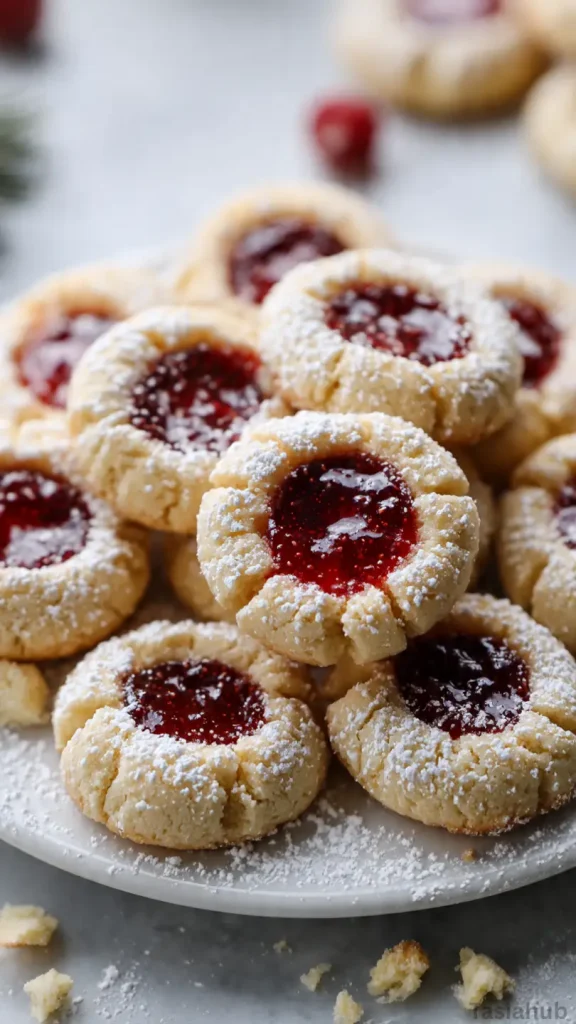
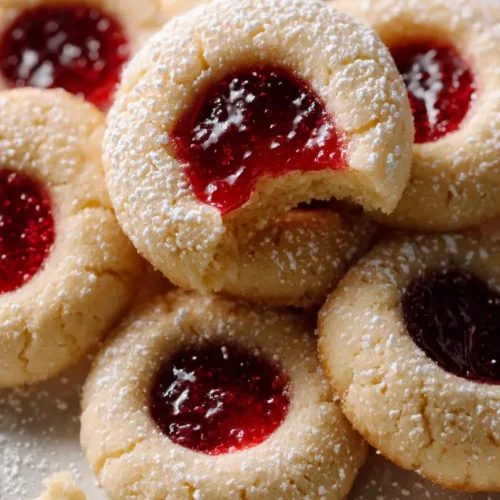
Gluten-free Christmas Thumbprint Cookies
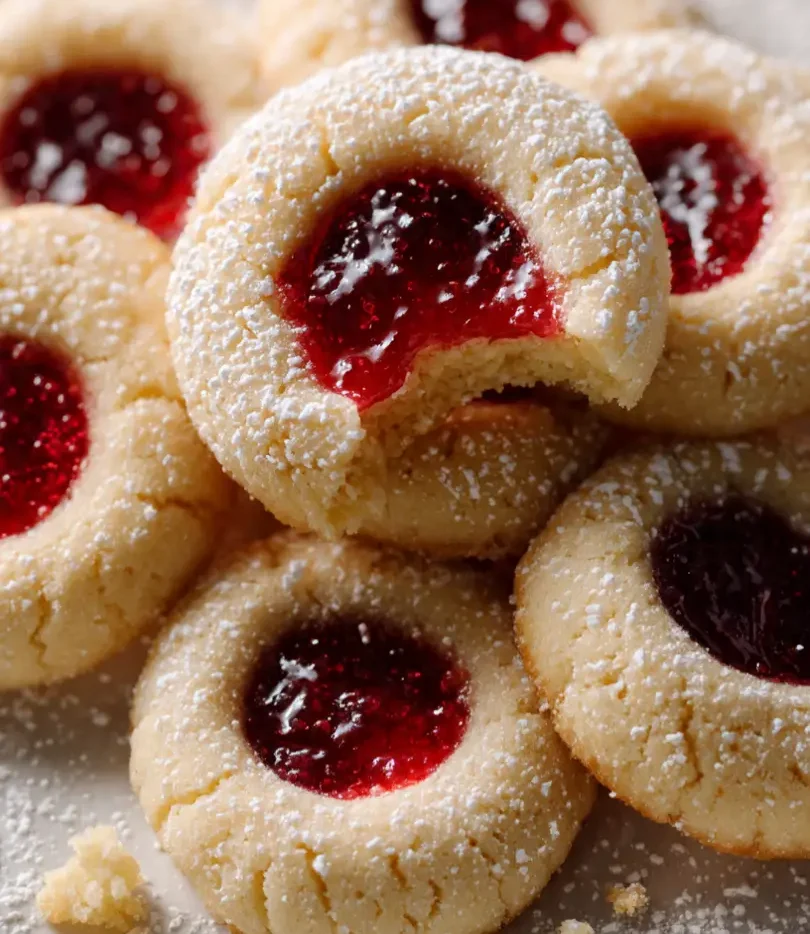
The holiday season is the perfect time to gather in the kitchen, mix up a batch of sweet treats, and fill your home with the aroma of freshly baked cookies. These gluten-free Christmas thumbprint cookies are not only festive and colorful but also delightfully soft and buttery, with a sweet jam-filled center that melts in your mouth. Whether you’re baking for family, friends, or just yourself, these cookies bring joy in every bite.
What I love about this recipe is how simple it is. You don’t need a long list of ingredients or complicated steps. Even if it’s your first time baking gluten-free, these easy gluten free cookies come together quickly and hold their shape beautifully. The result is a batch of cookies that taste indulgent without any fuss — perfect for a holiday baking marathon or a last-minute treat.
I’ve tried countless thumbprint recipes over the years, but these truly stand out as some of the best thumbprint cookies I’ve ever made. They have the perfect balance of soft, tender dough and sweet, vibrant jam filling. Plus, since they’re gluten-free, anyone at your holiday table can enjoy them without worrying about gluten. It’s always rewarding to see everyone reach for seconds, knowing they’re enjoying the best gluten free cookies that are just as festive as traditional holiday treats.
One of my favorite things about these easy thumbprint cookies is their versatility. You can fill them with raspberry, strawberry, or even apricot jam, depending on your mood and what’s in your pantry. Decorating them is optional, but I like to sprinkle a little powdered sugar on top for a snowy, Christmasy finish. These Christmas thumbprint cookies aren’t just cookies; they’re a little celebration in your hand, a sweet moment to share with loved ones during the most wonderful time of the year.
Why You’ll Love It
- Perfect for everyone at the table – These GF thumbprint cookies are tender, buttery, and jam-filled, making them a hit for anyone, whether they eat gluten or not. No one will even notice they’re gluten-free!
- Quick and fuss-free baking – With a simple ingredient list and easy steps, these easy gluten free cookies come together in no time, leaving more space for sipping cocoa and enjoying the holiday cheer.
- Customizable flavors – Fill them with raspberry, strawberry, or your favorite jam. You can even mix a little chocolate or nuts into the dough for a personal twist on the best thumbprint cookies.
- Festive and colorful – These Christmas thumbprint cookies look as good as they taste. The vibrant jam centers and optional powdered sugar sprinkle make them perfect for gifting or decorating your holiday cookie platter.
- Soft, melt-in-your-mouth texture – Unlike some cookies that turn hard when baked, these Christmas cookies stay tender and soft, giving you that cozy, homemade feel with every bite.
Ingredient List
For the Cookies
- 1 cup (2 sticks) unsalted butter, softened
- 2/3 cup granulated sugar
- 1 teaspoon vanilla extract
- 2 large egg yolks
- 2 cups gluten-free all-purpose flour (I use a 1:1 blend with xanthan gum included)
- 1/4 teaspoon salt
For the Filling
- 1/2 cup raspberry jam (or your favorite jam)
- Optional: powdered sugar, for sprinkling
Ingredient Notes
- I always use a gluten-free 1:1 flour blend—it keeps the cookies soft without crumbling.
- Don’t skip the egg yolks! They make the dough super tender and rich.
- Butter is key here. I always go for unsalted, high-quality butter—it really elevates the flavor.
- Jam choice matters: I love raspberry for the bright pop of color and tartness, but apricot or strawberry works beautifully too.
- A light sprinkle of powdered sugar after baking adds a snowy, festive touch, but it’s optional if you like your Christmas cookies extra simple.
Kitchen Equipment Needed
- Mixing bowls – For combining your dough and keeping ingredients organized. I like using glass bowls so I can see everything clearly.
- Electric mixer or hand whisk – Makes creaming butter and sugar a breeze; I always use my stand mixer for smooth, fluffy dough.
- Measuring cups and spoons – Essential for precise baking. I have a set I keep just for gluten-free recipes.
- Baking sheet – For baking the cookies evenly. I prefer a heavy-duty, non-stick sheet.
- Parchment paper or silicone baking mat – Prevents sticking and makes cleanup super easy.
- Teaspoon or small cookie scoop – For making uniform dough balls; consistency helps the cookies bake evenly.
- Fork or thumb – Yep, that’s right! For pressing the jam wells into the cookie dough. My favorite “tool” is just my thumb—it’s perfect!
Instructions
1. Preheat and Prep
- Preheat your oven to 350°F (175°C).
- Line a baking sheet with parchment paper or a silicone baking mat.
- Pro Tip: Make sure your butter is softened but not melted; this gives the cookies a soft, tender texture.
2. Cream Butter and Sugar
- In a large mixing bowl, beat the softened butter and granulated sugar together until light and fluffy (about 2–3 minutes).
- Add the vanilla extract and egg yolks, and continue beating until fully combined.
- Pro Tip: Scrape down the sides of the bowl halfway through to ensure everything is evenly mixed.
3. Mix Dry Ingredients
- In a separate bowl, whisk together the gluten-free flour and salt.
- Gradually add the dry ingredients to the butter mixture, mixing on low speed until just combined.
- Pro Tip: Don’t overmix—gluten-free flour can make cookies tough if overworked.
4. Form the Cookie Dough
- Using a teaspoon or cookie scoop, portion out dough into small balls (about 1 inch each).
- Place the dough balls onto the prepared baking sheet, spacing them about 2 inches apart.
- Use your thumb (or a small spoon) to gently press an indentation into the center of each cookie.
5. Fill with Jam
- Spoon a small amount of raspberry jam (or your preferred jam) into each indentation.
- Pro Tip: Don’t overfill—the jam will spread while baking, but too much can cause cookies to flatten.
6. Bake the Cookies
- Bake in the preheated oven for 12–15 minutes, or until the edges are lightly golden.
- Allow cookies to cool on the baking sheet for 5 minutes, then transfer to a wire rack to cool completely.
- Pro Tip: Let the cookies set a bit before moving them; gluten-free cookies are softer and can break if handled too soon.
7. Optional Finishing Touch
- Once cooled, sprinkle lightly with powdered sugar for a festive look.
- Serve and enjoy your Christmas thumbprint cookies!
Tips and Tricks for Success
- Use room-temperature butter – It creams better with sugar, giving your cookies a soft, tender texture.
- Chill the dough if needed – If your kitchen is warm, chilling for 10–15 minutes helps the cookies hold their shape.
- Don’t overfill with jam – Keeps the cookies from spreading too much and keeps them looking neat.
- Space cookies properly – Leave about 2 inches between each cookie to prevent them from merging in the oven.
- Cool completely before storing – This keeps the cookies from becoming too soft or sticky in the container.
Ingredient Substitutions and Variations
- Jam alternatives – Swap raspberry jam with strawberry, apricot, or even a chocolate-hazelnut spread for a twist.
- Flour options – Any 1:1 gluten-free flour blend works; make sure it includes xanthan gum for structure.
- Butter alternatives – Unsalted dairy butter works best, but you can use vegan butter to make it dairy-free.
- Add-ins – Roll the dough balls in finely chopped nuts or sprinkle a little cinnamon on top for extra flavor.
- Sweetener swaps – Granulated sugar can be replaced with coconut sugar for a slightly richer flavor and subtle caramel notes.
Serving Suggestions
- I love serving these Christmas thumbprint cookies on a festive plate alongside a hot cup of cocoa—it’s the ultimate cozy holiday treat!
- Pair them with a glass of cold milk for an afternoon snack; the jam center and buttery cookie make the perfect sweet bite.
- Arrange them on a holiday cookie platter with other Christmas cookies for gifting or a party—it always gets compliments!
- Enjoy one with your morning coffee or tea; the soft texture and sweet jam make it feel like a mini celebration.
- Serve them as a sweet ending to holiday meals; they’re light enough to enjoy after dinner without feeling too heavy.

Storage and Reheating Instructions
- Room temperature: Store in an airtight container for up to 5 days to keep cookies soft.
- Refrigeration: Place in a sealed container in the fridge for up to 1 week; bring to room temperature before serving.
- Freezing: Freeze unbaked cookie dough balls for up to 3 months. Bake directly from frozen, adding 1–2 minutes to baking time.
- Reheating: Warm baked cookies in a 300°F (150°C) oven for 3–5 minutes to refresh their softness.
- Jam care: If cookies sit for a while, the jam may thicken—microwave briefly for a few seconds to soften if desired.
Frequently Asked Questions
Can I make these cookies ahead of time?
Absolutely! You can prepare the dough and refrigerate for up to 24 hours before baking. The cookies will taste just as soft and delicious when baked fresh.
Can I use a different type of jam?
Yes! While I love raspberry for a classic touch, strawberry, apricot, or even chocolate spread works wonderfully in these Christmas thumbprint cookies.
Are these cookies suitable for people with gluten intolerance?
Yes, these are fully gluten-free! Using a good 1:1 gluten-free flour blend makes these some of the best gluten free cookies, soft and flavorful without any gluten.
Can I make them dairy-free?
You can swap the butter for a vegan alternative. The texture might be slightly different, but they’ll still be delicious easy thumbprint cookies.
Why are my cookies spreading too much?
Make sure your dough is chilled if your kitchen is warm, and don’t overfill the jam. Proper spacing on the baking sheet also helps maintain their shape.
Can I freeze these cookies?
Yes! Bake and cool completely, then store in an airtight container in the freezer for up to 3 months. Thaw at room temperature before serving.
Did you try this recipe? Let me know in the comments how it turned out!
Gluten-free Christmas Thumbprint Cookies
Equipment
- Mixing Bowls
- Electric Mixer (or Hand Whisk)
- Measuring cups and spoons
- Baking Sheet
- Parchment paper or silicone baking mat
- Teaspoon or small cookie scoop
- Fork or thumb
Ingredients
For the Cookies
- 1 cup 2 sticks unsalted butter, softened
- 2/3 cup granulated sugar
- 1 teaspoon vanilla extract
- 2 large egg yolks
- 2 cups gluten-free all-purpose flour I use a 1:1 blend with xanthan gum included
- 1/4 teaspoon salt
For the Filling
- 1/2 cup raspberry jam or your favorite jam
- Optional: powdered sugar for sprinkling
Instructions
Preheat and Prep
- Preheat your oven to 350°F (175°C).
- Line a baking sheet with parchment paper or a silicone baking mat.
- Pro Tip: Make sure your butter is softened but not melted; this gives the cookies a soft, tender texture.
Cream Butter and Sugar
- In a large mixing bowl, beat the softened butter and granulated sugar together until light and fluffy (about 2–3 minutes).
- Add the vanilla extract and egg yolks, and continue beating until fully combined.
- Pro Tip: Scrape down the sides of the bowl halfway through to ensure everything is evenly mixed.
Mix Dry Ingredients
- In a separate bowl, whisk together the gluten-free flour and salt.
- Gradually add the dry ingredients to the butter mixture, mixing on low speed until just combined.
- Pro Tip: Don’t overmix—gluten-free flour can make cookies tough if overworked.
Form the Cookie Dough
- Using a teaspoon or cookie scoop, portion out dough into small balls (about 1 inch each).
- Place the dough balls onto the prepared baking sheet, spacing them about 2 inches apart.
- Use your thumb (or a small spoon) to gently press an indentation into the center of each cookie.
Fill with Jam
- Spoon a small amount of raspberry jam (or your preferred jam) into each indentation.
- Pro Tip: Don’t overfill—the jam will spread while baking, but too much can cause cookies to flatten.
Bake the Cookies
- Bake in the preheated oven for 12–15 minutes, or until the edges are lightly golden.
- Allow cookies to cool on the baking sheet for 5 minutes, then transfer to a wire rack to cool completely.
- Pro Tip: Let the cookies set a bit before moving them; gluten-free cookies are softer and can break if handled too soon.
Optional Finishing Touch
- Once cooled, sprinkle lightly with powdered sugar for a festive look.
- Serve and enjoy your Christmas thumbprint cookies!
Notes
Nutritional Value (Per Cookie – Approximate)
- Calories: 130
- Fat: 7g
- Saturated Fat: 4g
- Carbohydrates: 15g
- Sugar: 8g
- Protein: 1g
- Cholesterol: 25mg
- Sodium: 45mg