Caramel Apple Cheesecake Bars
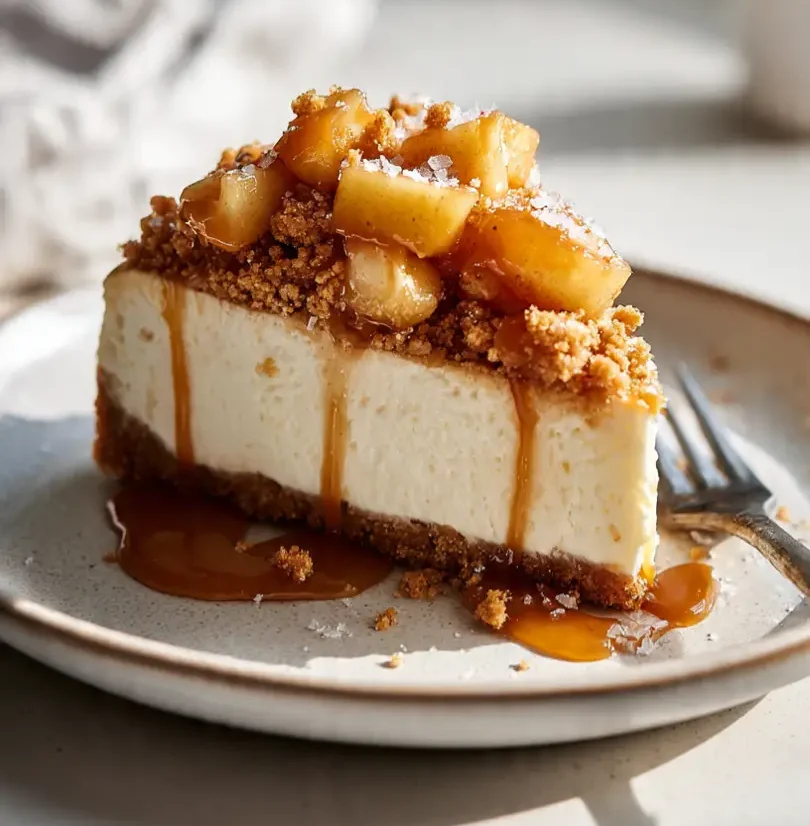
Caramel and apples have always been a match made in dessert heaven, but when you layer them with creamy cheesecake and a buttery crust, you get something truly unforgettable: caramel apple cheesecake bars. They’re the kind of dessert that feels both cozy and indulgent, perfect for fall gatherings, yet simple enough to enjoy on a quiet evening at home.
What makes these bars special is how they bring together the best of two classics—cheesecake and apple pie. It’s like having a slice of your favorite apple pie cheesecake recipe, but in a handheld bar that’s easier to share (or not share at all, no judgment). Each bite has that sweet caramel drizzle, tender baked apples, and a hint of warm spices that taste like autumn wrapped in dessert form.
If you’ve ever tried apple butter cheesecake, you know how incredible apples and creamy filling can taste together. These bars take that same comfort but add a little crunch with a crumble topping that reminds you of a homemade apple crumble cheesecake recipe. The contrast of textures—soft, creamy, crisp, and gooey—keeps every bite exciting.
And here’s a bonus: they can fit into a lineup of healthy Thanksgiving desserts, especially if you lighten up the crust or swap in Greek yogurt for part of the cream cheese. They’re versatile, festive, and sure to stand out on the dessert table, whether you’re making them for a holiday dinner, a potluck, or just because you couldn’t resist baking something sweet with apples.
Why You’ll Love It
- A dessert with layers of comfort. From the buttery crust to the creamy cheesecake center, caramel-drizzled apples, and crumbly topping, every layer adds a new kind of deliciousness.
- The perfect mash-up of two classics. These bars combine the richness of cheesecake with the cozy flavors of apple pie, giving you the best of both worlds in one bite.
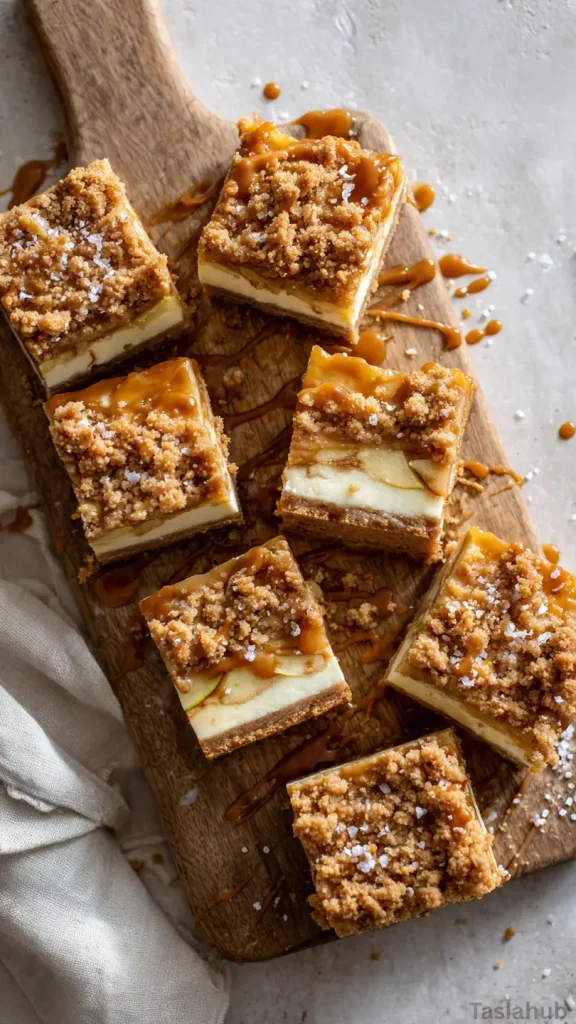
- Great for sharing (or keeping to yourself). Cut into neat squares, they’re easy to serve at parties, potlucks, or family dinners—but they also store beautifully if you want a personal stash.
- Customizable for every taste. Whether you love a drizzle of extra caramel, prefer a little less sugar, or want to try them with apple butter cheesecake filling, these bars adapt easily.
- Holiday-ready but not just seasonal. They’re perfect as healthy Thanksgiving desserts when lightened up, but they also shine as a year-round treat whenever apples are in season.
Ingredient List
For the Crust
- 1 1/2 cups graham cracker crumbs
- 1/4 cup granulated sugar
- 1/2 cup unsalted butter, melted
For the Cheesecake Layer
- 16 oz cream cheese, softened
- 1/2 cup granulated sugar
- 2 large eggs
- 1 tsp vanilla extract
For the Apple Layer
- 2 medium apples, peeled and diced (about 2 cups)
- 2 tbsp granulated sugar
- 1/2 tsp ground cinnamon
- 1/4 tsp nutmeg
For the Crumble Topping
- 1/2 cup old-fashioned oats
- 1/2 cup light brown sugar, packed
- 1/4 cup all-purpose flour
- 1/4 cup unsalted butter, cold and cubed
For the Finish
- 1/2 cup caramel sauce, for drizzling
Ingredient Notes
- Cream Cheese: I always use full-fat cream cheese (Philadelphia is my go-to) because it makes the cheesecake layer extra rich and smooth. Low-fat works too, but you’ll miss a little of that classic creaminess.
- Apples: Don’t skip the fresh apples! I love using Honeycrisp or Granny Smith—one gives sweetness, the other adds tartness. You can even mix both for balance.
- Oats: Old-fashioned oats give the crumble a hearty, bakery-style texture. Quick oats won’t have the same chew.
- Caramel Sauce: A good-quality caramel sauce makes these bars irresistible. If you have time, homemade caramel takes it to the next level, but store-bought works perfectly in a pinch.
- Spices: Cinnamon and nutmeg bring the “fall flavor” vibe. A dash of apple pie spice blend is also amazing if you have it on hand.
Kitchen Equipment Needed
- 9×13-inch baking pan – The perfect size for layering and cutting the bars evenly. I like using a glass dish so I can see the crust browning.
- Mixing bowls (set of 3) – One for the crust, one for the cheesecake layer, and one for the apples + crumble topping. Keeps things tidy.
- Electric mixer or hand whisk – To whip the cream cheese smooth. I usually grab my hand mixer—it’s quick and easy for this recipe.
- Rubber spatula – Great for scraping down the bowl so every bit of cheesecake batter makes it into the pan.
- Sharp knife + cutting board – For peeling and dicing the apples into even little cubes.
- Measuring cups and spoons – Accuracy matters in baking (especially for that cheesecake layer).
- Small saucepan (optional) – If you decide to make homemade caramel sauce, this is your tool.
Instructions
Step 1 — Prep & preheat
- Preheat the oven to 350°F (175°C).
- Line a 9×13-inch baking pan with parchment paper, leaving a 2–3 inch overhang on two opposite sides (this makes lifting the whole slab out later so easy). Lightly grease the exposed pan edges.
- Gather measured ingredients and room-temperature items (cream cheese and eggs). Having everything staged makes the process smooth and relaxing—not rushed.
Pro tip: Room-temperature cream cheese blends so much more smoothly—you’ll thank me when your batter is lump-free.
Step 2 — Make the crust
- In a medium bowl, combine 1 1/2 cups graham cracker crumbs and 1/4 cup granulated sugar.
- Pour in the 1/2 cup melted butter and stir until the crumbs are evenly moistened.
- Transfer the mixture to the prepared pan and press firmly and evenly into the bottom (use the bottom of a measuring cup for an even, compact crust).
- Bake the crust for 8–10 minutes, then remove from the oven and let it cool slightly while you prepare the fillings.
Pro tip: Pressing the crust firmly prevents crumbling and gives you clean bars—don’t be shy with your press.
Step 3 — Prepare the apple layer
- Peel, core, and dice 2 medium apples into small, even pieces (about 1/2-inch cubes).
- In a medium skillet over medium heat, combine apples, 2 tbsp granulated sugar, 1/2 tsp cinnamon, 1/4 tsp nutmeg, and a squeeze of lemon juice (about 1 tsp) to brighten the flavor.
- Cook, stirring often, until the apples are softened and most of the liquid has evaporated — about 6–8 minutes. You want tender apples, not a watery mixture.
- Remove from heat and let the apples cool to warm/room temperature. If there’s a lot of liquid, drain it off so the cheesecake layer won’t get soggy.
Pro tip: Cooking the apples first is a game changer — it concentrates flavor and prevents soggy bars later.
Step 4 — Make the cheesecake layer
- In a large bowl, beat 16 oz softened cream cheese with 1/2 cup granulated sugar until smooth and silky. Scrape the bowl down so everything blends.
- Add 2 large eggs one at a time, mixing gently after each addition. Stir in 1 tsp vanilla extract. Mix only until combined — overbeating introduces too much air and can cause cracks.
- Pour the cheesecake mixture evenly over the slightly cooled crust, smoothing the top with a spatula.
Pro tip: Beat cream cheese on low to medium speed and scrape the bowl often—this prevents lumps and keeps the texture ultra-creamy.
Step 5 — Assemble the apples + crumble
- Spoon the cooled apple mixture in an even layer over the cheesecake batter. Try to keep the apples roughly the same distribution so each bar gets some.
- Make the crumble: in a bowl combine 1/2 cup old-fashioned oats, 1/2 cup packed light brown sugar, 1/4 cup all-purpose flour, and the 1/4 cup cold cubed butter. Use your fingers or a pastry cutter to work the butter in until you have pebble-sized crumbs.
- Sprinkle the crumble evenly across the apple layer.
Pro tip: Keep the butter cold for a flakier, bakery-style crumble. If it warms up, pop the bowl in the fridge for a few minutes before sprinkling.
Step 6 — Bake
- Bake the assembled pan at 350°F (175°C) for 25–30 minutes, or until the edges are set and the center is just slightly jiggly when you gently shake the pan. The crumble should be golden.
- If you’re using a glass pan, it may take a few minutes longer—watch for golden color rather than strictly timing.
Pro tip: A toothpick in the center should come out with only a few moist crumbs—overbaking will dry the cheesecake.
Step 7 — Cool, chill, and finish
- Let the bars cool on a wire rack for about 1 hour to come to room temperature. Then transfer to the refrigerator and chill for at least 2–4 hours, ideally overnight. Cheesecake firms up as it chills and slices much cleaner.
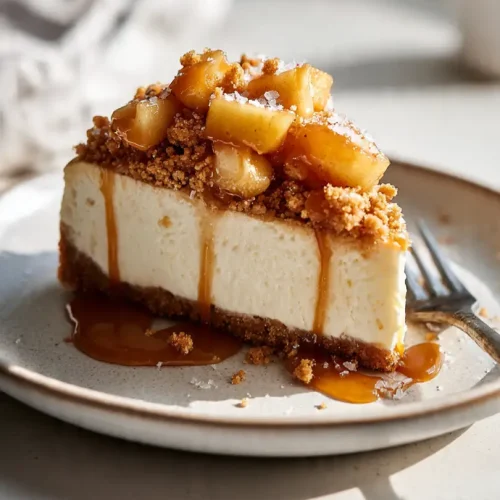
- When ready to serve, warm 1/2 cup caramel sauce slightly (10–15 seconds in the microwave) so it’s pourable, then drizzle over the bars. A tiny sprinkle of flaky sea salt on top of the caramel is heavenly.
Pro tip: Chill fully before slicing. For the cleanest squares, lift the slab from the pan using the parchment overhang, place on a cutting board, and use a sharp knife dipped in hot water (wipe dry between cuts).
Step 8 — Slice, store, and serving notes
- Slice into 12–15 bars depending on how generous you want the pieces. Serve chilled or slightly warmed.
- Store in an airtight container in the refrigerator for up to 4 days. To freeze, cut into squares, place parchment between layers, and freeze up to 1 month—thaw in the fridge before serving.
Tips and Tricks for Success
- Chill completely before slicing. Rushing this step will give you messy edges and soft bars. Overnight chilling works best.
- Line your pan with parchment paper. The overhang makes lifting the bars out a breeze—no sticking, no broken crust.
- Don’t overmix the cheesecake batter. Too much air leads to cracks; smooth and gentle mixing is enough.
- Use firm apples. Softer varieties can turn mushy when baked, so stick with Honeycrisp, Fuji, or Granny Smith.
- Warm your caramel slightly. Just a few seconds in the microwave makes it silky and easier to drizzle beautifully.
Ingredient Substitutions and Variations
- Crust: Swap graham crackers with crushed gingersnaps or vanilla wafers for a flavor twist.
- Cheesecake Layer: Replace half the cream cheese with Greek yogurt for a lighter, protein-packed version (great if you want healthier Thanksgiving desserts).
- Apple Layer: Try using apple butter cheesecake filling instead of diced apples for a smoother texture and deeper flavor.
- Crumble Topping: Add chopped pecans or walnuts for extra crunch.
- Caramel Finish: Go for salted caramel sauce if you love a sweet-salty combo.
- Spices: Replace cinnamon + nutmeg with apple pie spice for a shortcut that still gives amazing flavor.
- Gluten-Free Option: Use gluten-free graham crackers or almond flour crust instead of the traditional base.
Serving Suggestions
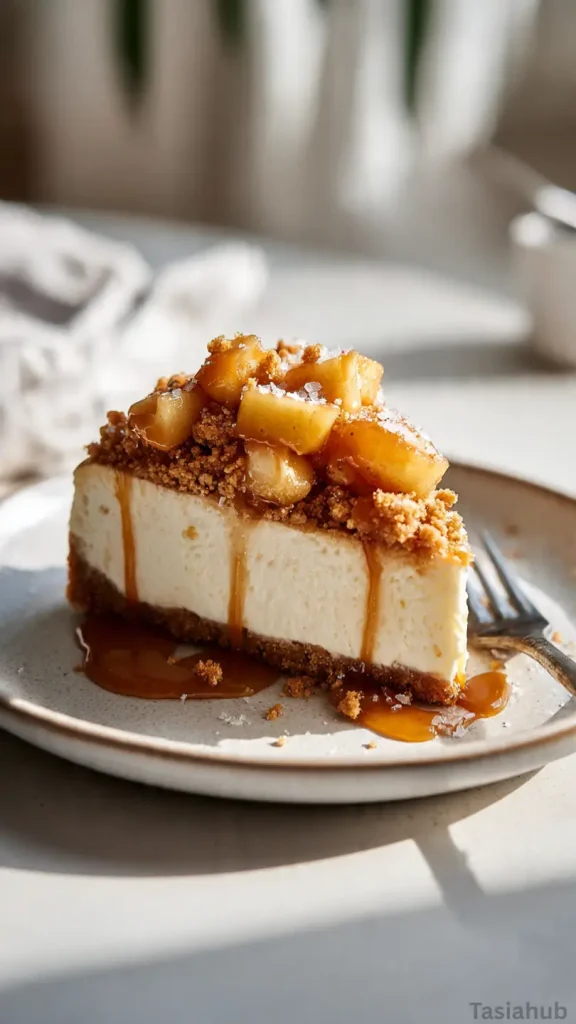
- With a drizzle (or two) of caramel. I love serving these bars with an extra caramel drizzle just before bringing them to the table—it makes them look bakery-worthy and adds that gooey finish.
- Topped with whipped cream. A fluffy dollop of whipped cream (or even cinnamon whipped cream) balances the richness beautifully.
- As part of a fall dessert spread. Pair alongside pumpkin pie, pecan bars, and other caramel apple desserts for a festive holiday dessert table.
- With coffee or apple cider. I personally love enjoying a bar with a warm cup of spiced apple cider—it doubles down on those cozy fall vibes.
- Chilled with a touch of sea salt. Serving them cold from the fridge with a sprinkle of flaky sea salt on top of the caramel gives the perfect sweet-salty balance.
Storage and Reheating Instructions
- Refrigerator: Store bars in an airtight container in the fridge for up to 4 days.
- Freezer: Freeze individually wrapped bars (with parchment between layers) in a freezer-safe container for up to 1 month.
- Thawing: Place frozen bars in the fridge overnight or on the counter for about an hour before serving.
- Reheating (optional): Cheesecake is best chilled, but if you prefer them slightly warm, heat individual bars in the microwave for 10–15 seconds—just enough to soften the caramel topping.
- Serving from fridge: For clean slices, let refrigerated bars sit at room temperature for 5 minutes before serving—they’ll taste creamier and slice easier.
Frequently Asked Questions
How many bars does this recipe make?
You’ll get about 12–15 bars, depending on how big you slice them. For parties, I usually cut smaller squares so more people can enjoy a piece.
Can I make these ahead of time?
Yes! These bars actually taste better the next day after chilling. You can make them a day or two in advance, store in the fridge, and they’ll be ready when you are.
What apples work best for this recipe?
Firm apples like Granny Smith, Honeycrisp, or Fuji hold up best when baked. I often mix Granny Smith (tart) with Honeycrisp (sweet) for the perfect balance.
Can I skip the crumble topping?
You can, but I don’t recommend it. The crumble adds texture and makes these taste like an apple crumble cheesecake recipe in bar form. Without it, you’ll miss that extra crunch.
Is there a healthier way to make these?
Absolutely! Swap half the cream cheese with Greek yogurt, use less sugar, and choose a whole wheat or nut-based crust. That way, they fit nicely into a list of healthy Thanksgiving desserts.
Do these bars freeze well?
Yes, they freeze beautifully. Wrap them tightly, freeze up to a month, and thaw in the fridge overnight. The texture stays creamy, and the apples hold up well.
Did you try this caramel apple cheesecake bars recipe? Let me know in the comments how it turned out—I’d love to hear your twist on it!
Caramel Apple Cheesecake Bars
Equipment
- 9×13-inch Baking Pan
- Mixing bowls (set of 3)
- Electric Mixer (or Hand Whisk)
- Rubber spatula
- Sharp knife & cutting board
- Measuring cups and spoons
- Small Saucepan (Optional)
Ingredients
For the Crust
- 1 1/2 cups graham cracker crumbs
- 1/4 cup granulated sugar
- 1/2 cup unsalted butter melted
For the Cheesecake Layer
- 16 oz cream cheese softened
- 1/2 cup granulated sugar
- 2 large eggs
- 1 tsp vanilla extract
For the Apple Layer
- 2 medium apples peeled and diced (about 2 cups)
- 2 tbsp granulated sugar
- 1/2 tsp ground cinnamon
- 1/4 tsp nutmeg
For the Crumble Topping
- 1/2 cup old-fashioned oats
- 1/2 cup light brown sugar packed
- 1/4 cup all-purpose flour
- 1/4 cup unsalted butter cold and cubed
For the Finish
- 1/2 cup caramel sauce for drizzling
Instructions
Step 1 — Prep & preheat
- Preheat the oven to 350°F (175°C).
- Line a 9×13-inch baking pan with parchment paper, leaving a 2–3 inch overhang on two opposite sides (this makes lifting the whole slab out later so easy). Lightly grease the exposed pan edges.
- Gather measured ingredients and room-temperature items (cream cheese and eggs). Having everything staged makes the process smooth and relaxing—not rushed.
- Pro tip: Room-temperature cream cheese blends so much more smoothly—you’ll thank me when your batter is lump-free.
Step 2 — Make the crust
- In a medium bowl, combine 1 1/2 cups graham cracker crumbs and 1/4 cup granulated sugar.
- Pour in the 1/2 cup melted butter and stir until the crumbs are evenly moistened.
- Transfer the mixture to the prepared pan and press firmly and evenly into the bottom (use the bottom of a measuring cup for an even, compact crust).
- Bake the crust for 8–10 minutes, then remove from the oven and let it cool slightly while you prepare the fillings.
- Pro tip: Pressing the crust firmly prevents crumbling and gives you clean bars—don’t be shy with your press.
Step 3 — Prepare the apple layer
- Peel, core, and dice 2 medium apples into small, even pieces (about 1/2-inch cubes).
- In a medium skillet over medium heat, combine apples, 2 tbsp granulated sugar, 1/2 tsp cinnamon, 1/4 tsp nutmeg, and a squeeze of lemon juice (about 1 tsp) to brighten the flavor.
- Cook, stirring often, until the apples are softened and most of the liquid has evaporated — about 6–8 minutes. You want tender apples, not a watery mixture.
- Remove from heat and let the apples cool to warm/room temperature. If there’s a lot of liquid, drain it off so the cheesecake layer won’t get soggy.
- Pro tip: Cooking the apples first is a game changer — it concentrates flavor and prevents soggy bars later.
Step 4 — Make the cheesecake layer
- In a large bowl, beat 16 oz softened cream cheese with 1/2 cup granulated sugar until smooth and silky. Scrape the bowl down so everything blends.
- Add 2 large eggs one at a time, mixing gently after each addition. Stir in 1 tsp vanilla extract. Mix only until combined — overbeating introduces too much air and can cause cracks.
- Pour the cheesecake mixture evenly over the slightly cooled crust, smoothing the top with a spatula.
- Pro tip: Beat cream cheese on low to medium speed and scrape the bowl often—this prevents lumps and keeps the texture ultra-creamy.
Step 5 — Assemble the apples + crumble
- Spoon the cooled apple mixture in an even layer over the cheesecake batter. Try to keep the apples roughly the same distribution so each bar gets some.
- Make the crumble: in a bowl combine 1/2 cup old-fashioned oats, 1/2 cup packed light brown sugar, 1/4 cup all-purpose flour, and the 1/4 cup cold cubed butter. Use your fingers or a pastry cutter to work the butter in until you have pebble-sized crumbs.
- Sprinkle the crumble evenly across the apple layer.
- Pro tip: Keep the butter cold for a flakier, bakery-style crumble. If it warms up, pop the bowl in the fridge for a few minutes before sprinkling.
Step 6 — Bake
- Bake the assembled pan at 350°F (175°C) for 25–30 minutes, or until the edges are set and the center is just slightly jiggly when you gently shake the pan. The crumble should be golden.
- If you’re using a glass pan, it may take a few minutes longer—watch for golden color rather than strictly timing.
- Pro tip: A toothpick in the center should come out with only a few moist crumbs—overbaking will dry the cheesecake.
Step 7 — Cool, chill, and finish
- Let the bars cool on a wire rack for about 1 hour to come to room temperature. Then transfer to the refrigerator and chill for at least 2–4 hours, ideally overnight. Cheesecake firms up as it chills and slices much cleaner.
- When ready to serve, warm 1/2 cup caramel sauce slightly (10–15 seconds in the microwave) so it’s pourable, then drizzle over the bars. A tiny sprinkle of flaky sea salt on top of the caramel is heavenly.
- Pro tip: Chill fully before slicing. For the cleanest squares, lift the slab from the pan using the parchment overhang, place on a cutting board, and use a sharp knife dipped in hot water (wipe dry between cuts).
Step 8 — Slice, store, and serving notes
- Slice into 12–15 bars depending on how generous you want the pieces. Serve chilled or slightly warmed.
- Store in an airtight container in the refrigerator for up to 4 days. To freeze, cut into squares, place parchment between layers, and freeze up to 1 month—thaw in the fridge before serving.
Notes
Nutritional Value (Approximate per bar)
- Calories: 320 kcal
- Total Fat: 18 g
- Saturated Fat: 10 g
- Cholesterol: 60 mg
- Sodium: 160 mg
- Total Carbohydrates: 38 g
- Dietary Fiber: 1.5 g
- Sugars: 25 g
- Protein: 4 g