Apple Cobbler Recipe
There’s nothing quite like pulling a warm dish of apple cobbler from the oven—the smell of cinnamon and baked apples drifting through the house instantly makes it feel like home. This recipe is one I reach for anytime I’m craving comfort food, and it’s a classic that never goes out of style. It’s simple enough for a weeknight treat yet special enough to serve as part of your Thanksgiving desserts spread.
What I love about this homemade apple cobbler recipe is how it celebrates the natural sweetness of fresh apples. So many apple dessert recipes rely on shortcuts, but this one really shines because it uses apples as the star ingredient. The juicy filling paired with a golden, buttery topping makes this dish one of the best apple desserts with fresh apples that you’ll come back to again and again.
When friends ask me for easy apple desserts, this cobbler is always at the top of my list. It doesn’t require fancy ingredients or complicated steps, and the results are consistently impressive. The topping crisps up beautifully in the oven, while the apples bake into a cozy, spiced filling that’s just begging for a scoop of vanilla ice cream. It’s the kind of dessert that feels homemade in the best way possible—warm, rustic, and incredibly satisfying.
If you’ve been wondering how to make apple cobbler that tastes just like the ones you grew up with, this recipe will be your new go-to. Many people call it the best apple cobbler recipe they’ve tried, and I’d have to agree. Whether you’re making apple cobbler from scratch for the first time or you’re a seasoned baker looking for the best apple cobbler to add to your collection, this version hits all the right notes. It’s a timeless classic that turns a humble fruit into something truly special.
Why You’ll Love It
- The cozy flavors of fall in every bite – Warm cinnamon, tender apples, and a golden-brown topping make this dessert feel like a hug in dessert form.
- Perfect balance of sweet and tart – The apples keep their bright, tangy flavor while the topping adds just the right touch of sweetness without being overwhelming.
- A dessert that feels homemade without the stress – No need for fancy equipment or hours in the kitchen. This is comfort food made easy.
- Crowd-pleasing for any occasion – Whether you’re serving it as part of Thanksgiving desserts or bringing it to a casual potluck, it’s always a hit.
- Delicious warm or cold – Enjoy it straight from the oven with ice cream or save a slice for breakfast the next morning (I promise, it’s just as good!).
Ingredient List
For the Apple Filling:
- 6 medium fresh apples, peeled, cored, and sliced
- ½ cup granulated sugar
- 2 tablespoons brown sugar
- 1 teaspoon cinnamon
- ¼ teaspoon nutmeg
- 1 tablespoon lemon juice
- 2 teaspoons cornstarch
For the Cobbler Topping:
- 1 cup all-purpose flour
- ¾ cup granulated sugar
- 1 teaspoon baking powder
- ¼ teaspoon salt
- 1 stick (½ cup) unsalted butter, melted
- ¾ cup milk
- 1 teaspoon vanilla extract
Ingredient Notes
- Apples – I love using a mix of Granny Smith (for tartness) and Honeycrisp (for sweetness). It creates the best balance in apple desserts with fresh apples.
- Brown sugar – Don’t skip this! It gives the filling a deeper, caramel-like sweetness that plain sugar alone can’t.
- Cinnamon & nutmeg – These spices are what make this taste like the best apple cobbler recipe. A little nutmeg goes a long way, so keep it light.
- Butter – Use real unsalted butter for that rich, golden topping. Margarine just doesn’t compare.
- Vanilla extract – I always use pure vanilla extract—it adds warmth and depth that ties the whole cobbler together.
Kitchen Equipment Needed
- Large mixing bowl – For tossing the apple filling together. I like using a glass one so I can see that everything is evenly coated.
- Medium mixing bowl – Perfect for whisking up the cobbler topping.
- 9×13-inch baking dish – The ideal size for this recipe; it gives just the right ratio of fruit to topping. My favorite is a ceramic dish because it holds heat beautifully.
- Apple peeler/corer – Speeds up prep if you’re making lots of apple desserts with fresh apples.
- Measuring cups and spoons – To keep everything balanced (especially with baking, where precision matters).
- Wooden spoon or spatula – For gently mixing the apples without breaking them down too much.
Instructions
Step 1 — Preheat and get ready
- Preheat your oven to 375°F (190°C) and place a rack in the middle position.
- Lightly butter a 9×13-inch baking dish so the edges don’t stick.
- Gather your prepared apples, topping batter ingredients, and measuring tools so everything moves smoothly once you start assembling.
Pro tip: warming the dish in the oven for a couple of minutes isn’t necessary, but having everything measured and ready (mise en place) makes the bake much less stressful.
Step 2 — Prep the apples
- Peel, core, and slice the 6 apples into roughly ¼-inch thick slices so they cook evenly.
- Put the slices in the large mixing bowl and drizzle with 1 tablespoon lemon juice to prevent browning and lift the apple flavor.
- Work quickly so the apples don’t sit and turn mushy.
Pro tip: aim for uniform slices — when pieces are the same thickness the filling bakes to an even texture (no half-mushy, half-crisp apples).
Step 3 — Make the filling
- In the same large bowl, sprinkle over ½ cup granulated sugar, 2 tablespoons brown sugar, 1 teaspoon cinnamon, ¼ teaspoon nutmeg, and 2 teaspoons cornstarch.
- Toss the apples gently but thoroughly so every slice is coated in the sugar-spice mixture and the cornstarch can start absorbing juices.
- Let the mixture sit 5–10 minutes — you’ll see the apples release a little juice and the spices bloom.
Pro tip: if your apples look very juicy after sitting (lots of liquid), add an extra ½ teaspoon cornstarch so the filling thickens nicely while baking.
Step 4 — Transfer the filling to the dish
- Spoon the apple mixture (and all the juices) into the prepared 9×13 dish and spread into an even layer.
- Press down lightly with the back of a spoon so the apples settle and pack a little — this helps create that luscious, saucy filling.
Step 5 — Make the cobbler topping
- In a medium bowl whisk together 1 cup flour, ¾ cup granulated sugar, 1 teaspoon baking powder, and ¼ teaspoon salt.
- Add the melted ½ cup (1 stick) butter, ¾ cup milk, and 1 teaspoon vanilla. Stir until just combined — the batter will be a bit lumpy and that’s okay.
- Avoid overmixing; stop as soon as you don’t see dry pockets of flour.
Pro tip: whisk continuously while adding the milk if you’re pouring it in — this reduces lumps and gives a smoother batter without overworking it.
Step 6 — Assemble the cobbler
- Using a large spoon, drop dollops of the topping batter over the apples, spacing them so you still see some apples through the gaps (don’t try to completely cover them).
- If you prefer a more even layer, very gently spread the dollops together with the back of a spoon — but don’t press the batter down into the fruit.
- Optional: sprinkle a pinch of cinnamon-sugar over the topping for a pretty, slightly crunchy finish.
Pro tip: leaving little gaps between batter dollops allows steam to escape and creates the signature pockets of crisp topping and bubbly fruit beneath.
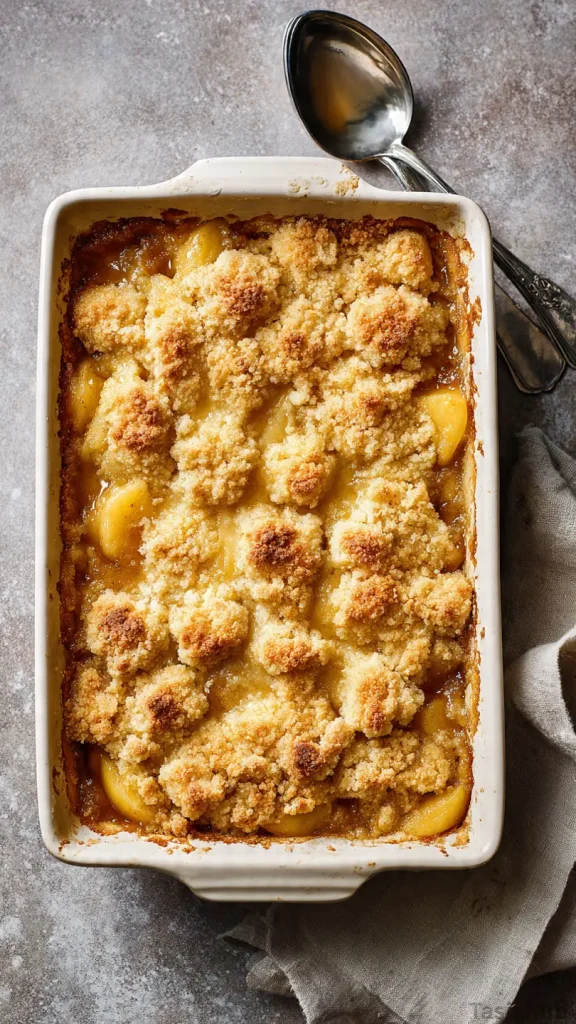
Step 7 — Bake until bubbly and golden
- Bake at 375°F (190°C) for 35–45 minutes, or until the topping is golden brown and the filling is actively bubbling at the edges.
- If the topping is browning too fast but the filling isn’t bubbling yet, tent the cobbler loosely with foil and continue baking.
- For even color, rotate the dish once about halfway through baking.
Pro tip: the true sign of doneness is a bubbly filling — don’t rely on time alone. If the top is golden but you don’t see bubbling, give it another 5–10 minutes.
Step 8 — Rest, serve, and store
- Remove the cobbler and let it rest 15–20 minutes; this helps the filling thicken so slices hold their shape.
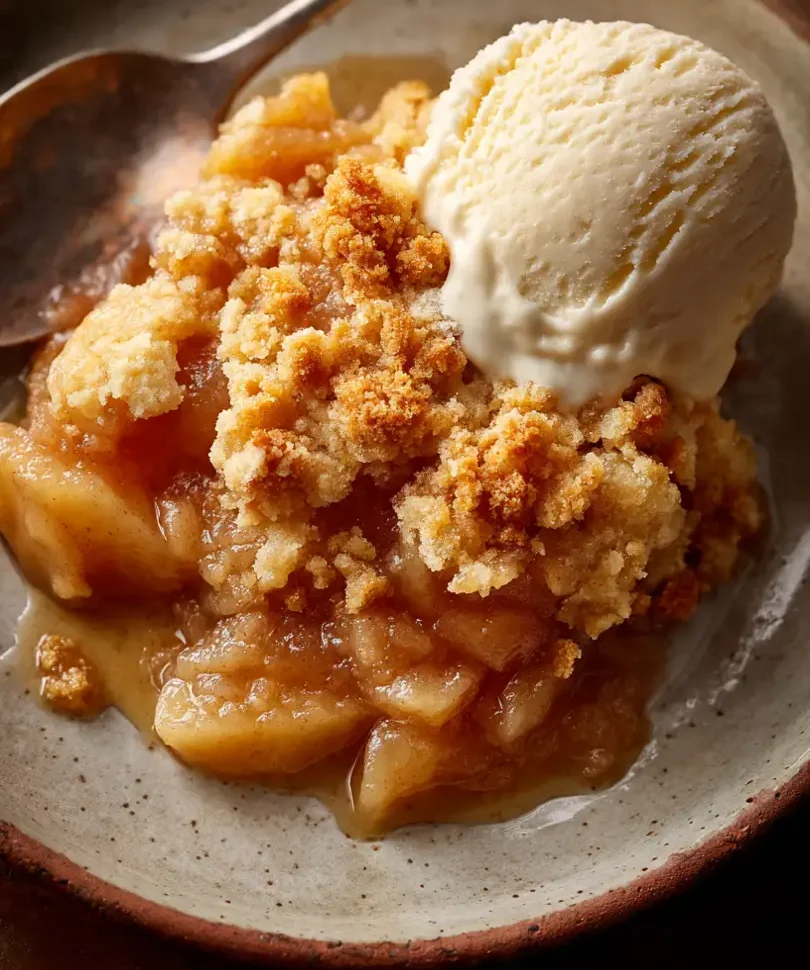
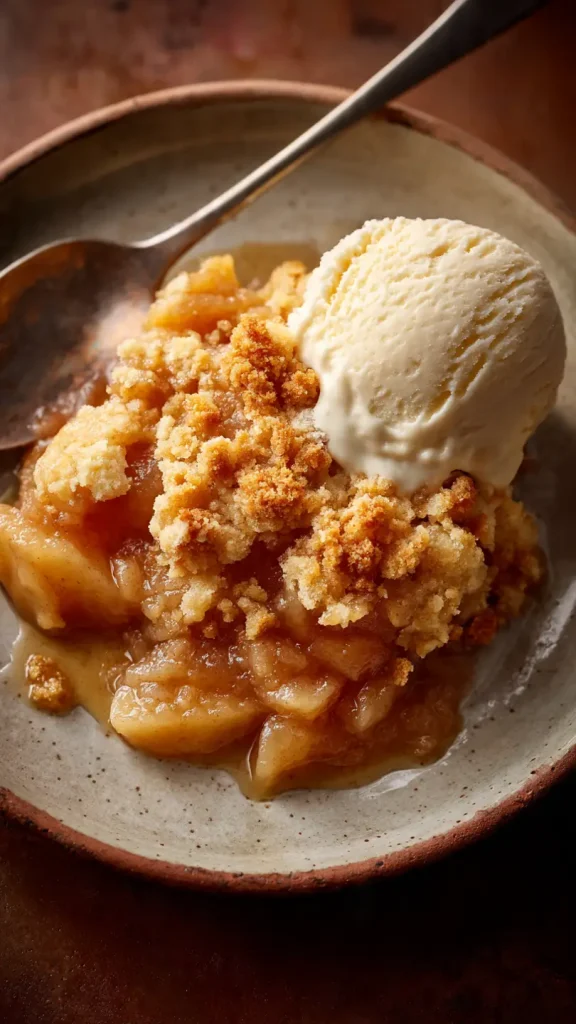
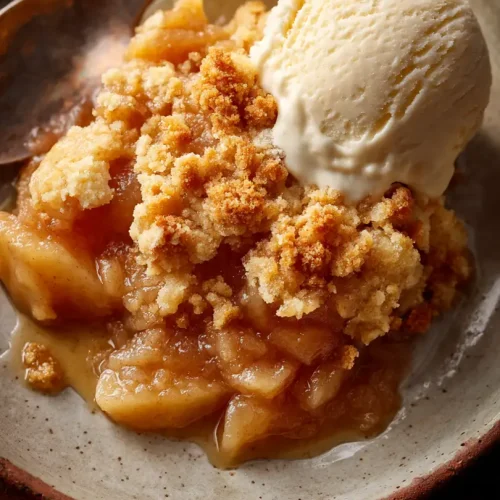
- Serve warm with vanilla ice cream, whipped cream, or a drizzle of heavy cream. I love a scoop of ice cream melting into the pockets of cinnamon-y apple — pure comfort.
- Store any leftovers covered in the fridge for 3–4 days. Reheat individual portions in the microwave or warm the whole dish at 325°F (160°C) for 10–15 minutes until warmed through.
Tips and Tricks for Success
- Use a mix of apples – Combining tart and sweet varieties gives the best flavor and texture.
- Don’t overmix the topping – A few lumps are fine; overmixing makes the cobbler tough instead of tender.
- Let it rest before serving – That short resting time helps the juices thicken so you don’t end up with a soupy cobbler.
- Add a little crunch – Sprinkle coarse sugar on top before baking for a light, crackly finish.
- Check for bubbling, not just browning – The fruit needs to bubble so the filling sets properly.
Ingredient Substitutions and Variations
- Apples – Swap in pears or peaches for a twist on the classic.
- Flour – Use a 1:1 gluten-free baking blend if needed.
- Sugar – Replace half the granulated sugar with maple syrup or honey for a richer sweetness.
- Spices – Add cardamom or allspice for extra warmth, or skip nutmeg if you prefer a milder flavor.
- Topping – For a biscuit-style cobbler, reduce the milk slightly so the dough is thicker and drop it in chunks.
- Nuts – Mix in chopped pecans or walnuts with the topping batter for added crunch.
Serving Suggestions
- Serve warm with a big scoop of vanilla ice cream—it melts into the cobbler and makes the best sauce.
- Pair with a dollop of freshly whipped cream if you want something lighter but still indulgent.
- Drizzle warm caramel sauce over the top for an extra-special touch (perfect for Thanksgiving desserts).
- Enjoy it cold the next morning with a cup of coffee—I do this all the time and it feels like dessert for breakfast!
- For a cozy twist, serve with a small glass of spiced apple cider on the side.
Storage and Reheating Instructions
- Refrigerator: Store covered in the fridge for up to 3–4 days.
- Freezer: Wrap tightly in foil or transfer to an airtight container; freeze for up to 2 months.
- Reheat in oven: Warm at 325°F (160°C) for 10–15 minutes until heated through and topping is crisp again.
- Reheat in microwave: Heat individual portions for 30–60 seconds (best for quick leftovers, though the topping won’t be as crisp).
- Tip: If reheating from frozen, thaw in the fridge overnight before warming in the oven.
Frequently Asked Questions
Can I make apple cobbler ahead of time?
Yes! You can prepare the filling and topping separately, store them in the fridge, and assemble just before baking. Or bake it fully, let it cool, and reheat before serving.
What are the best apples to use for cobbler?
A mix of tart (like Granny Smith) and sweet (like Honeycrisp or Fuji) works best. This balance keeps the cobbler from being overly sweet.
Can I use canned or frozen apples?
You can, but fresh apples give the best flavor and texture. If using frozen, thaw and drain them well to avoid extra liquid.
How do I know when the cobbler is done?
Look for a golden topping and bubbling juices around the edges. That’s the sure sign it’s ready!
Can I double this recipe?
Absolutely. Just use a larger baking dish or two 9×13 pans. Keep an eye on bake time—it may need a few extra minutes.
What can I serve with apple cobbler?
Ice cream, whipped cream, or even a drizzle of caramel sauce are perfect companions.
Did you try this recipe? Let me know in the comments how it turned out—I’d love to hear if it became your new favorite apple dessert!
Apple Cobbler Recipe
Equipment
- Large mixing bowl
- Medium mixing bowl
- 9×13-inch baking dish
- Apple peeler/corer
- Measuring cups and spoons
- Wooden spoon or spatula
Ingredients
For the Apple Filling:
- 6 medium fresh apples peeled, cored, and sliced
- ½ cup granulated sugar
- 2 tablespoons brown sugar
- 1 teaspoon cinnamon
- ¼ teaspoon nutmeg
- 1 tablespoon lemon juice
- 2 teaspoons cornstarch
For the Cobbler Topping:
- 1 cup all-purpose flour
- ¾ cup granulated sugar
- 1 teaspoon baking powder
- ¼ teaspoon salt
- 1 stick ½ cup unsalted butter, melted
- ¾ cup milk
- 1 teaspoon vanilla extract
Instructions
Step 1 — Preheat and get ready
- Preheat your oven to 375°F (190°C) and place a rack in the middle position.
- Lightly butter a 9×13-inch baking dish so the edges don’t stick.
- Gather your prepared apples, topping batter ingredients, and measuring tools so everything moves smoothly once you start assembling.
- Pro tip: warming the dish in the oven for a couple of minutes isn’t necessary, but having everything measured and ready (mise en place) makes the bake much less stressful.
Step 2 — Prep the apples
- Peel, core, and slice the 6 apples into roughly ¼-inch thick slices so they cook evenly.
- Put the slices in the large mixing bowl and drizzle with 1 tablespoon lemon juice to prevent browning and lift the apple flavor.
- Work quickly so the apples don’t sit and turn mushy.
- Pro tip: aim for uniform slices — when pieces are the same thickness the filling bakes to an even texture (no half-mushy, half-crisp apples).
Step 3 — Make the filling
- In the same large bowl, sprinkle over ½ cup granulated sugar, 2 tablespoons brown sugar, 1 teaspoon cinnamon, ¼ teaspoon nutmeg, and 2 teaspoons cornstarch.
- Toss the apples gently but thoroughly so every slice is coated in the sugar-spice mixture and the cornstarch can start absorbing juices.
- Let the mixture sit 5–10 minutes — you’ll see the apples release a little juice and the spices bloom.
- Pro tip: if your apples look very juicy after sitting (lots of liquid), add an extra ½ teaspoon cornstarch so the filling thickens nicely while baking.
Step 4 — Transfer the filling to the dish
- Spoon the apple mixture (and all the juices) into the prepared 9×13 dish and spread into an even layer.
- Press down lightly with the back of a spoon so the apples settle and pack a little — this helps create that luscious, saucy filling.
Step 5 — Make the cobbler topping
- In a medium bowl whisk together 1 cup flour, ¾ cup granulated sugar, 1 teaspoon baking powder, and ¼ teaspoon salt.
- Add the melted ½ cup (1 stick) butter, ¾ cup milk, and 1 teaspoon vanilla. Stir until just combined — the batter will be a bit lumpy and that’s okay.
- Avoid overmixing; stop as soon as you don’t see dry pockets of flour.
- Pro tip: whisk continuously while adding the milk if you’re pouring it in — this reduces lumps and gives a smoother batter without overworking it.
Step 6 — Assemble the cobbler
- Using a large spoon, drop dollops of the topping batter over the apples, spacing them so you still see some apples through the gaps (don’t try to completely cover them).
- If you prefer a more even layer, very gently spread the dollops together with the back of a spoon — but don’t press the batter down into the fruit.
- Optional: sprinkle a pinch of cinnamon-sugar over the topping for a pretty, slightly crunchy finish.
- Pro tip: leaving little gaps between batter dollops allows steam to escape and creates the signature pockets of crisp topping and bubbly fruit beneath.
Step 7 — Bake until bubbly and golden
- Bake at 375°F (190°C) for 35–45 minutes, or until the topping is golden brown and the filling is actively bubbling at the edges.
- If the topping is browning too fast but the filling isn’t bubbling yet, tent the cobbler loosely with foil and continue baking.
- For even color, rotate the dish once about halfway through baking.
- Pro tip: the true sign of doneness is a bubbly filling — don’t rely on time alone. If the top is golden but you don’t see bubbling, give it another 5–10 minutes.
Step 8 — Rest, serve, and store
- Remove the cobbler and let it rest 15–20 minutes; this helps the filling thicken so slices hold their shape.
- Serve warm with vanilla ice cream, whipped cream, or a drizzle of heavy cream. I love a scoop of ice cream melting into the pockets of cinnamon-y apple — pure comfort.
- Store any leftovers covered in the fridge for 3–4 days. Reheat individual portions in the microwave or warm the whole dish at 325°F (160°C) for 10–15 minutes until warmed through.
Notes
Nutritional Value (per serving, approx.)
- Calories: 320
- Carbohydrates: 54g
- Protein: 3g
- Fat: 11g
- Saturated Fat: 7g
- Cholesterol: 30mg
- Sodium: 160mg
- Fiber: 3g
- Sugar: 34g