Zucchini Bars
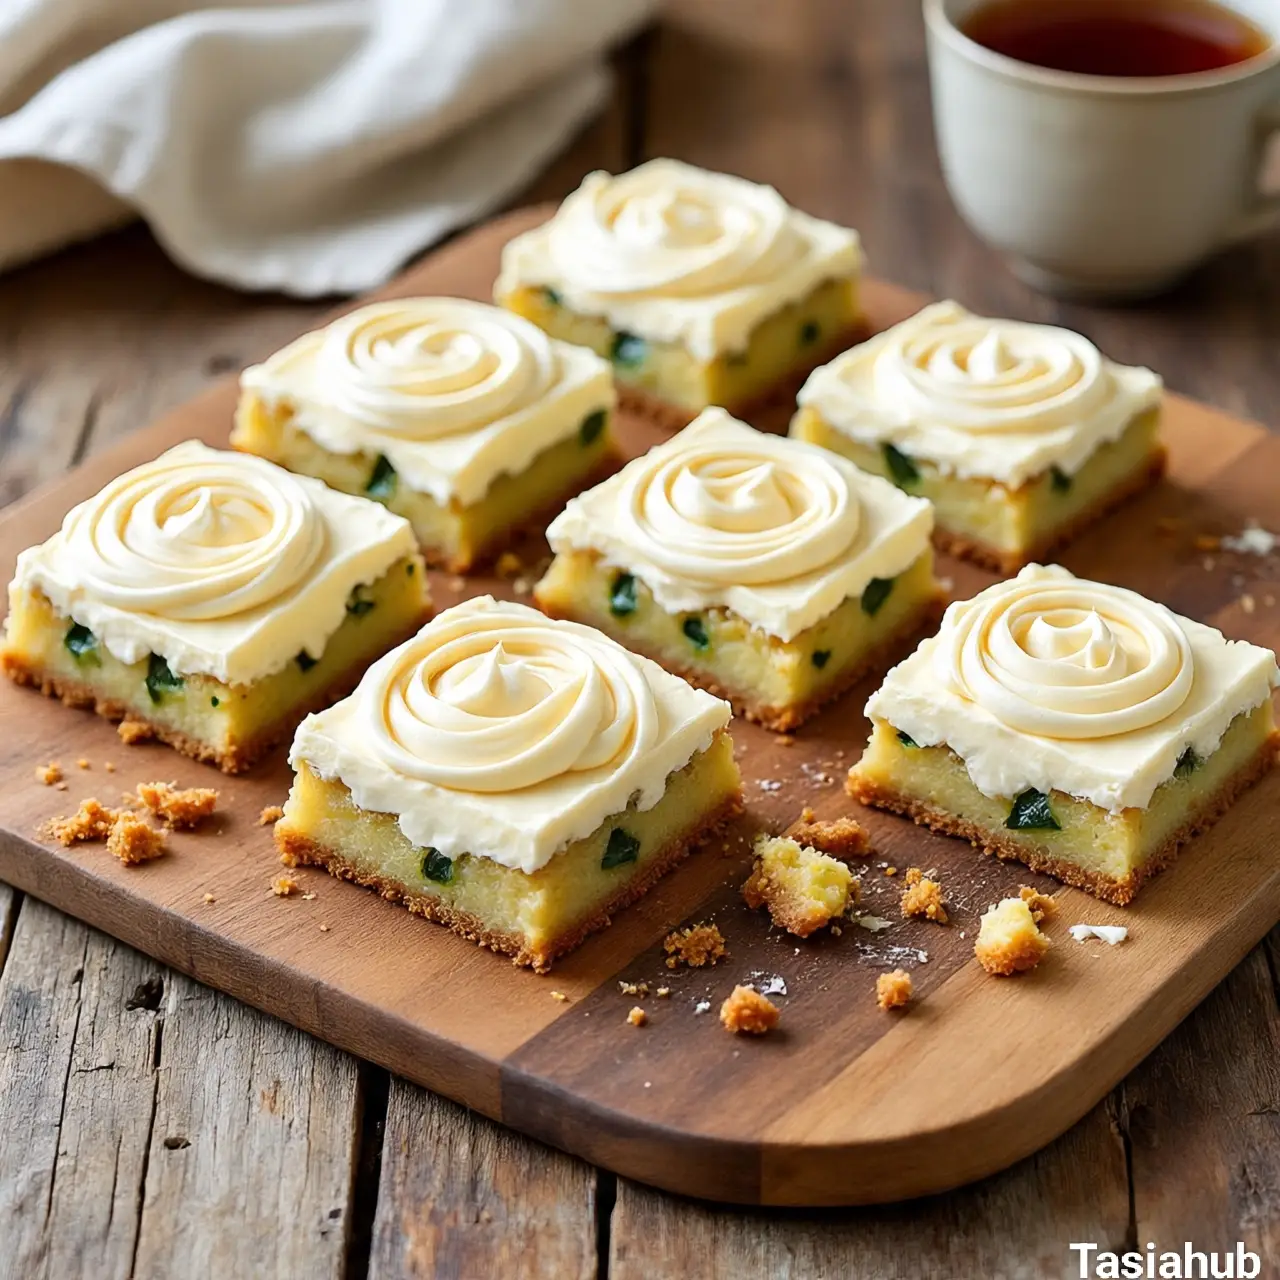
When you think of zucchini, dessert might not be the first thing that comes to mind—but these zucchini bars will make you see this humble veggie in a whole new light. Soft, moist, and perfectly spiced, they strike that irresistible balance between wholesome and indulgent. Whether you enjoy them plain, with a light glaze, or topped with a generous layer of cream cheese frosting, they’re the kind of treat you’ll want to make again and again.
Part of their magic is in how the zucchini works behind the scenes. It melts into the batter, adding incredible moisture without overpowering the flavor. Instead, you get a tender crumb with hints of cinnamon, nutmeg, or whatever cozy spices you decide to add. The result? A dessert (or snack) that tastes like it took hours to perfect, but is actually easy enough for a busy weekday.
Another reason these bars are a favorite is their versatility. You can keep them simple for a light afternoon bite or dress them up for a potluck, bake sale, or holiday gathering. They’re also a clever way to use up an overabundance of zucchini from the garden—especially during summer when it seems to grow faster than you can pick it.
Whether you’re baking for family, friends, or just yourself, zucchini bars have a way of feeling both comforting and special. They’re the kind of recipe that makes your kitchen smell amazing, disappears from the tray faster than you expect, and earns you a reputation as the person who makes “those amazing zucchini bars.”
Why You’ll Love It
- Incredibly Moist and Tender – The zucchini adds natural moisture, giving these bars a soft, fluffy texture without feeling heavy or dense.
- Full of Cozy Flavor – Warm spices like cinnamon and nutmeg make every bite taste like a little piece of comfort.
- Versatile for Any Occasion – Perfect as a casual snack, a lunchbox treat, or a dressed-up dessert for gatherings.
- A Sneaky Way to Eat More Veggies – Even picky eaters won’t suspect there’s zucchini hidden inside—just sweet, delicious flavor.
- Simple and Fuss-Free – Easy to mix up with basic pantry staples, so you can whip them up anytime without special ingredients.
Ingredient List
For the Zucchini Bars:
- 2 cups all-purpose flour
- 1 teaspoon baking powder
- ½ teaspoon baking soda
- ½ teaspoon salt
- 2 teaspoons ground cinnamon
- ¼ teaspoon ground nutmeg
- 1 cup granulated sugar
- ½ cup brown sugar, packed
- ½ cup vegetable oil
- 2 large eggs
- 2 teaspoons vanilla extract
- 2 cups grated zucchini (about 2 medium zucchinis)
For the Cream Cheese Frosting (optional):
- 8 oz cream cheese, softened
- ½ cup unsalted butter, softened
- 3 cups powdered sugar
- 1 teaspoon vanilla extract
Ingredient Notes
- Zucchini – No need to peel it; just wash, trim the ends, and grate. The skin adds extra color and nutrients.
- Brown Sugar – Adds a deeper flavor and extra moisture—don’t skip it if you want that rich, bakery-style taste.
- Vegetable Oil – Keeps the bars moist; you can swap with melted coconut oil for a subtle twist.
- Cinnamon & Nutmeg – These spices bring warmth and balance the sweetness—freshly ground if possible for the best flavor.
- Cream Cheese – Use full-fat for the smoothest, richest frosting.
Kitchen Equipment Needed
- Mixing Bowls – One for dry ingredients and one for wet; I love my glass mixing bowls because they’re sturdy and easy to clean.
- Whisk – For blending the dry ingredients evenly.
- Hand Mixer or Stand Mixer – Makes mixing the batter and frosting smooth and effortless.
- Box Grater or Food Processor – For quickly grating the zucchini; the food processor is my time-saver.
- Rubber Spatula – Perfect for folding in the zucchini and scraping every bit of batter into the pan.
- 9×13-inch Baking Pan – The ideal size for these bars; I use a nonstick one for easy release.
- Measuring Cups and Spoons – Accuracy is key for consistent results.
- Cooling Rack – Helps the bars cool evenly before frosting.
Instructions
Step 1 — Preheat & Prep the Pan
- Preheat your oven to 350°F (177°C).
- Lightly grease a 9×13-inch baking pan, or line it with parchment paper leaving a 1–2 inch overhang on two sides for easy lifting.
- Set a cooling rack nearby so the bars can cool once they come out of the oven.
Pro tip: Lining the pan with parchment makes it much easier to remove the whole slab and slice neatly.
Step 2 — Grate and Prepare the Zucchini
- Trim the ends off 2 medium zucchinis and grate them on the large holes of a box grater or using the grater disk on a food processor.
- If the zucchini looks very wet (summer zucchini can be watery), place the grated zucchini in a clean kitchen towel and squeeze gently to remove excess liquid — you want to remove excess water, not all moisture.
Pro tip: Don’t over-squeeze — you want the zucchini to keep some moisture because it’s what keeps the bars tender.
Step 3 — Mix the Dry Ingredients
- In a medium bowl, whisk together 2 cups all-purpose flour, 1 tsp baking powder, ½ tsp baking soda, ½ tsp salt, 2 tsp ground cinnamon, and ¼ tsp ground nutmeg until evenly combined.
- Give the mixture one last sift or whisk to remove any lumps and ensure even distribution of the leaveners.
Pro tip: Whisk continuously when combining to prevent pockets of baking powder or clumps of spice—this helps the bars bake evenly.
Step 4 — Combine the Wet Ingredients
- In a large bowl, whisk 1 cup granulated sugar and ½ cup packed brown sugar with ½ cup vegetable oil until the sugars are damp and the mixture looks cohesive.
- Beat in the 2 large eggs one at a time until fully incorporated.
- Stir in 2 tsp vanilla extract.
Pro tip: If using a hand or stand mixer, mix on medium speed just until the eggs are incorporated—overmixing can whip too much air into the batter.
Step 5 — Make the Batter
- Add the dry ingredients to the wet ingredients in two additions, folding gently with a rubber spatula after each addition until mostly combined.
- Fold in the 2 cups grated zucchini until evenly distributed — scrape the bottom and sides of the bowl so there are no streaks of flour.
- The batter should be thick but pourable; avoid vigorous stirring once the flour is in to keep the texture tender.
Pro tip: Fold, don’t beat. Overworking the batter develops gluten and makes the bars dense rather than tender.
Step 6 — Transfer to Pan & Smooth
- Pour the batter into your prepared 9×13 pan and use a spatula to spread it into an even layer.
- Tap the pan gently on the counter to settle the batter and remove large air pockets.
Step 7 — Bake & Check Doneness
- Place the pan in the preheated oven on the center rack. Bake for 25–30 minutes.
- To check for doneness, insert a toothpick into the center — it should come out with a few moist crumbs but not wet batter. If the toothpick has batter, bake for an additional 3–5 minutes and check again.
Pro tip: Ovens vary — start checking at 25 minutes so you don’t overbake. A slightly moist crumb is better than a dry bar.
Step 8 — Cool & (Optional) Frost
- Remove the pan from the oven and let it cool on a rack for at least 20–30 minutes.
- If you’re frosting, let the bars cool completely (cooling prevents the frosting from sliding off). Beat the frosting ingredients (8 oz cream cheese, ½ cup butter, 3 cups powdered sugar, 1 tsp vanilla) until smooth, then spread over cooled bars.
- If not frosting, allow the bars to cool slightly, then lift from the pan using the parchment overhang and transfer to a cutting board.
Pro tip: For the cleanest slices, chill the frosted slab for 15–20 minutes before cutting, and use a sharp knife wiped clean between cuts.
Step 9 — Slice and Serve
- Use a sharp knife to slice into bars — aim for 2×2-inch pieces for snack-sized bars (adjust to your preference).
- Store any leftovers in an airtight container in the fridge for up to 4–5 days (frosted) or at room temperature for 2 days (unfrosted).
Tips and Tricks for Success
- Measure flour correctly – Spoon it into the measuring cup and level it off to avoid packing too much in.
- Don’t overmix – Once the flour is in, gently fold to keep the texture soft and tender.
- Watch the bake time – Start checking at 25 minutes; a slightly underbaked center will finish setting as it cools.
- Cool before frosting – Warm bars will melt the frosting into a slippery mess.
- Slice with a clean knife – Wipe between cuts for neat, bakery-style edges.
Ingredient Substitutions and Variations
- Oil – Swap vegetable oil with melted coconut oil or light olive oil for a different flavor profile.
- Flour – Use half whole wheat flour for a nuttier taste and extra fiber.
- Sugar – Replace part of the brown sugar with maple syrup or honey (reduce other liquid slightly).
- Frosting – Try a simple powdered sugar glaze for a lighter finish.
- Add-ins – Mix in ½ cup chopped walnuts, pecans, or chocolate chips for extra texture and flavor.
- Spices – Play with pumpkin pie spice or add a pinch of cardamom for a twist.
Serving Suggestions
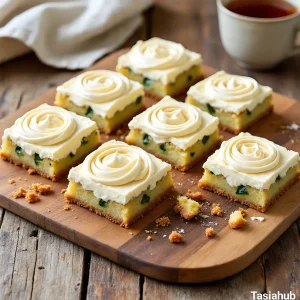
- Enjoy them plain with a hot cup of coffee or tea for a cozy afternoon treat.
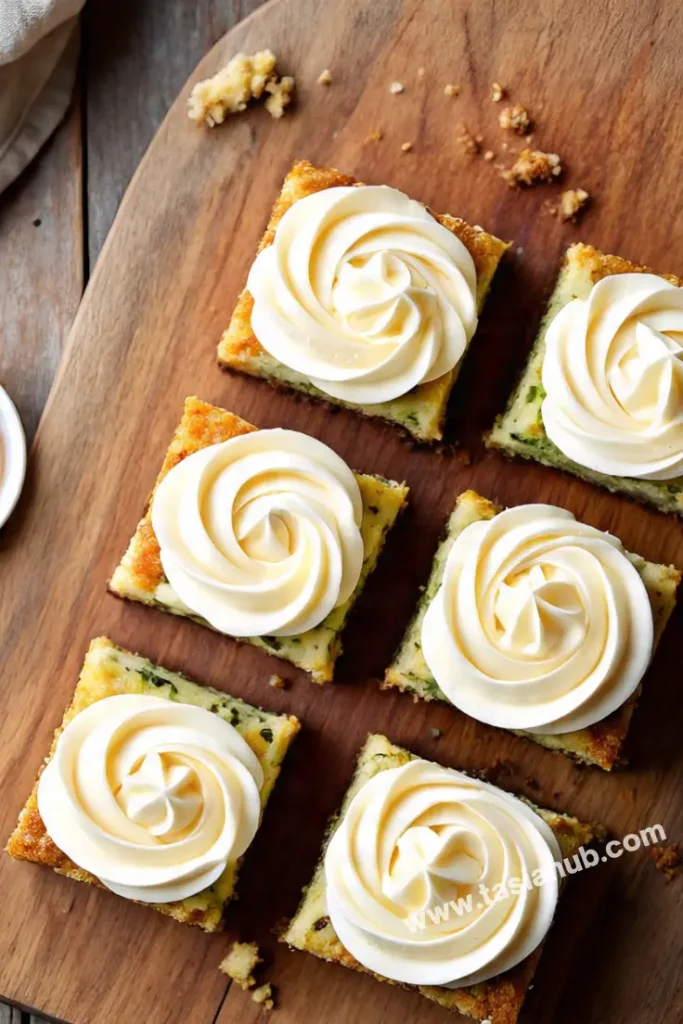
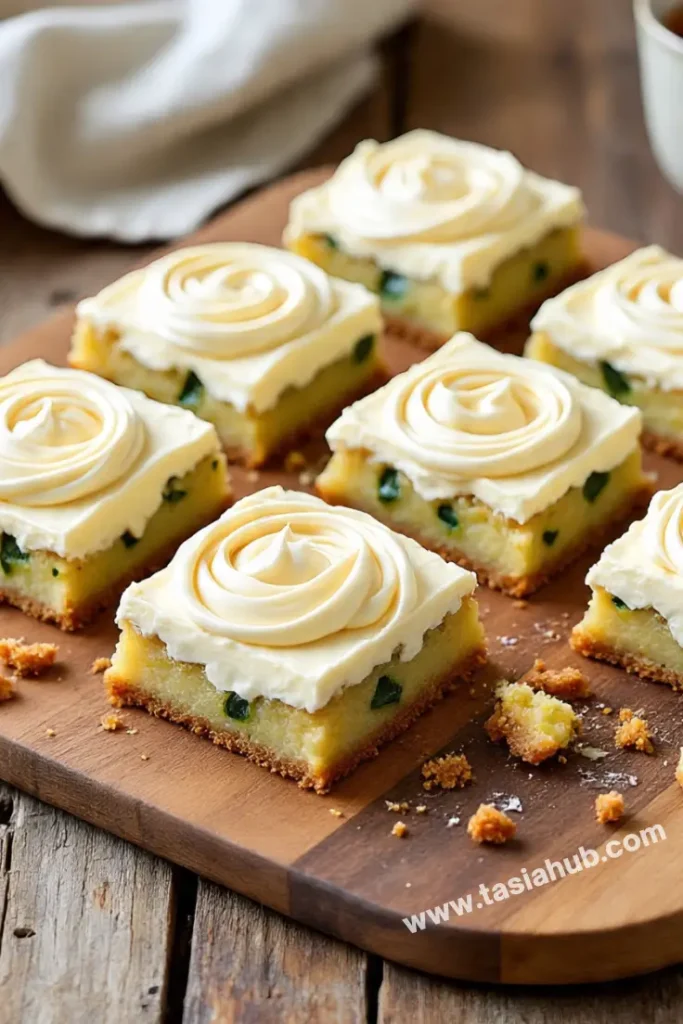
- Top with cream cheese frosting and a sprinkle of cinnamon for a bakery-style dessert.
- Serve slightly warmed with a scoop of vanilla ice cream for an indulgent twist.
- Pack them into lunchboxes as a sweet surprise—kids won’t even know they’re eating veggies.
- I love cutting them into bite-sized squares and serving on a platter alongside fresh fruit for a casual get-together.
Storage and Reheating Instructions
- Room Temperature – Store unfrosted bars in an airtight container for up to 2 days.
- Refrigerator – Frosted bars keep best in the fridge for 4–5 days; bring to room temp before serving for the best texture.
- Freezer – Wrap unfrosted bars individually in plastic wrap, then place in a freezer-safe bag for up to 3 months.
- Reheating – Warm individual pieces in the microwave for 10–15 seconds for a just-baked feel.
- Frosting After Freezing – If freezing, frost only after thawing to keep the topping fresh and smooth.
Frequently Asked Questions
Do I need to peel the zucchini first?
Nope! The skin is thin and softens completely as it bakes. Plus, it adds extra nutrients and a pretty speckled look to the bars.
How do I prevent soggy zucchini bars?
If your zucchini is extra watery, gently squeeze out some liquid with a clean kitchen towel before adding it to the batter. Don’t remove all the moisture—just the excess.
Can I make these ahead of time?
Absolutely! You can bake them a day in advance. Store them covered, and frost just before serving for the freshest look and texture.
What can I use instead of cream cheese frosting?
A simple powdered sugar glaze works great, or you can dust the bars with powdered sugar for a lighter option.
Can I freeze zucchini bars?
Yes—freeze unfrosted bars for up to 3 months. Thaw at room temperature and frost after thawing for the best results.
Are zucchini bars healthy?
They’re still a dessert, but the zucchini adds moisture and nutrients, and you can lighten them up by using whole wheat flour and reducing sugar slightly.
Did you try this recipe? Let me know in the comments how it turned out!
Don’t forget to share your photos on Instagram and tag me (@tasiahub_) or use the hashtag (#tasiahub). I’d love to see your creations!
Zucchini Bars
Equipment
- Mixing Bowls
- Whisk
- Hand mixer or stand mixer
- Box grater or food processor
- Rubber spatula
- 9×13-inch Baking Pan
- Measuring cups and spoons
- Cooling Rack
Ingredients
For the Zucchini Bars:
- 2 cups all-purpose flour
- 1 teaspoon baking powder
- ½ teaspoon baking soda
- ½ teaspoon salt
- 2 teaspoons ground cinnamon
- ¼ teaspoon ground nutmeg
- 1 cup granulated sugar
- ½ cup brown sugar packed
- ½ cup vegetable oil
- 2 large eggs
- 2 teaspoons vanilla extract
- 2 cups grated zucchini about 2 medium zucchinis
For the Cream Cheese Frosting (optional):
- 8 oz cream cheese softened
- ½ cup unsalted butter softened
- 3 cups powdered sugar
- 1 teaspoon vanilla extract
Instructions
Step 1 — Preheat & Prep the Pan
- Preheat your oven to 350°F (177°C).
- Lightly grease a 9×13-inch baking pan, or line it with parchment paper leaving a 1–2 inch overhang on two sides for easy lifting.
- Set a cooling rack nearby so the bars can cool once they come out of the oven.
- Pro tip: Lining the pan with parchment makes it much easier to remove the whole slab and slice neatly.
Step 2 — Grate and Prepare the Zucchini
- Trim the ends off 2 medium zucchinis and grate them on the large holes of a box grater or using the grater disk on a food processor.
- If the zucchini looks very wet (summer zucchini can be watery), place the grated zucchini in a clean kitchen towel and squeeze gently to remove excess liquid — you want to remove excess water, not all moisture.
- Pro tip: Don’t over-squeeze — you want the zucchini to keep some moisture because it’s what keeps the bars tender.
Step 3 — Mix the Dry Ingredients
- In a medium bowl, whisk together 2 cups all-purpose flour, 1 tsp baking powder, ½ tsp baking soda, ½ tsp salt, 2 tsp ground cinnamon, and ¼ tsp ground nutmeg until evenly combined.
- Give the mixture one last sift or whisk to remove any lumps and ensure even distribution of the leaveners.
- Pro tip: Whisk continuously when combining to prevent pockets of baking powder or clumps of spice—this helps the bars bake evenly.
Step 4 — Combine the Wet Ingredients
- In a large bowl, whisk 1 cup granulated sugar and ½ cup packed brown sugar with ½ cup vegetable oil until the sugars are damp and the mixture looks cohesive.
- Beat in the 2 large eggs one at a time until fully incorporated.
- Stir in 2 tsp vanilla extract.
- Pro tip: If using a hand or stand mixer, mix on medium speed just until the eggs are incorporated—overmixing can whip too much air into the batter.
Step 5 — Make the Batter
- Add the dry ingredients to the wet ingredients in two additions, folding gently with a rubber spatula after each addition until mostly combined.
- Fold in the 2 cups grated zucchini until evenly distributed — scrape the bottom and sides of the bowl so there are no streaks of flour.
- The batter should be thick but pourable; avoid vigorous stirring once the flour is in to keep the texture tender.
- Pro tip: Fold, don’t beat. Overworking the batter develops gluten and makes the bars dense rather than tender.
Step 6 — Transfer to Pan & Smooth
- Pour the batter into your prepared 9×13 pan and use a spatula to spread it into an even layer.
- Tap the pan gently on the counter to settle the batter and remove large air pockets.
Step 7 — Bake & Check Doneness
- Place the pan in the preheated oven on the center rack. Bake for 25–30 minutes.
- To check for doneness, insert a toothpick into the center — it should come out with a few moist crumbs but not wet batter. If the toothpick has batter, bake for an additional 3–5 minutes and check again.
- Pro tip: Ovens vary — start checking at 25 minutes so you don’t overbake. A slightly moist crumb is better than a dry bar.
Step 8 — Cool & (Optional) Frost
- Remove the pan from the oven and let it cool on a rack for at least 20–30 minutes.
- If you’re frosting, let the bars cool completely (cooling prevents the frosting from sliding off). Beat the frosting ingredients (8 oz cream cheese, ½ cup butter, 3 cups powdered sugar, 1 tsp vanilla) until smooth, then spread over cooled bars.
- If not frosting, allow the bars to cool slightly, then lift from the pan using the parchment overhang and transfer to a cutting board.
- Pro tip: For the cleanest slices, chill the frosted slab for 15–20 minutes before cutting, and use a sharp knife wiped clean between cuts.
Step 9 — Slice and Serve
- Use a sharp knife to slice into bars — aim for 2×2-inch pieces for snack-sized bars (adjust to your preference).
- Store any leftovers in an airtight container in the fridge for up to 4–5 days (frosted) or at room temperature for 2 days (unfrosted).
Notes
Nutritional Value (per bar):
- Calories: ~170 kcal
- Carbohydrates: 27 g
- Sugars: 14 g
- Fat: 6 g
- Saturated Fat: 1 g
- Protein: 2 g
- Fiber: 1 g