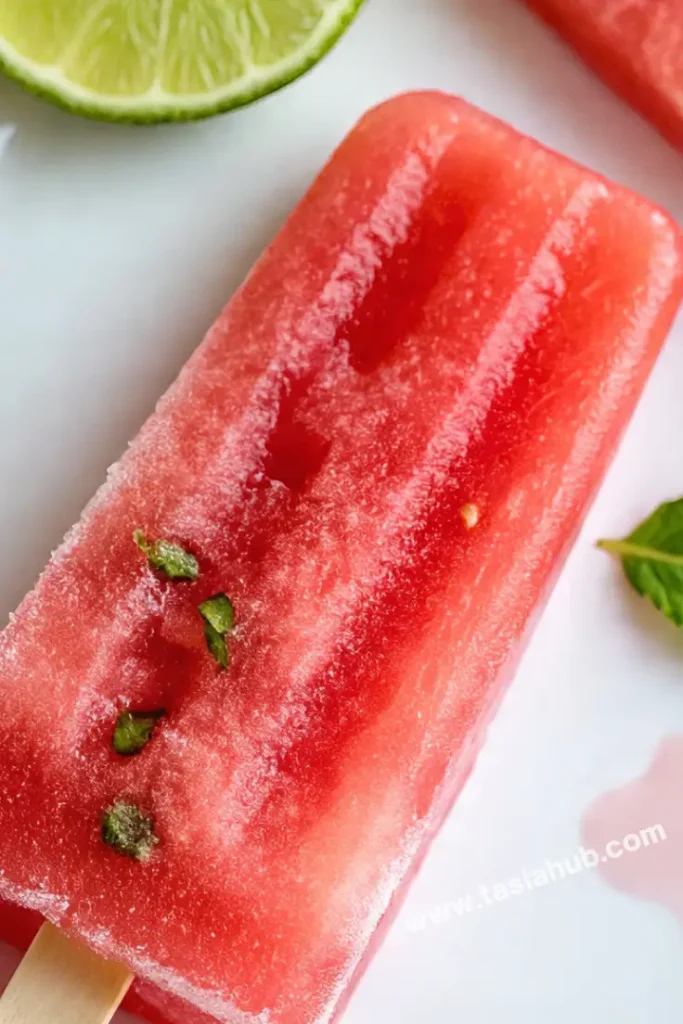
Watermelon Popsicles

Looking for a fun way to cool off and enjoy one of summer’s sweetest fruits? Watermelon popsicles are the perfect answer. They’re naturally sweet, super refreshing, and surprisingly easy to make at home. Whether you’ve got leftover watermelon from a cookout or just picked up a juicy one from the farmer’s market, this recipe is a simple and delicious way to put it to good use.
I love how versatile these popsicles are—you can keep them purely watermelon for a clean, fruity bite, or get creative by layering in extras like lime juice, fresh mint, or even a little coconut milk for a creamy twist. They’re kid-friendly, budget-friendly, and free from all the extra sugar and additives you’d find in store-bought versions. Plus, they look so pretty, especially when you pour them into fun-shaped molds or add a few chunks of fruit for texture.
The best part? You don’t need anything fancy. Just a blender, a few ingredients, and a little patience while they freeze. It’s a low-effort, high-reward kind of treat that works as a healthy dessert or a mid-afternoon cooldown. I always keep a batch in the freezer during hot months—it’s one of those snacks everyone in the house ends up grabbing without fail.
If you’re into meal prepping or planning snacks ahead, watermelon popsicles are a great make-ahead option too. They hold up beautifully in the freezer for weeks, and you can easily double the batch to have more on hand. Once you try them, it’s hard to go back to anything else!
Why You’ll Love It
- Naturally Sweet and Hydrating – Made primarily from watermelon, these popsicles are full of natural sugars and water, making them a guilt-free, thirst-quenching treat.
- Super Easy to Make – All you need is a blender, a few ingredients, and some popsicle molds—no cooking or complicated steps required.
- Customizable Flavors – Add a squeeze of lime, a handful of berries, or even a swirl of coconut milk to make them your own.
- Kid-Friendly and Fun – Bright, fruity, and easy to hold—these are a hit with little ones and adults alike.
- Healthy Alternative to Sugary Treats – Free from added sugars and preservatives, these popsicles are a clean, wholesome choice for hot days.
Ingredient List
- 4 cups diced seedless watermelon (about ½ of a medium watermelon)
- 1–2 tablespoons fresh lime juice
- 1–2 tablespoons honey or maple syrup (optional, depending on sweetness of your watermelon)
- Pinch of salt
- Fresh mint leaves (optional, about 5–6 leaves)
Ingredient Notes
- Use the ripest watermelon you can find – The sweeter the melon, the less sweetener you’ll need.
- Don’t skip the lime juice! – It balances the sweetness and adds a zesty brightness.
- Honey or maple syrup is totally optional – Only add it if your watermelon isn’t super sweet.
- A pinch of salt – Sounds odd, but it enhances the natural watermelon flavor.
- Mint adds a refreshing twist – You can blend it in or leave a leaf or two whole in the molds for a pretty touch.
Kitchen Equipment Needed
-
Blender – To puree the watermelon until smooth.
I love using my NutriBullet for small batches—quick and easy to clean! -
Fine mesh strainer (optional) – To strain out pulp or seeds if you prefer a smoother texture.
I skip this when I want a more rustic, juicy pop. -
Popsicle molds – To shape and freeze the mixture into popsicles.
Silicone molds are my go-to—they release the pops easily without cracking. - Popsicle sticks – For holding the pops—most molds come with reusable ones, or you can use wooden sticks.
-
Measuring spoons – To measure lime juice and sweetener accurately.
Nothing fancy needed here—just your everyday set will do.
Instructions
Step 1: Prep the Watermelon
- Cut your watermelon into chunks and remove any seeds if you’re not using a seedless one.
- Measure out 4 cups of diced fruit and place it into your blender.
Pro Tip: The colder the watermelon, the faster your pops will freeze. You can refrigerate the chunks for 30 minutes before blending if you have time.
Step 2: Add Flavor Boosters
- Add 1–2 tablespoons of fresh lime juice to the blender.
- If your watermelon isn’t very sweet, add 1–2 tablespoons of honey or maple syrup.
- Toss in a small pinch of salt.
- If you’re using mint, add about 5–6 fresh leaves.
Pro Tip: Start with 1 tablespoon of sweetener, blend, and taste before adding more—you can always increase, but you can’t take it out once blended.
Step 3: Blend Until Smooth
- Blend everything on high speed for 30–60 seconds until the mixture is completely smooth.
- Taste and adjust—add a little more lime or sweetener if needed.
Step 4: Optional – Strain the Mixture
- Place a fine mesh strainer over a large bowl or measuring cup.
- Pour the blended mixture through to remove pulp or seeds.
- Use a spoon to help press the liquid through if needed.
Pro Tip: This step is great if you want ultra-smooth popsicles. Skip it if you like a little texture!
Step 5: Pour Into Molds
- Carefully pour the watermelon mixture into your popsicle molds, leaving a little space at the top for expansion as they freeze.
- Insert the sticks or snap on the lids if your mold includes them.
Pro Tip: Use a small funnel or pitcher for mess-free pouring—it makes a big difference!
Step 6: Freeze Until Solid
- Place the filled molds in the freezer.
- Let them freeze for at least 4–6 hours, or overnight for best results.
Step 7: Unmold and Enjoy
- To release the popsicles, run the outside of the mold under warm water for 10–15 seconds.
- Gently wiggle the sticks until the pops slide out.
Pro Tip: Don’t pull too hard—if they resist, give them a little more warm water time. Patience keeps them from breaking!

Tips and Tricks for Success
- Use super ripe watermelon – The sweeter and juicier it is, the better your popsicles will taste without needing extra sweetener.
- Chill the mixture before freezing – If you have time, pop the blended mixture in the fridge for 30–60 minutes. It helps the popsicles freeze faster and more evenly.
- Don’t overfill the molds – Leave a little space at the top so the popsicles have room to expand as they freeze.
- Lay molds flat in the freezer – Make sure they sit level to avoid uneven pops or spills.
- Run warm water, not hot – When unmolding, use warm (not hot!) water to loosen the pops gently without melting them.
Ingredient Substitutions and Variations
- Swap honey/maple syrup for agave – Works great if you prefer a neutral flavor or need a vegan option.
- Add frozen strawberries or raspberries – Blend with watermelon for a mixed berry version.
- Mix in coconut water – For extra hydration and a light tropical vibe.
- Add a creamy layer – Pour in a bit of coconut milk or Greek yogurt after the first layer for a swirled look and creamier bite.
- Make it tangy – A little lemon juice can replace lime if that’s what you have on hand.
- Skip the sweetener entirely – If your watermelon is extra sweet, you may not need any added sugar at all!
Serving Suggestions
- Serve straight from the freezer on hot days – These popsicles are the perfect poolside or patio treat when the sun is blazing.
- Add to a party platter – I love arranging them on a tray with other frozen fruits and mini cups of fruit dip for a refreshing dessert spread.
- Serve with a drizzle of lime or chili powder – For a spicy-sweet twist, try a tiny sprinkle of Tajín or chili-lime seasoning right before serving.
- Make it fun for kids – Pour the mix into fun-shaped molds like stars or dinosaurs and serve at backyard playdates or birthday parties.
- I love enjoying one mid-afternoon – It’s my go-to “sweet fix” when I want something light, fruity, and cooling without feeling heavy.
Storage and Reheating Instructions
- Store in the molds or transfer to a freezer-safe bag – Once fully frozen, you can pop them out of the molds and store them in a zip-top freezer bag to save space.
- Keep frozen for up to 3 weeks – For best flavor and texture, enjoy within a few weeks (though they rarely last that long in my house!).
- Use parchment between pops – If you’re storing multiple in a container, a little parchment helps prevent them from sticking.
- No reheating needed – Just let them sit at room temperature for 1–2 minutes if they’re too hard, then enjoy!
Frequently Asked Questions
How long do watermelon popsicles take to freeze?
Typically, they need at least 4–6 hours to freeze solid, but I usually leave them overnight to be sure they’re fully set and easy to unmold.
Can I make these without popsicle molds?
Yes! You can use small paper cups or even ice cube trays. Just insert wooden sticks after about 1 hour of freezing when the mixture is slushy enough to hold them upright.
Do I have to strain the watermelon mixture?
Nope—it’s totally up to your texture preference. Straining gives you a smoother, juice-like popsicle, while skipping it leaves some pulp for a more natural feel.
Can I use frozen watermelon?
Yes, but thaw it first! Blending frozen watermelon straight from the freezer can make the mixture too thick and slushy for clean pouring into molds.
What if my popsicles are too icy?
That can happen if there’s not enough natural sugar. Try adding a touch more honey or maple syrup, or a little fruit juice (like orange or pineapple) to soften the texture.
Can I double the recipe?
Absolutely! Just make sure your blender and mold capacity can handle it, or freeze the extra mix in batches.
Did you try this recipe? Let me know in the comments how it turned out!
Don’t forget to share your photos on Instagram and tag me @tasiahub_ or use the hashtag #tasiahub. I’d love to see your creations!

Watermelon Popsicles
Equipment
- Blender
- Fine Mesh Strainer (Optional)
- Popsicle molds
- Popsicle sticks
- Measuring spoons
Ingredients
- 4 cups diced seedless watermelon about ½ of a medium watermelon
- 1 –2 tablespoons fresh lime juice
- 1 –2 tablespoons honey or maple syrup optional, depending on sweetness of your watermelon
- Pinch of salt
- Fresh mint leaves optional, about 5–6 leaves
Instructions
Step 1: Prep the Watermelon
- Cut your watermelon into chunks and remove any seeds if you’re not using a seedless one.
- Measure out 4 cups of diced fruit and place it into your blender.
- Pro Tip: The colder the watermelon, the faster your pops will freeze. You can refrigerate the chunks for 30 minutes before blending if you have time.
Step 2: Add Flavor Boosters
- Add 1–2 tablespoons of fresh lime juice to the blender.
- If your watermelon isn’t very sweet, add 1–2 tablespoons of honey or maple syrup.
- Toss in a small pinch of salt.
- If you’re using mint, add about 5–6 fresh leaves.
- Pro Tip: Start with 1 tablespoon of sweetener, blend, and taste before adding more—you can always increase, but you can’t take it out once blended.
Step 3: Blend Until Smooth
- Blend everything on high speed for 30–60 seconds until the mixture is completely smooth.
- Taste and adjust—add a little more lime or sweetener if needed.
Step 4: Optional – Strain the Mixture
- Place a fine mesh strainer over a large bowl or measuring cup.
- Pour the blended mixture through to remove pulp or seeds.
- Use a spoon to help press the liquid through if needed.
- Pro Tip: This step is great if you want ultra-smooth popsicles. Skip it if you like a little texture!
Step 5: Pour Into Molds
- Carefully pour the watermelon mixture into your popsicle molds, leaving a little space at the top for expansion as they freeze.
- Insert the sticks or snap on the lids if your mold includes them.
- Pro Tip: Use a small funnel or pitcher for mess-free pouring—it makes a big difference!
Step 6: Freeze Until Solid
- Place the filled molds in the freezer.
- Let them freeze for at least 4–6 hours, or overnight for best results.
Step 7: Unmold and Enjoy
- To release the popsicles, run the outside of the mold under warm water for 10–15 seconds.
- Gently wiggle the sticks until the pops slide out.
- Pro Tip: Don’t pull too hard—if they resist, give them a little more warm water time. Patience keeps them from breaking!
Notes
Nutritional Value Per Serving:
- Calories: ~30
- Carbohydrates: 8g
- Sugars: 6g
- Fiber: 0.5g
- Protein: 0.5g
- Fat: 0g
- Vitamin C: ~10% DV
- Hydration: High water content from watermelon