Homemade Peach Jam
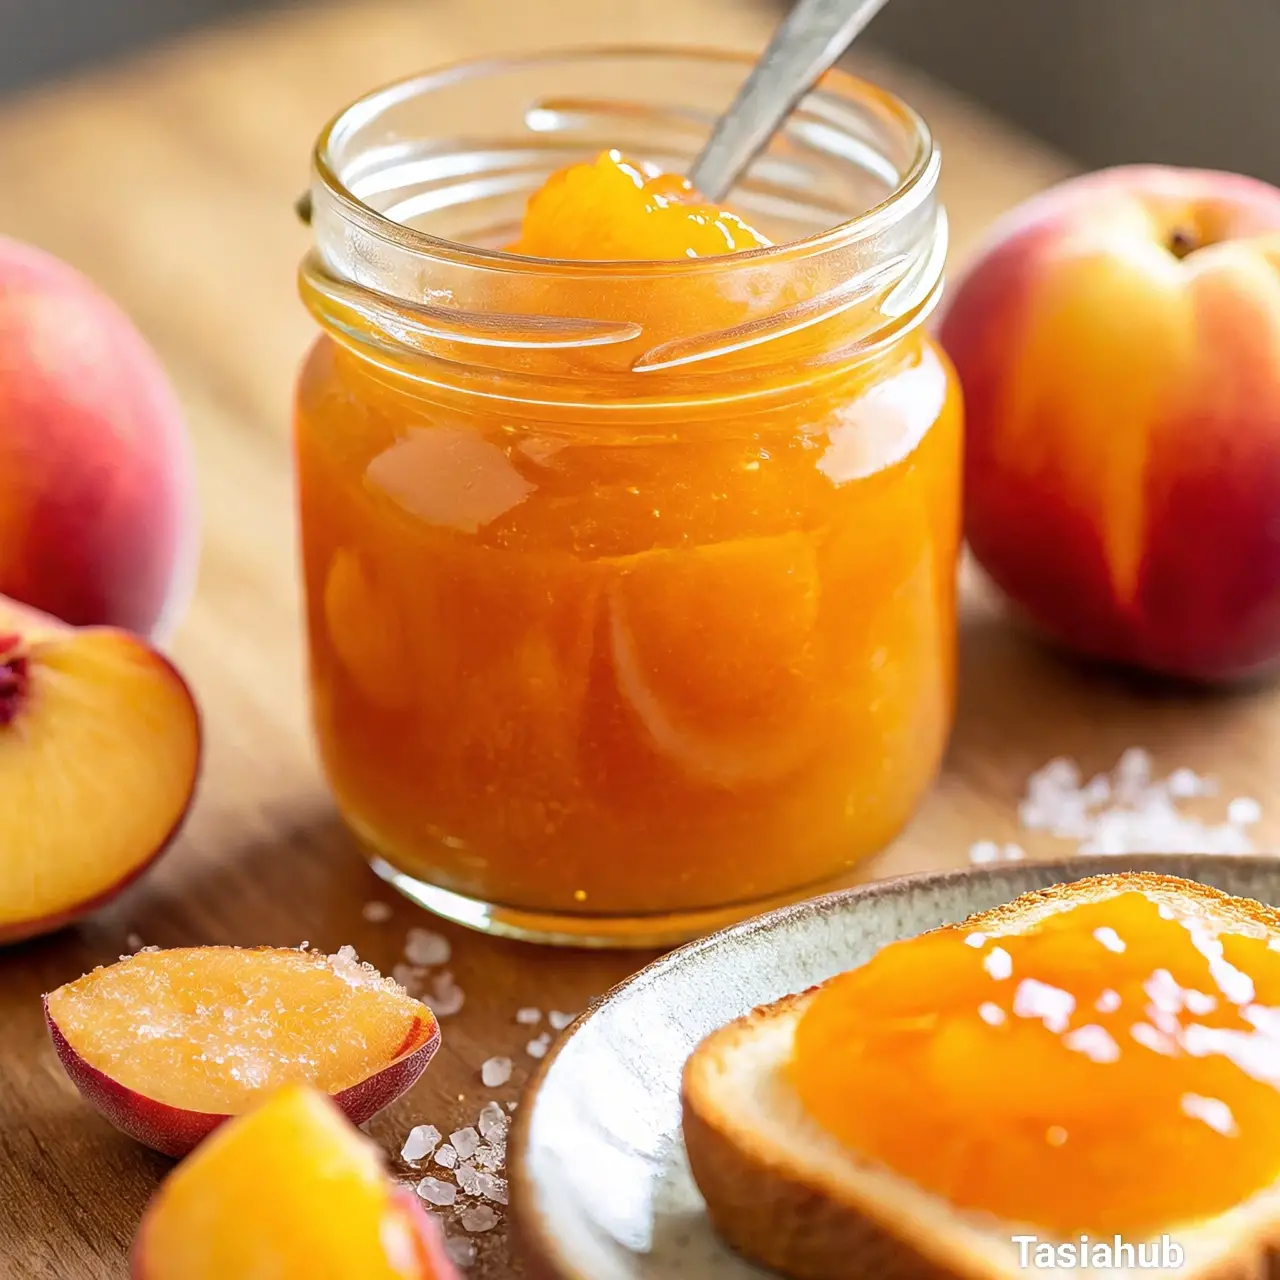
Juicy peaches at their peak are one of summer’s sweetest gifts—and when you’ve got more than you can eat fresh, making peach jam is one of the most satisfying ways to bottle up that flavor. This homemade peach jam is bright, sweet, and just the right amount of tangy. It’s simple, delicious, and doesn’t require any fancy equipment. Just fresh peaches, a few pantry staples, and a little time in the kitchen.
I started making my own jam when I realized store-bought versions were either overly sweet or packed with preservatives I couldn’t pronounce. This peach jam, on the other hand, tastes like summer in a jar—pure, real, and homemade. The best part? You can tweak it just the way you like it. Want it chunkier? Leave a few peach bits whole. Prefer it silky smooth? A quick blend does the trick.
Whether you’re new to jam-making or just looking for a reliable peach version, this recipe delivers. It’s perfect for spooning over toast, swirling into yogurt, layering into cakes, or even gifting to friends and family. And since it uses lemon juice instead of added pectin, it keeps the ingredient list short and the process easy.
There’s something incredibly cozy about having a stash of homemade jam in the fridge. It feels like a small victory—like, yes, you really can make something from scratch that’s better than store-bought. So grab a few ripe peaches and let’s get jamming.
Why You’ll Love It
- Bursting with real peach flavor – This jam is all about the fruit. No artificial flavors or fillers—just fresh, juicy peaches with a natural sweetness that shines through.
- No pectin needed – Thanks to the natural pectin in peaches and the help of lemon juice, there’s no need for store-bought pectin. Fewer ingredients, less fuss.
- Easy to make at home – You don’t need to be a pro or have special tools. A pot, a spoon, and some ripe peaches are really all it takes.
- Perfect for gifting – A jar of homemade peach jam makes a thoughtful and impressive gift. Wrap it with a ribbon or tuck it into a breakfast basket!
- Versatile and delicious – Spread it on toast, drizzle over pancakes, swirl into oatmeal, or even pair it with cheese. It’s one of those pantry staples you’ll reach for often.
Ingredient List
- 4 cups peeled and chopped ripe peaches (about 6–7 medium peaches)
- 2 cups granulated sugar
- 2 tablespoons lemon juice (freshly squeezed)
- 1 teaspoon vanilla extract (optional)
Ingredient Notes
- Ripe peaches – Go for peaches that are slightly soft and super fragrant. The riper they are, the sweeter and more flavorful your jam will be.
- Granulated sugar – This helps preserve the jam and gives it that classic jelly-like texture. You can slightly reduce the amount if your peaches are very sweet, but don’t cut it too much.
- Lemon juice – Don’t skip this! It balances the sweetness, helps the jam set, and adds brightness to the flavor.
- Vanilla extract – Totally optional, but adds a cozy depth and makes the jam taste a little like peach pie.
Kitchen Equipment Needed
- Medium to large saucepan – For cooking the peaches down and simmering the jam. I like using a heavy-bottomed pan to prevent scorching.
- Wooden spoon or heatproof spatula – Perfect for stirring without scratching the pan. A silicone spatula is my go-to—it scrapes every bit from the sides.
- Potato masher or immersion blender – For breaking down the fruit to your preferred texture. I usually mash halfway for a slightly chunky finish.
- Measuring cups and spoons – Accuracy matters here, especially for sugar and lemon juice.
- Sterilized jars with lids – For storing the jam. Mason jars work great—use smaller ones if you plan to gift some!
Instructions
1. Prep the peaches
-
Peel the peaches
Bring a pot of water to a gentle boil. Score a small “X” on the bottom of each peach, then carefully drop them into the boiling water for 30–60 seconds.
Remove and immediately place them in a bowl of ice water. The skins should peel off easily with your fingers or a small knife. Pro Tip: Blanching makes peeling way faster—especially if you’re working with a big batch. -
Chop the peaches
Cut the peeled peaches in half, remove the pits, and dice them into small chunks. You should end up with about 4 cups.
2. Cook the fruit
-
Add peaches, sugar, and lemon juice to the saucepan
Place your chopped peaches into a saucepan, then add the sugar and lemon juice. Stir everything together to combine. -
Bring to a simmer
Turn the heat to medium and stir often as the sugar dissolves and the mixture begins to bubble. Pro Tip: Stir gently but regularly at this stage to avoid burning the fruit or sugar at the bottom.
3. Mash or blend to your liking
-
Mash for a chunky jam
Use a potato masher to gently break down the peach chunks while the mixture simmers. Stop when it reaches your ideal consistency. -
Blend for a smoother jam
If you prefer a more uniform texture, you can use an immersion blender right in the pot—just be careful of splatters! Pro Tip: Do this off the heat and in short bursts to avoid over-blending or creating foam.
4. Simmer and reduce
-
Simmer until thickened
Continue cooking the mixture on low to medium heat for about 20–30 minutes, stirring frequently. You’ll notice it starts to thicken and the bubbles get glossier. Pro Tip: The jam is ready when it clings to the back of a spoon and slowly drips off. -
Optional: Stir in vanilla extract
If using, add the vanilla once the jam is thickened and remove from heat. Stir it in well for an extra depth of flavor.
5. Store the jam
-
Spoon into jars
Carefully ladle the hot jam into sterilized jars, leaving about 1/4 inch of space at the top. Wipe the rims clean and seal with lids. -
Cool and refrigerate
Let the jars cool at room temperature. Store in the refrigerator for up to 3 weeks—or freeze for longer storage if you’re not canning.
Tips and Tricks for Success
- Use ripe, fragrant peaches – Underripe peaches won’t have the natural sweetness or flavor you need. The juicier, the better!
- Don’t rush the simmer – Let the jam take its time to thicken. Rushing it on high heat may cause burning or uneven texture.
- Skim off any foam – If foam forms while simmering, just skim it off with a spoon. It doesn’t hurt the jam, but removing it makes for a cleaner, prettier finish.
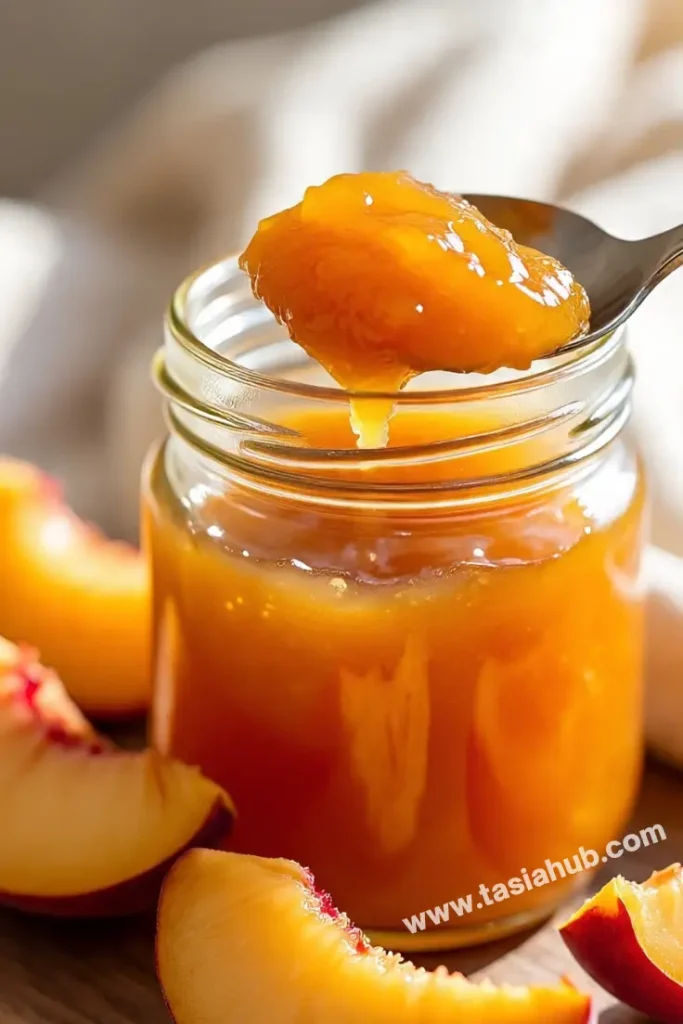
- Test the thickness – Drop a small spoonful of jam onto a chilled plate and run your finger through it. If it holds its shape and doesn’t run back together, it’s ready.
- Sterilize your jars properly – If storing for more than a few days, sterilize your jars in boiling water for 10 minutes to avoid any spoilage.
Ingredient Substitutions and Variations
- Use nectarines instead of peaches – No peeling required! Nectarines give a similar flavor and make things even easier.
- Try honey instead of sugar – Swap in up to half the sugar with honey for a softer, more floral sweetness. Note: it may result in a slightly looser set.
- Add spices – A pinch of ground cinnamon or ginger can warm things up and give it a cozy, fall-inspired twist.
- Mix in other fruits – Add raspberries, strawberries, or apricots for a fruity combo jam. Keep total fruit volume the same.
- Splash of bourbon or almond extract – A tiny splash at the end of cooking adds depth and makes the jam feel extra special. Use sparingly!
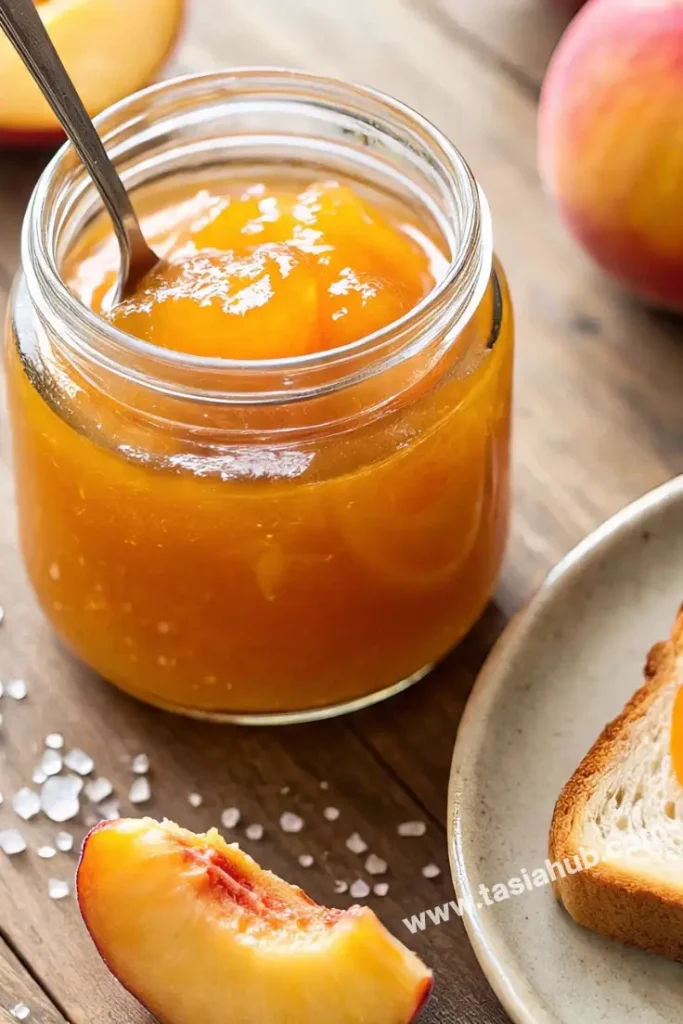
Serving Suggestions
- Spread it on warm toast or biscuits – A classic! It’s my favorite quick breakfast with a cup of tea or coffee.
- Swirl into yogurt or oatmeal – Adds a fruity, sweet touch to your morning bowl. I do this almost daily in the summer!
- Use as a cake filling – Layer it between sponge cake or spread over cheesecake for a pop of peach flavor.
- Serve with cheese and crackers – Pair with brie, goat cheese, or sharp cheddar on a charcuterie board. It’s always a hit with guests!
- Top pancakes or waffles – Instead of syrup, a generous spoonful of peach jam takes your brunch game to the next level.
Storage and Reheating Instructions
- Refrigerator – Store in airtight jars or containers for up to 3 weeks. Make sure the jam has cooled completely before sealing.
- Freezer – Freeze in freezer-safe containers or jars (leave some space for expansion) for up to 3 months. Thaw overnight in the fridge.
- No reheating needed – The jam is ready to use straight from the fridge! But if you want it slightly runnier, let it sit at room temp for a few minutes or warm gently in a saucepan.
- Watch for signs of spoilage – If you see mold, off smells, or bubbling, it’s time to toss it. Always use clean utensils to scoop out jam.
Frequently Asked Questions
Can I make this jam without peeling the peaches?
Yes, you can—but the texture will be different. The skins won’t fully break down and may give the jam a slightly chewy feel. If you’re short on time and don’t mind a rustic texture, go for it!
How do I know when the jam is thick enough?
Try the chilled plate test: Drop a bit of jam onto a cold plate, let it sit for 30 seconds, then drag your finger through it. If it holds the line without running back together, it’s ready.
Can I reduce the sugar?
You can reduce it slightly, but keep in mind that sugar helps with both flavor and preservation. If you’re planning to store it for more than a few days, don’t cut back too much.
Is this recipe safe for canning?
This small-batch recipe is best for refrigerator or freezer storage. For shelf-stable canning, be sure to follow tested guidelines for water bath canning from a trusted source like Ball or your local extension office.
Can I double the recipe?
Yes! Just use a larger pot and expect a slightly longer cook time. Keep an eye on it and stir frequently to avoid burning.
What if my jam didn’t set?
No worries—your jam is still totally usable! Call it a peach sauce and drizzle it over ice cream, pancakes, or yogurt. Next time, simmer a little longer or add a splash more lemon juice.
Did you try this recipe? Let me know in the comments how it turned out!
Don’t forget to share your photos on Instagram and tag me @tasiahub_ or use the hashtag #tasiahub. I’d love to see your creations!

Homemade Peach Jam
Equipment
- Medium to large saucepan
- Wooden spoon or heatproof spatula
- Potato masher or immersion blender
- Measuring cups and spoons
- Sterilized jars with lids
Ingredients
- 4 cups peeled and chopped ripe peaches about 6–7 medium peaches
- 2 cups granulated sugar
- 2 tablespoons lemon juice freshly squeezed
- 1 teaspoon vanilla extract optional
Instructions
Prep the peaches
- Peel the peaches
- Bring a pot of water to a gentle boil. Score a small “X” on the bottom of each peach, then carefully drop them into the boiling water for 30–60 seconds.
- Remove and immediately place them in a bowl of ice water. The skins should peel off easily with your fingers or a small knife.
- Pro Tip: Blanching makes peeling way faster—especially if you’re working with a big batch.
- Cut the peeled peaches in half, remove the pits, and dice them into small chunks. You should end up with about 4 cups.
Cook the fruit
- Add peaches, sugar, and lemon juice to the saucepan
- Place your chopped peaches into a saucepan, then add the sugar and lemon juice. Stir everything together to combine.
- Turn the heat to medium and stir often as the sugar dissolves and the mixture begins to bubble.
- Pro Tip: Stir gently but regularly at this stage to avoid burning the fruit or sugar at the bottom.
Mash or blend to your liking
- Use a potato masher to gently break down the peach chunks while the mixture simmers. Stop when it reaches your ideal consistency.
- If you prefer a more uniform texture, you can use an immersion blender right in the pot—just be careful of splatters!
- Pro Tip: Do this off the heat and in short bursts to avoid over-blending or creating foam.
Simmer and reduce
- Continue cooking the mixture on low to medium heat for about 20–30 minutes, stirring frequently. You’ll notice it starts to thicken and the bubbles get glossier.
- Pro Tip: The jam is ready when it clings to the back of a spoon and slowly drips off.
- Optional: Stir in vanilla extract
- If using, add the vanilla once the jam is thickened and remove from heat. Stir it in well for an extra depth of flavor.
Store the jam
- Carefully ladle the hot jam into sterilized jars, leaving about 1/4 inch of space at the top. Wipe the rims clean and seal with lids.
- Let the jars cool at room temperature. Store in the refrigerator for up to 3 weeks—or freeze for longer storage if you’re not canning.
Notes
Nutritional Value (Per 1 tablespoon serving)
- Calories: ~50
- Carbohydrates: 13g
- Sugar: 12g
- Fat: 0g
- Protein: 0g
- Fiber: <1g
- Sodium: 0mg