Cherry Cobbler with Pie Filling
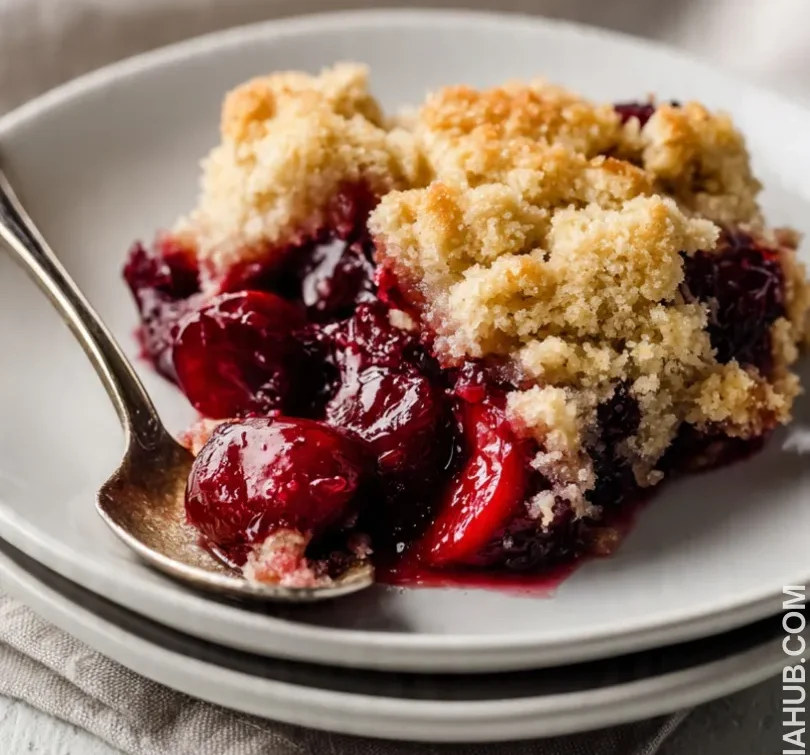
Summer always brings a craving for desserts that balance sweet and tart, and this cherry cobbler with pie filling hits that sweet spot perfectly. It’s one of those desserts that feels like home the moment it comes out of the oven—the aroma alone makes the whole kitchen inviting. Whether you’re serving it after a casual family dinner or bringing it to a gathering with friends, it’s guaranteed to disappear quickly.
Unlike the traditional cherry cobbler made from fresh cherries, this version uses cherry pie filling to save time while still giving you that luscious, juicy texture. The filling’s sweetness pairs beautifully with the buttery, soft cobbler topping, creating a dessert that’s simple yet indulgent. Even if you’ve never made a cherry pie cobbler before, the process is straightforward, and the results are always impressive.
For those who love a touch of homemade charm, you can certainly swap in fresh cherries for the filling. Cherry cobbler with fresh cherries brings an extra brightness and depth of flavor that’s hard to beat, but the pie filling version ensures consistency and saves you the time of pitting and preparing cherries. Either way, you’ll end up with a dessert that tastes like it came straight from a bakery, but with the warmth and comfort only homemade cherry cobbler can deliver.
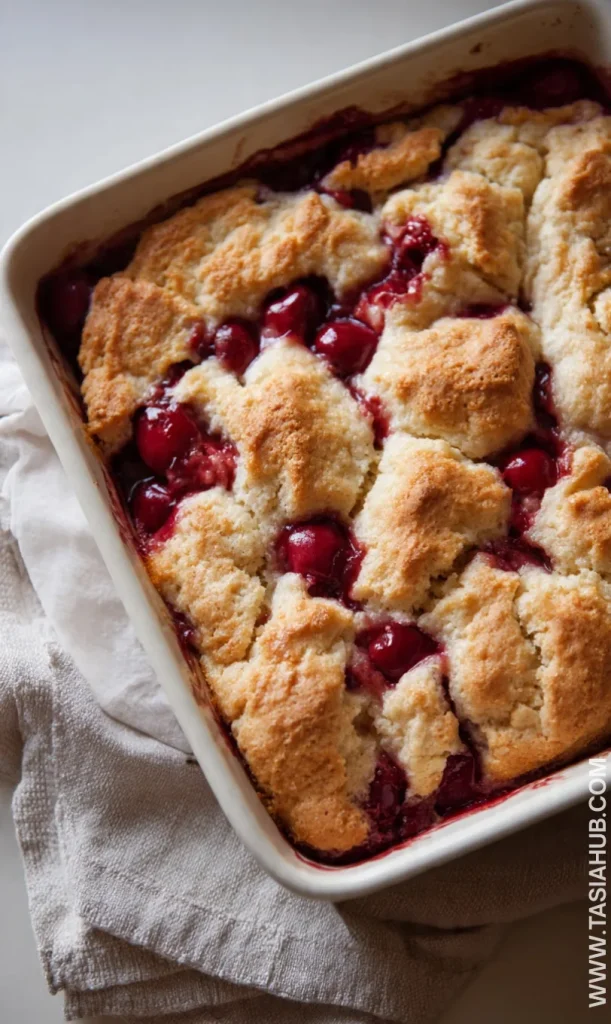
This easy cherry cobbler is perfect for anyone looking for a dessert that’s fuss-free but still feels special. With a few simple ingredients and minimal effort, you’ll have a golden, bubbling cherry dessert that’s perfect with a scoop of vanilla ice cream or a dollop of whipped cream. It’s the best cherry pie alternative when you want the flavor of a classic cherry dessert without the fuss of making a full pie crust.
Why You’ll Love It
- Quick and fuss-free: This cherry cobbler with pie filling comes together in minutes, making it perfect for busy weeknights or last-minute dessert plans. No rolling dough or pitting cherries required!
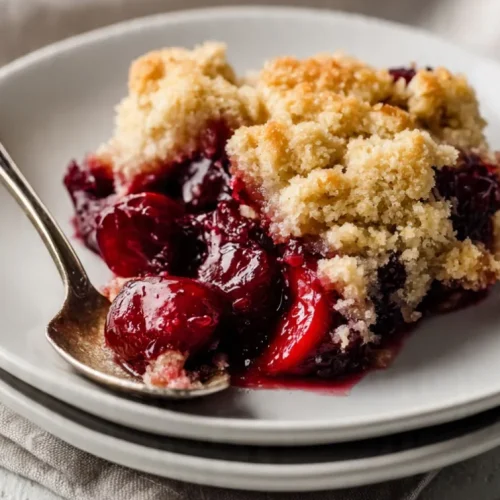
- Sweet and tart perfection: The combination of juicy cherry pie filling and a buttery, tender topping creates a balance of flavors that will have everyone coming back for seconds.
- Versatile serving options: Enjoy it warm straight from the oven with ice cream, or let it cool slightly for a slice that’s perfect with a cup of coffee or tea.
- Homemade feel, bakery results: Even though it’s easy to make, this cobbler tastes like it was made with care and attention, giving you that comforting homemade cherry cobbler vibe.
- Crowd-pleaser for any occasion: Whether it’s a casual family dinner, a summer picnic, or a potluck, this cherry pie cobbler is always a hit and looks gorgeous on any dessert table.
Ingredient List
For the Cherry Filling
- 2 (21-ounce) cans cherry pie filling
- 1 teaspoon vanilla extract
- 1 teaspoon lemon juice
For the Cobbler Topping
- 1 cup all-purpose flour
- 1 cup granulated sugar
- 1 teaspoon baking powder
- ¼ teaspoon salt
- ½ cup unsalted butter, melted
- ½ cup milk
- 1 large egg
- 1 teaspoon vanilla extract
Ingredient Notes
- I always use good-quality cherry pie filling—it makes the flavor rich and perfectly sweet.
- Don’t skip the lemon juice in the filling! It brightens the cherries and balances the sweetness beautifully.
- For the topping, unsalted butter is a must. I like using [your preferred brand], it gives the cobbler a nice golden crust.
- Milk and egg create a tender, fluffy topping, so don’t swap them for substitutes unless you have to—they really make a difference.
- Vanilla extract in both the filling and topping enhances the cherry flavor and gives that classic homemade cherry cobbler taste.
Kitchen Equipment Needed
- 9×13-inch baking dish – Perfect size for even baking; I love using a glass dish so I can watch the cobbler bubble.
- Mixing bowls – One for the filling, one for the topping; I like glass or stainless steel for easy cleanup.
- Whisk – For combining the topping ingredients smoothly; my favorite is a silicone-coated whisk.
- Spatula or spoon – To spread the topping over the cherry filling evenly; a heatproof silicone spatula works best.
- Measuring cups and spoons – Essential for accuracy; I always keep a sturdy set on hand.
- Oven mitts – For safe handling when removing the bubbling hot cobbler from the oven.
Instructions
Step 1: Preheat and Prepare
- Preheat your oven to 350°F (175°C).
- Lightly grease your 9×13-inch baking dish with butter or nonstick spray. This helps prevent sticking and gives the edges a lovely golden finish.
Pro Tip: I like using a bit of butter instead of spray—it adds flavor and browns beautifully around the edges.
Step 2: Prepare the Cherry Filling
- Pour the cherry pie filling into a medium mixing bowl.
- Stir in 1 teaspoon of vanilla extract and 1 teaspoon of lemon juice until well combined.
- Spread the filling evenly into the prepared baking dish.
Step 3: Make the Cobbler Topping
- In a large mixing bowl, combine 1 cup flour, 1 cup sugar, 1 teaspoon baking powder, and ¼ teaspoon salt. Whisk to blend the dry ingredients.
- In a separate small bowl, mix the melted butter, milk, egg, and 1 teaspoon vanilla extract.
- Pour the wet ingredients into the dry ingredients and stir gently until just combined.
Pro Tip: Don’t overmix! A few lumps in the batter are totally fine—they make the topping light and tender.
Step 4: Assemble the Cobbler
- Spoon the topping over the cherry filling in small dollops.
- Use a spatula or the back of a spoon to gently spread the batter, leaving some cherry filling visible on top. This creates a beautiful, rustic look.
Step 5: Bake to Perfection
- Place the baking dish in the preheated oven.
- Bake for 40–45 minutes, or until the topping is golden brown and a toothpick inserted in the center comes out clean.
- Remove from the oven and let it cool for 10–15 minutes before serving.
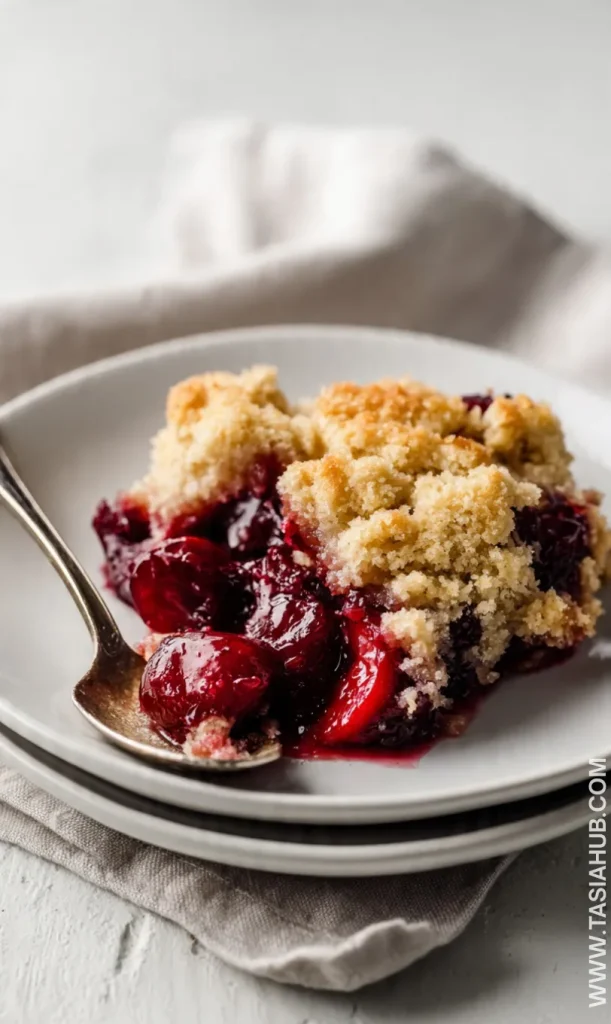
Pro Tip: Serve warm with vanilla ice cream or whipped cream for a dessert that feels like summer in every bite.
Tips and Tricks for Success
- Use quality cherry pie filling: It makes a huge difference in flavor—don’t skimp here.
- Don’t overmix the topping: A few lumps are perfect for a light, fluffy texture.
- Grease the baking dish well: Prevents sticking and gives those edges a golden, buttery finish.
- Let it cool slightly before serving: This helps the cobbler set a bit so it’s easier to serve without spilling.
- Serve warm: A scoop of ice cream or a dollop of whipped cream takes it to the next level.
Ingredient Substitutions and Variations
- Fresh cherries instead of pie filling: Use about 4 cups of pitted fresh cherries with ½ cup sugar and 1 teaspoon cornstarch for a fresher, tangier version.
- Brown sugar topping: Swap half the granulated sugar for brown sugar for a deeper, caramel-like flavor.
- Milk alternatives: Almond, oat, or soy milk can be used in place of regular milk without affecting texture.
- Butter substitutes: Melted coconut oil works in a pinch, adding a slight coconut flavor.
- Spice it up: Add ½ teaspoon cinnamon or almond extract to the topping for a warm, aromatic twist.
Serving Suggestions
- I love serving this cherry cobbler with a scoop of creamy vanilla ice cream—it melts over the warm cobbler and makes every bite dreamy.
- A dollop of freshly whipped cream on top adds a light, airy contrast to the sweet, juicy cherries.
- Pair it with a hot cup of coffee or tea for a cozy afternoon treat.
- For brunch, serve a small slice alongside a fresh fruit salad—it balances the richness perfectly.
- Drizzle a little chocolate or caramel sauce over the top for an extra indulgent dessert twist.
Storage and Reheating Instructions
- Room temperature: Cover and store leftovers at room temperature for up to 2 days.
- Refrigerator: Keep in an airtight container in the fridge for 4–5 days.
- Freezer: Wrap tightly in foil or plastic wrap and freeze for up to 2 months. Thaw overnight in the fridge before reheating.
- Reheating: Warm individual servings in the microwave for 30–60 seconds, or reheat the whole cobbler in a 350°F oven for 10–15 minutes.
- Tip: Reheat with a little extra ice cream or whipped cream to bring back that fresh-baked feel.
Frequently Asked Questions
Can I use fresh cherries instead of pie filling?
Absolutely! You’ll need about 4 cups of pitted cherries and a little sugar and cornstarch to thicken. It adds a fresh, tangy flavor that’s delicious.
Can I make this cherry cobbler ahead of time?
Yes! You can assemble it a few hours ahead and bake when ready, or bake it and reheat before serving. Just cover tightly to keep it fresh.
Can I freeze the cobbler?
Definitely. Wrap it well in foil or plastic wrap and freeze for up to 2 months. Thaw overnight in the fridge before reheating.
Can I make it gluten-free?
Yes! Swap the all-purpose flour for a gluten-free flour blend, and it should work fine. The topping might be slightly different in texture but still delicious.
How do I get a golden, crisp topping?
Make sure the melted butter is evenly mixed into the topping and bake uncovered. This helps the edges brown beautifully.
Can I add other flavors or spices?
Sure! A little almond extract or cinnamon in the topping pairs beautifully with the cherries for a warm, aromatic twist.
Did you try this cherry cobbler with pie filling? Let me know in the comments how it turned out—I’d love to hear your favorite way to serve it!
Cherry Cobbler with Pie Filling
Equipment
- 9×13-inch baking dish
- Mixing Bowls
- Whisk
- Spatula or spoon
- Measuring cups and spoons
- Oven Mitts
Ingredients
For the Cherry Filling
- 2 21-ounce cans cherry pie filling
- 1 teaspoon vanilla extract
- 1 teaspoon lemon juice
For the Cobbler Topping
- 1 cup all-purpose flour
- 1 cup granulated sugar
- 1 teaspoon baking powder
- ¼ teaspoon salt
- ½ cup unsalted butter melted
- ½ cup milk
- 1 large egg
- 1 teaspoon vanilla extract
Instructions
Step 1: Preheat and Prepare
- Preheat your oven to 350°F (175°C).
- Lightly grease your 9×13-inch baking dish with butter or nonstick spray. This helps prevent sticking and gives the edges a lovely golden finish.
- Pro Tip: I like using a bit of butter instead of spray—it adds flavor and browns beautifully around the edges.
Step 2: Prepare the Cherry Filling
- Pour the cherry pie filling into a medium mixing bowl.
- Stir in 1 teaspoon of vanilla extract and 1 teaspoon of lemon juice until well combined.
- Spread the filling evenly into the prepared baking dish.
Step 3: Make the Cobbler Topping
- In a large mixing bowl, combine 1 cup flour, 1 cup sugar, 1 teaspoon baking powder, and ¼ teaspoon salt. Whisk to blend the dry ingredients.
- In a separate small bowl, mix the melted butter, milk, egg, and 1 teaspoon vanilla extract.
- Pour the wet ingredients into the dry ingredients and stir gently until just combined.
- Pro Tip: Don’t overmix! A few lumps in the batter are totally fine—they make the topping light and tender.
Step 4: Assemble the Cobbler
- Spoon the topping over the cherry filling in small dollops.
- Use a spatula or the back of a spoon to gently spread the batter, leaving some cherry filling visible on top. This creates a beautiful, rustic look.
Step 5: Bake to Perfection
- Place the baking dish in the preheated oven.
- Bake for 40–45 minutes, or until the topping is golden brown and a toothpick inserted in the center comes out clean.
- Remove from the oven and let it cool for 10–15 minutes before serving.
- Pro Tip: Serve warm with vanilla ice cream or whipped cream for a dessert that feels like summer in every bite.
Notes
Nutritional Value (Per Serving – Approximate)
- Calories: 320–360
- Carbohydrates: 55g
- Sugars: 38g
- Fat: 10g
- Saturated Fat: 6g
- Protein: 2–3g
- Fiber: 1–2g
- Sodium: 180mg
- Cholesterol: 35mg