Apricot Oat Bars
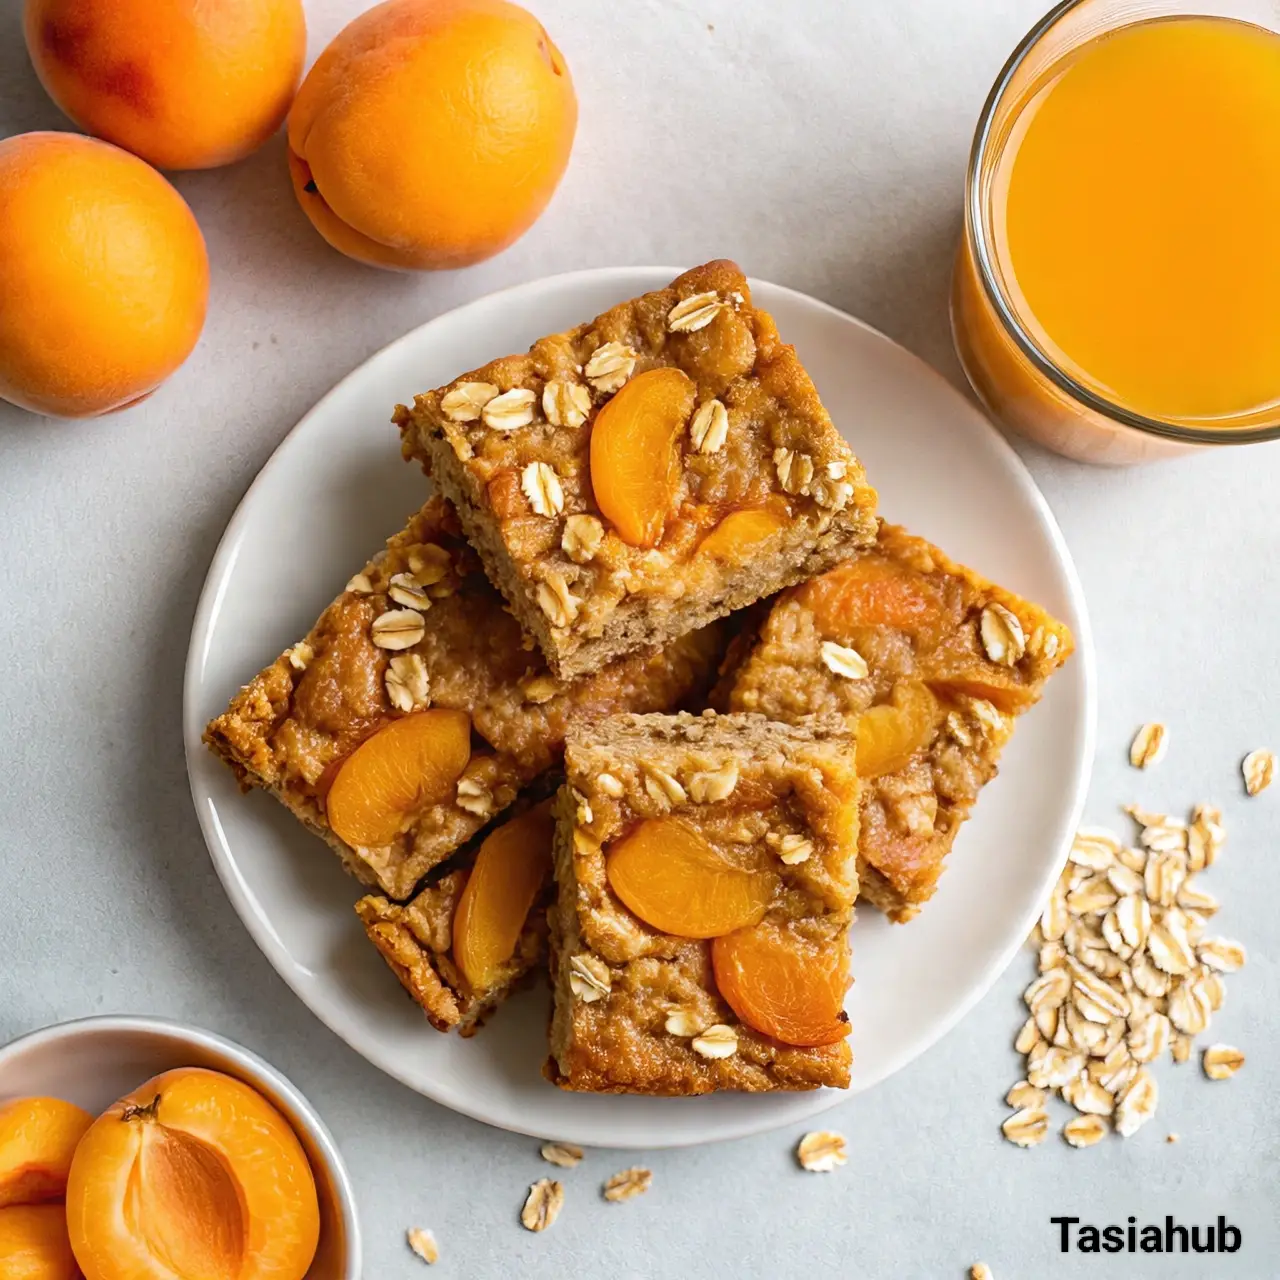
If you’re looking for a snack that strikes the perfect balance between wholesome and delicious, these apricot oat bars just might become your new go-to. They’re one of those treats that feel like a little burst of sunshine — bright, slightly sweet, with a satisfying chewiness that makes them perfect for breakfast on the run, a midday pick-me-up, or a simple dessert. Plus, they’re made with ingredients you probably already have in your pantry, which makes them super easy to whip up whenever the craving hits.
What I love most about apricot oat bars is how versatile they are. The natural sweetness of dried apricots blends so well with the hearty oats and a touch of honey or maple syrup, creating a flavor that’s both comforting and refreshing.
And because they’re packed with oats and fruit, they give you sustained energy without the crash you might get from sugary snacks. Whether you’re packing lunches for the kids, taking snacks on a hike, or just need a guilt-free treat at your desk, these bars fit the bill.
Also, there’s something so satisfying about homemade bars versus store-bought ones. You get to control what goes into them, avoid unnecessary preservatives, and customize them with nuts, seeds, or spices if you want. I remember the first time I made these bars — the house smelled amazing, and I couldn’t resist sneaking a warm piece right out of the pan. They were chewy, just a little crisp on the edges, and had that perfect balance of sweet and nutty flavors. If you haven’t tried making apricot oat bars yet, I highly recommend giving them a shot. They’re simple, wholesome, and totally worth it!
Why You’ll Love It
- Nutritious and Filling: Packed with oats and dried apricots, these bars offer a great source of fiber and natural sugars that keep you full and energized longer.
- Easy to Make: With simple pantry staples and minimal prep time, apricot oat bars come together quickly—no fancy equipment needed.
- Perfect On-the-Go Snack: Whether you need a quick breakfast, a midday snack, or something to fuel your afternoon hike, these bars are portable and mess-free.
- Customizable: You can easily add your favorite nuts, seeds, or spices to tailor the bars to your taste or dietary needs.
- Naturally Sweetened: No refined sugars here—just the gentle sweetness from dried apricots and a touch of honey or maple syrup for a healthier alternative to processed snacks.
Ingredient List
Dry Ingredients:
- 2 cups rolled oats
- 1 cup all-purpose flour (or whole wheat for a healthier option)
- 1/2 teaspoon baking soda
- 1/4 teaspoon salt
Wet Ingredients:
- 1/2 cup honey or maple syrup
- 1/4 cup melted coconut oil or unsalted butter
- 1 large egg
- 1 teaspoon vanilla extract
Filling:
- 1 cup dried apricots, chopped
- 1/4 cup orange juice (for soaking apricots)
Ingredient Notes
- I always soak the dried apricots in orange juice for about 10 minutes — it softens them and adds a subtle citrusy brightness.
- Using rolled oats instead of instant oats gives the bars a better texture — chewy but not mushy.
- For a richer flavor, I prefer melted coconut oil, but unsalted butter works just as well.
- Don’t skip the vanilla extract; it really enhances the sweetness and rounds out the flavors.
- If you want your bars a little crunchier, try toasting the oats lightly before mixing.
Kitchen Equipment Needed
- Mixing Bowl – For combining all your ingredients easily. I like using a large glass bowl so it’s easy to see everything mixing together.
- Measuring Cups and Spoons – To ensure accurate ingredient amounts for the perfect texture and flavor.
- Spatula or Wooden Spoon – For folding the mixture without overmixing. I prefer a silicone spatula because it scrapes the bowl clean.
- Baking Pan (8×8 inch or similar) – To shape and bake the bars evenly. A square metal or glass pan works great.
- Parchment Paper – For lining the pan so the bars don’t stick and come out cleanly.
- Knife – To chop the apricots and cut the baked bars into neat squares.
- Cooling Rack – Helps the bars cool evenly and prevents sogginess. I always use one with a sturdy wire grid.
Instructions
Step 1: Prepare the Apricots
- Chop the dried apricots into small, bite-sized pieces.
- Place them in a small bowl and pour over the orange juice. Let them soak for about 10 minutes to soften.
- Pro Tip: Soaking apricots helps them blend better into the bars, adding moisture and a natural tang.
Step 2: Preheat the Oven and Prepare the Pan
- Preheat your oven to 350°F (175°C).
- Line an 8×8 inch baking pan with parchment paper, letting some overhang on the sides for easy removal later.
Step 3: Mix the Dry Ingredients
- In a large mixing bowl, combine the rolled oats, flour, baking soda, and salt.
- Stir gently with a wooden spoon or spatula until evenly mixed.
Step 4: Mix the Wet Ingredients
- In a separate bowl, whisk together the honey (or maple syrup), melted coconut oil (or butter), egg, and vanilla extract.
- Whisk well until the mixture is smooth and fully combined.
- Pro Tip: Whisk continuously to prevent lumps and to ensure a silky texture in your wet mix.
Step 5: Combine Wet and Dry Ingredients
- Pour the wet ingredients into the bowl with the dry ingredients.
- Add the soaked apricots along with any remaining orange juice from the bowl.
- Use a spatula to fold everything together gently until just combined. Avoid overmixing to keep the bars chewy.
Step 6: Transfer and Press into the Pan
- Pour the mixture into your prepared baking pan.
- Using the back of a spatula or your clean hands, press the mixture evenly and firmly into the pan.
- Pro Tip: Pressing firmly helps the bars hold together after baking and makes cutting easier.
Step 7: Bake the Bars
- Place the pan in the preheated oven and bake for 25–30 minutes.
- Check for doneness by lightly pressing the center; it should feel set but still slightly soft. The edges will turn a light golden brown.
Step 8: Cool and Slice
- Remove the pan from the oven and place it on a cooling rack.
- Let the bars cool completely in the pan — this usually takes about 1 hour.
- Use the parchment paper overhang to lift the bars out of the pan.
- Cut into squares or rectangles with a sharp knife.
Step 9: Store and Enjoy
- Store the bars in an airtight container at room temperature for up to 4 days, or refrigerate for longer freshness.
- These bars also freeze well — just thaw before eating!

Tips and Tricks for Success
- Use rolled oats, not instant, for the best chewy texture.
- Don’t skip soaking the apricots — it makes a big difference in moisture and flavor.
- Press the mixture firmly into the pan to help the bars hold together better after baking.
- Let the bars cool completely before cutting to avoid crumbling.
- If you want a softer bar, reduce baking time by a few minutes and keep an eye on the center.
- Toast the oats lightly before mixing to add a nutty depth of flavor.
- Use parchment paper with overhang for easy removal of bars from the pan.
Ingredient Substitutions and Variations
- Swap all-purpose flour for almond flour or oat flour for a gluten-free option.
- Replace honey or maple syrup with agave nectar or brown rice syrup for different sweeteners.
- Use dried peaches, mangoes, or cranberries instead of apricots for a new fruit twist.
- Add chopped nuts like almonds, walnuts, or pecans for extra crunch.
- Stir in a teaspoon of cinnamon or ginger for a warm spice flavor.
- Substitute coconut oil with olive oil or melted butter depending on your preference.
- For a vegan version, use a flax egg (1 tablespoon ground flaxseed + 3 tablespoons water) instead of a regular egg.
Serving Suggestions
- Enjoy these apricot oat bars with a hot cup of tea or coffee for a cozy morning boost.
- Pack them as a grab-and-go snack for busy workdays or school lunches—they’re perfect on the move!
- Serve alongside a bowl of Greek yogurt topped with fresh berries for a wholesome breakfast or snack.
- I love pairing these bars with a smoothie made from spinach, banana, and almond milk for a balanced, energizing start to the day.
- Crumble the bars over vanilla ice cream or oatmeal for a delightful crunchy topping.

Storage and Reheating Instructions
- Store the bars in an airtight container at room temperature for up to 4 days.
- Keep in the refrigerator for up to one week to extend freshness.
- Freeze bars individually wrapped in parchment or plastic wrap for up to 3 months.
- To reheat, warm in the microwave for 15–20 seconds or in a toaster oven until just heated through.
- Let frozen bars thaw at room temperature or overnight in the fridge before eating.
Frequently Asked Questions
Can I use fresh apricots instead of dried?
Fresh apricots can work, but they’re much juicier and might make the bars too wet. If you use fresh, reduce any extra liquid and bake a bit longer to set properly.
Are these bars gluten-free?
Only if you use certified gluten-free oats and substitute the all-purpose flour with a gluten-free alternative like almond or oat flour.
How long do these bars stay fresh?
At room temperature, they stay fresh for about 4 days. Refrigerated, they last up to a week, and they freeze well for up to 3 months.
Can I make these bars vegan?
Yes! Simply replace the egg with a flax egg (1 tablespoon ground flaxseed mixed with 3 tablespoons water) and use maple syrup or agave instead of honey.
What’s the best way to store leftover bars?
Store them in an airtight container, layered with parchment paper if stacking, either at room temperature or in the fridge for longer freshness.
Can I add nuts or seeds?
Absolutely! Chopped almonds, walnuts, pumpkin seeds, or sunflower seeds make great additions and add a nice crunch.
Did you try this recipe? Let me know in the comments how it turned out!
Don’t forget to share your photos on Instagram and tag me (@tasiahub_) or use the hashtag (#tasiahub). I’d love to see your creations!

Apricot Oat Bars
Equipment
- Mixing Bowl
- Measuring cups and spoons
- Spatula or wooden spoon
- Baking Pan (8×8 inch or similar)
- Parchment paper
- Knife
- Cooling Rack
Ingredients
Dry Ingredients:
- 2 cups rolled oats
- 1 cup all-purpose flour or whole wheat for a healthier option
- 1/2 teaspoon baking soda
- 1/4 teaspoon salt
Wet Ingredients:
- 1/2 cup honey or maple syrup
- 1/4 cup melted coconut oil or unsalted butter
- 1 large egg
- 1 teaspoon vanilla extract
Filling:
- 1 cup dried apricots chopped
- 1/4 cup orange juice for soaking apricots
Instructions
Step 1: Prepare the Apricots
- Chop the dried apricots into small, bite-sized pieces.
- Place them in a small bowl and pour over the orange juice. Let them soak for about 10 minutes to soften.
- Pro Tip: Soaking apricots helps them blend better into the bars, adding moisture and a natural tang.
Step 2: Preheat the Oven and Prepare the Pan
- Preheat your oven to 350°F (175°C).
- Line an 8×8 inch baking pan with parchment paper, letting some overhang on the sides for easy removal later.
Step 3: Mix the Dry Ingredients
- In a large mixing bowl, combine the rolled oats, flour, baking soda, and salt.
- Stir gently with a wooden spoon or spatula until evenly mixed.
Step 4: Mix the Wet Ingredients
- In a separate bowl, whisk together the honey (or maple syrup), melted coconut oil (or butter), egg, and vanilla extract.
- Whisk well until the mixture is smooth and fully combined.
- Pro Tip: Whisk continuously to prevent lumps and to ensure a silky texture in your wet mix.
Step 5: Combine Wet and Dry Ingredients
- Pour the wet ingredients into the bowl with the dry ingredients.
- Add the soaked apricots along with any remaining orange juice from the bowl.
- Use a spatula to fold everything together gently until just combined. Avoid overmixing to keep the bars chewy.
Step 6: Transfer and Press into the Pan
- Pour the mixture into your prepared baking pan.
- Using the back of a spatula or your clean hands, press the mixture evenly and firmly into the pan.
- Pro Tip: Pressing firmly helps the bars hold together after baking and makes cutting easier.
Step 7: Bake the Bars
- Place the pan in the preheated oven and bake for 25–30 minutes.
- Check for doneness by lightly pressing the center; it should feel set but still slightly soft. The edges will turn a light golden brown.
Step 8: Cool and Slice
- Remove the pan from the oven and place it on a cooling rack.
- Let the bars cool completely in the pan — this usually takes about 1 hour.
- Use the parchment paper overhang to lift the bars out of the pan.
- Cut into squares or rectangles with a sharp knife.
Step 9: Store and Enjoy
- Store the bars in an airtight container at room temperature for up to 4 days, or refrigerate for longer freshness.
- These bars also freeze well — just thaw before eating!
Notes
Nutritional Value (per bar):
- Calories: ~180–200 kcal
- Carbohydrates: ~28g
- Protein: ~3g
- Fat: ~7g
- Fiber: ~2g
- Sugars: ~14g
- Sodium: ~70mg